Build Your Project Checklist
Pick a project below and get a simple checklist of materials, steps, and how long to set aside.
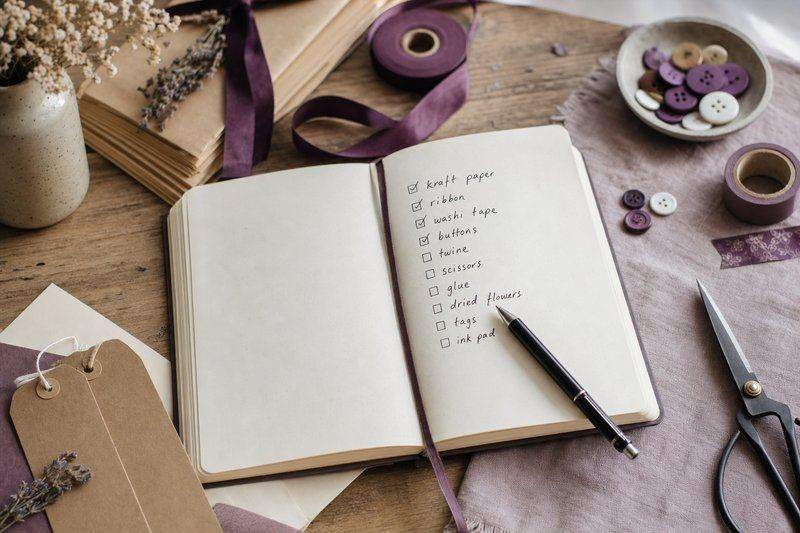
Starting a project without knowing everything it needs upfront is one of the most common ways a free afternoon turns into a wasted one. Getting halfway through dyeing eggs and realizing there's no vinegar in the house, or cutting into a cardboard costume and finding the paint has dried up, both come down to the same thing: not checking materials before starting. This tool pulls the materials, steps, and a rough time estimate for a project into one place so there's nothing to discover partway through.
Seeing the full list of steps before starting also helps with pacing. A project broken into clear, ordered steps is easier to fit into an actual afternoon than one vague instruction, since it's obvious where a natural stopping point is if something comes up, and where a step needs to happen before moving on, like letting paint dry before adding detail work. The time estimate works the same way: knowing a project needs a full weekend and not an hour changes whether it's worth starting tonight or better saved for Saturday morning.
Materials lists work best when they're specific, not general. Knowing a project calls for "food coloring" is less useful than knowing it calls for four separate bowls, warm water, and a splash of vinegar in each one to help the dye set. That level of detail is the difference between reading a project idea and actually being ready to start it, which is why each checklist below spells out quantities and small details, like using a wire dipper instead of a spoon, and doesn't just name the general category of supply.
Pick any project below to see its full checklist. Each item can be checked off as you go if you're following along on a phone or tablet, or the whole list can be copied down onto paper for a version you can cross off by hand while your hands are busy with the project itself.
How the Project Checklist Works
Picking a project pulls together the same three things you'd otherwise have to gather by re-reading the full article: a materials list, the actual steps in order, and a realistic time estimate for each one. The checklist format is meant for printing or keeping open on a phone while you work, so nothing needs to be re-read mid-project to remember what comes next or what you still need on hand before starting.
Time estimates are per-step, not a single number for the whole project, since that makes it easier to tell where an afternoon actually goes: drying and setting time (for dye, glue, or polish) is usually the biggest chunk, not the hands-on work itself. If a step's estimate runs long on a first attempt, that's normal and worth noting for next time, not a sign something went wrong.
A printed checklist also works well as a running record across attempts: jotting a quick note next to whichever step actually took longer than expected turns one project's checklist into a more accurate estimate for the next time that same project comes up, whether that's a repeat for yourself or handing it off to someone else attempting it for the first time. Nothing about the generated list is fixed, either; skipping an optional material or substituting one already on hand for whatever's listed doesn't break the rest of the checklist.