Category

Home and DIY Projects

Category

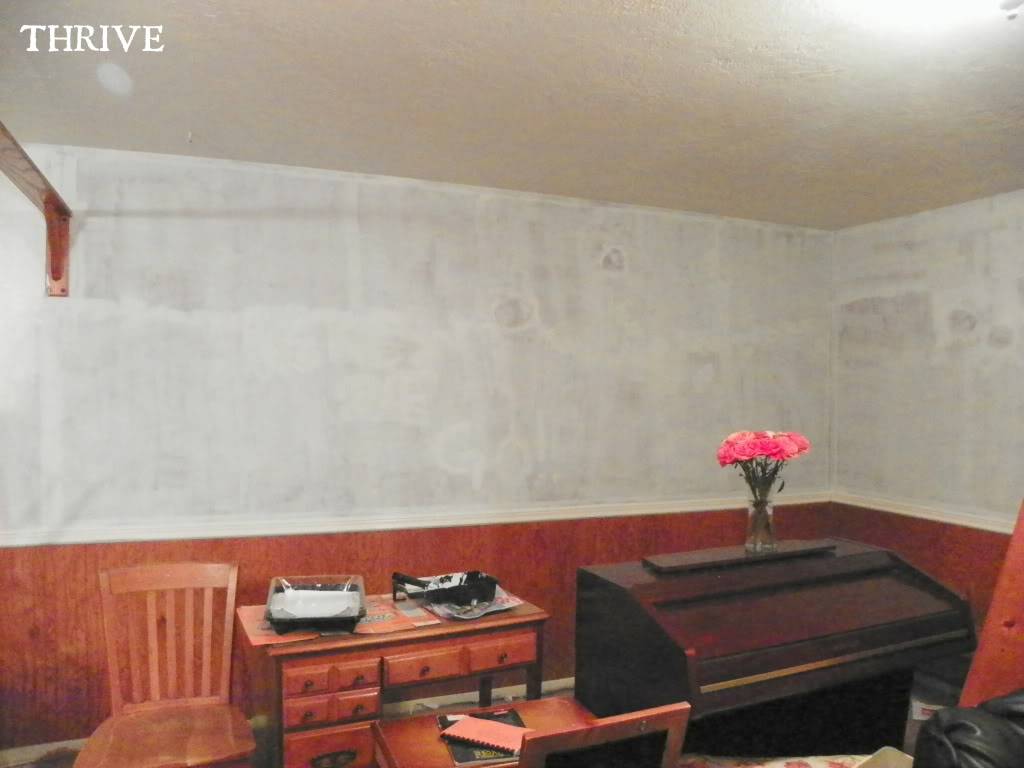
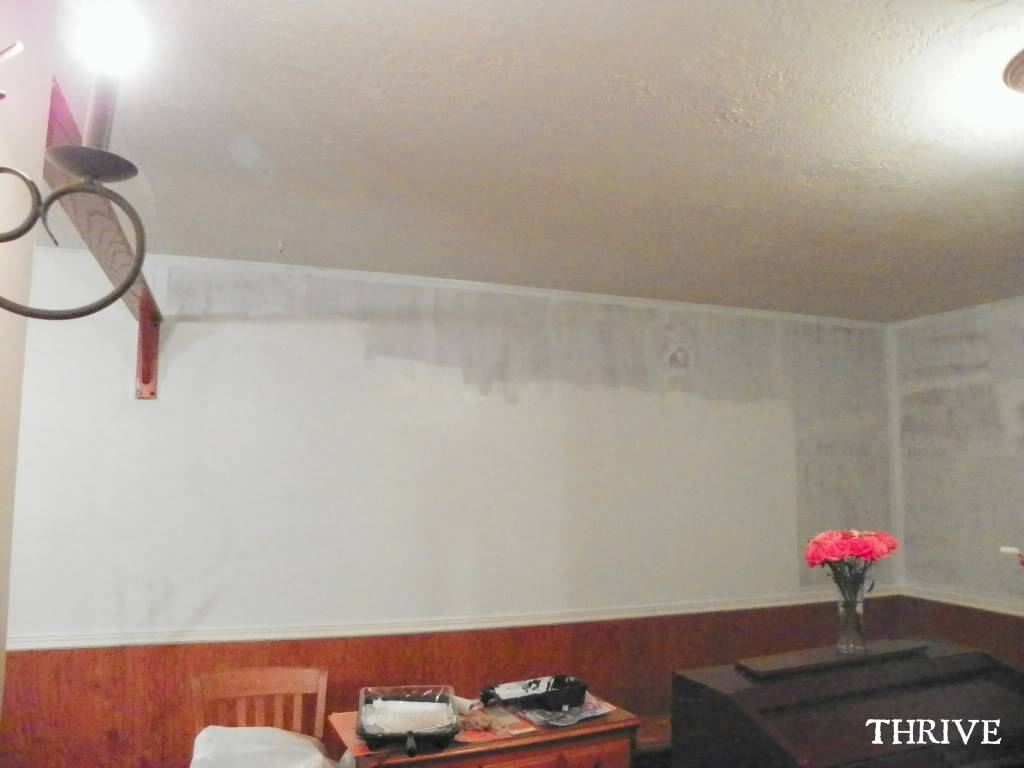
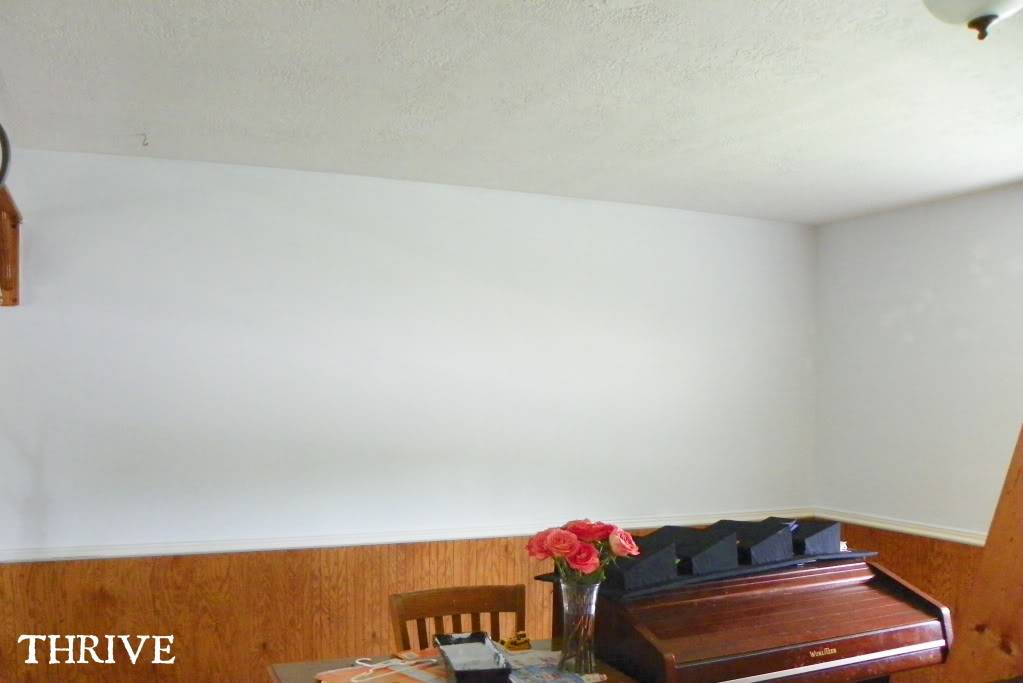
The upstairs priming is finally finished.

NMR.1

This was such a lousy week for Kids 5 & 6 to stop taking naps (and kid 6 to revolt against potty training.) Took for-ever.

NMR.7

Anyway, with the walls white there are already some projects that are jumping out at me—some small, some big:

NMR.2

So those projects have been added to the list.

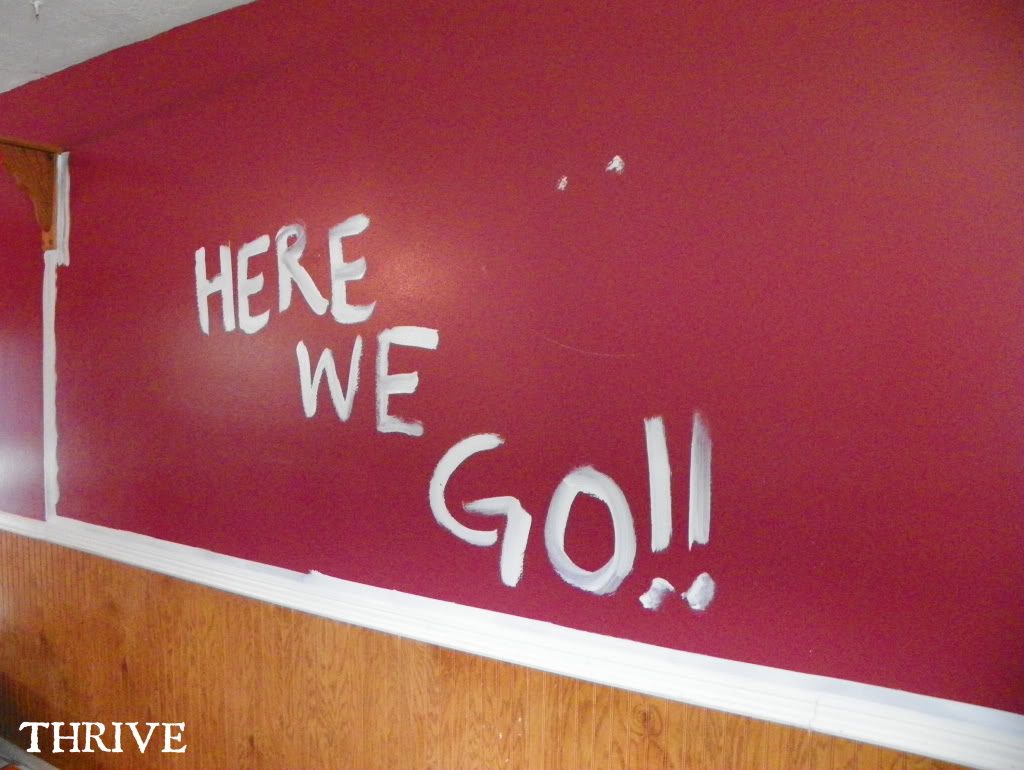
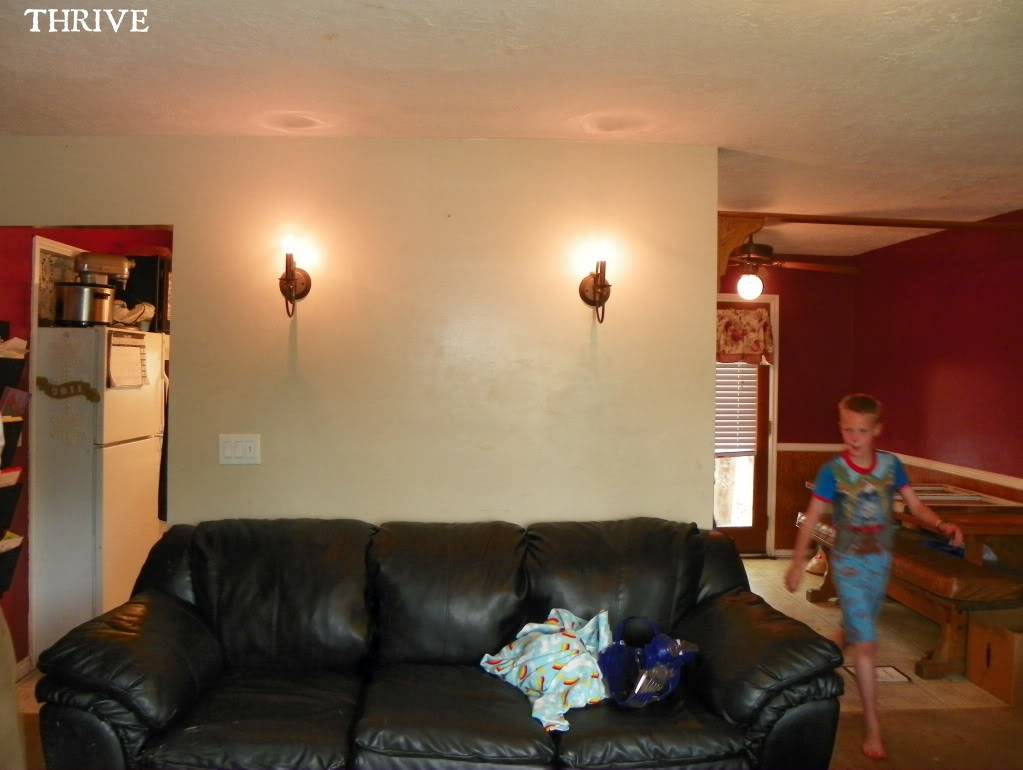
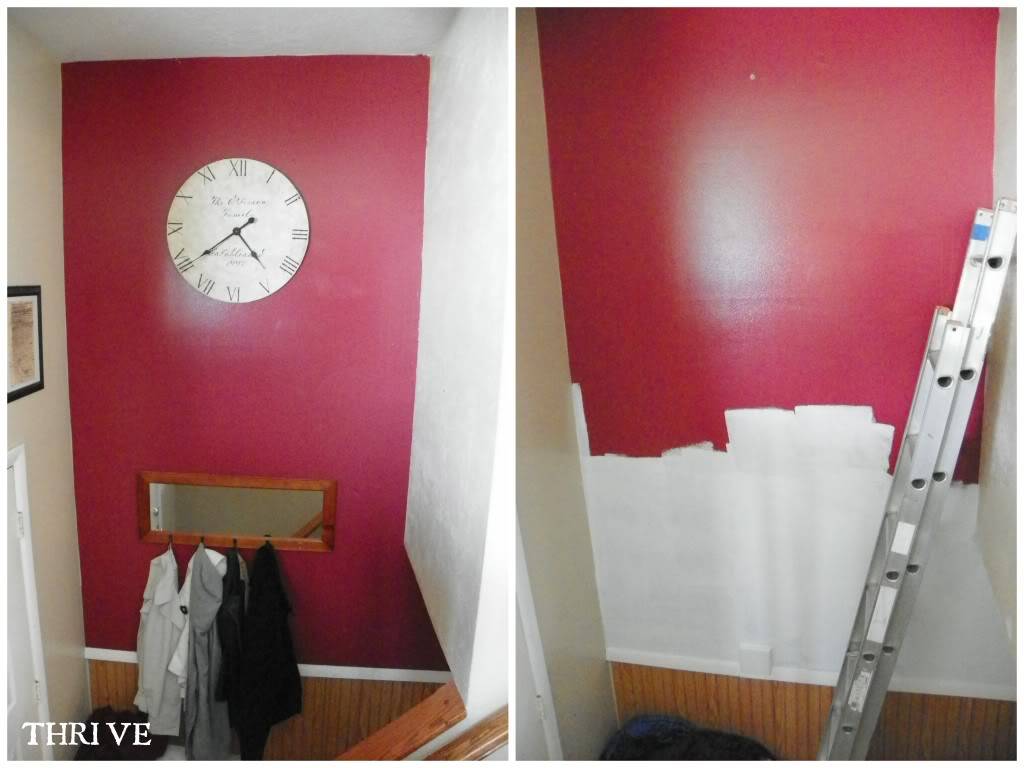
Now that the kitchen and entry way red paint are gone and I thought I was ready to start painting the main wall color, but I’ve hit a bit of a snag.

The color.

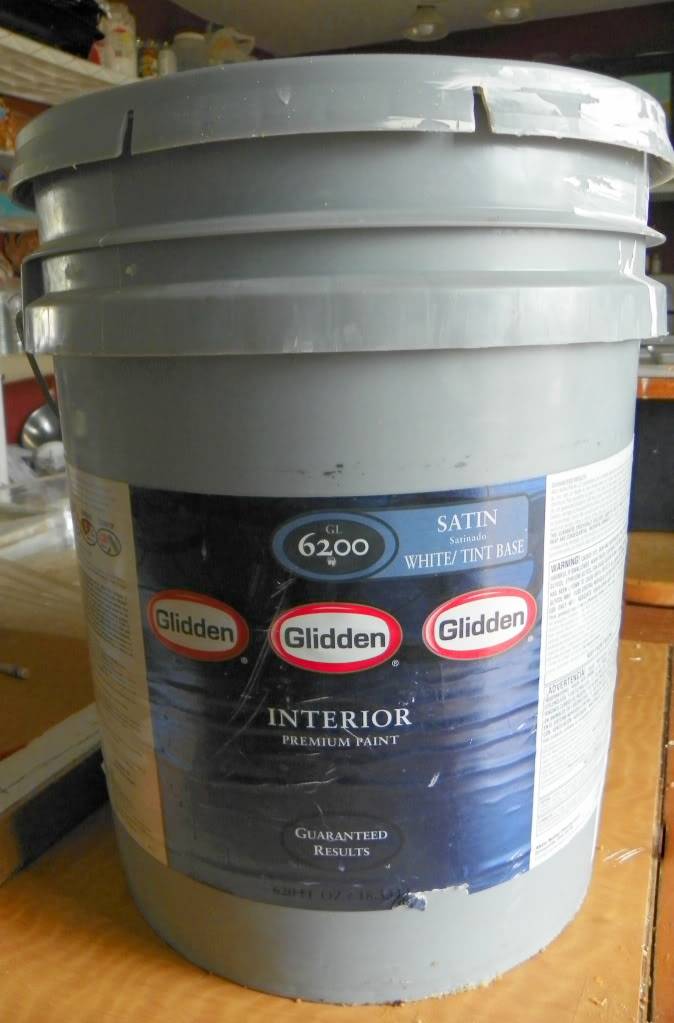
I have two nearly full 5 gallon buckets of “builder’s beige,” but my heart’s just not in it.

I know, I know. Beggars can’t be choosers.

It’s just that having The Red House was something that set us apart from the literally hundreds of other identical homes with the identical floor plan in our neighborhood. And Mr. Thrive isn’t thrilled about going back to beige, either. After I got done with the priming he took a look around and said, “Congratulations. It looks exactly like when we moved in.”

So I’ve got two options and could really use your input because here’s the thing:

I’m so not a decorator or interior painter.

I started following blogs a few years back to get ideas for my house because I’m terrible at designing rooms.

I’m a junker.

save-it-from-the-trasher.

An I-so-can-make-that-catalog-thing-from-scratcher.

But a decorator? Not so much.

So here’s my choices:

#1:  Stay The Course – Go With Beige

No one rocks the whole beige/cream + white look like Ballard Designs. And they’re beautiful and amazing and full of perfectly placed wall hangings and knick knacks. And maybe that’s why beige is so intimidating: I don’t get to rely on bold color to “carry” a room and do half the design work for me. I’ll actually have to figure out all those little details that make a room work.

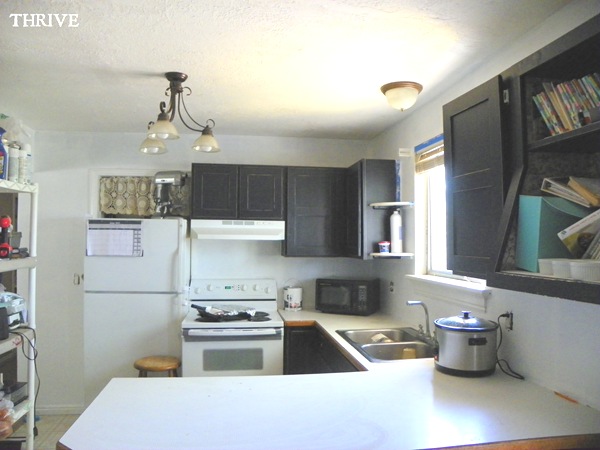
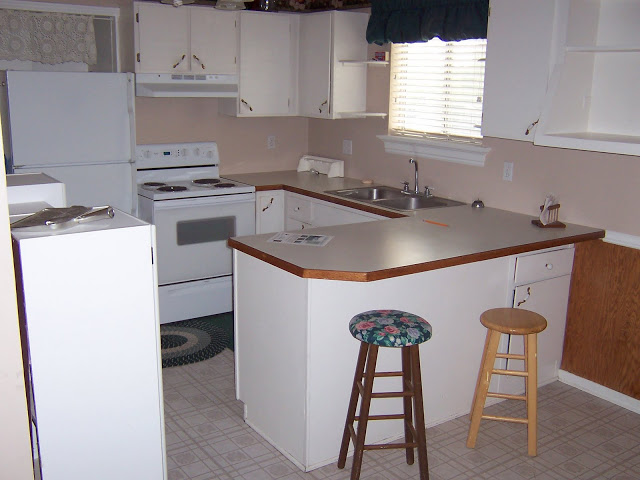
So the kitchen would go from this …

100_4331

… to something like this: cream walls + white to-be-added backsplash, trim, pantry + black accents on the cabinets and maybe floors.

NMR.6

(It’s actually more of a contrast than it looks like here and the cream has more of a yellow cast than pink, but you get the idea.)

I’m thinking more like this color scheme from Ballard Designs:

kitchen

Cream walls + white trim + black accents.

#2:  Start Mixing Paint and Hope For The Best

In addition to all the beige, I also have a couple partial gallons of slate grey, medium grey, black and dark brown that I could start mixing with the beige base. I’m crushing on grey at the moment and love the idea of having light grey walls and white bead board to go with my black kitchen cabinets and living room couches. 

Something like this: grey walls+ black cabinets + new white back splash and pantry + fun b/w fabric curtains, etc.

NMR.4

I also wouldn’t mind going the brown route either and trying for mocha color.

NMR.5

But will that even work?

Have any of you ever mixed a cream base + dark paint and come up with a color that worked? Is it awesome or way too yellow-y? I have a long history of selecting terrible paint colors and don’t want to waste the only paint I have.

So … what would you recommend?

Beige?  And if so, what accents for pillows or art would you put with it?

Blue/greens like this Ballard Designs look:

mirror 

Source: Ballard Designs Online

Something different?

– or –

Go for grey?

Or mocha?

Any mixing tips or please-for-the-love-don’t-ever-ever-EVER-do-this tips?

In the mean time, the kids and I are working on other areas around the upstairs:

1) Sanding the acres of bead board in the kitchen and living room to get rid of all that lovely “wood”

paint.15

2) Sanding down this book case from the living room for a much needed make over

NMR.8

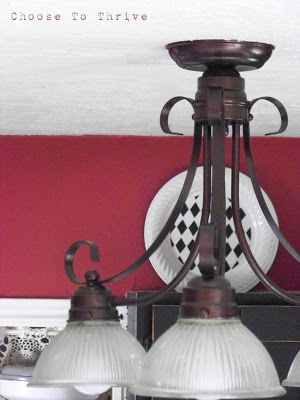
3) Washing those dusty light covers in the kitchen.

Thanks for your help!

Signature

Ready or not …

 photo paint4.jpg

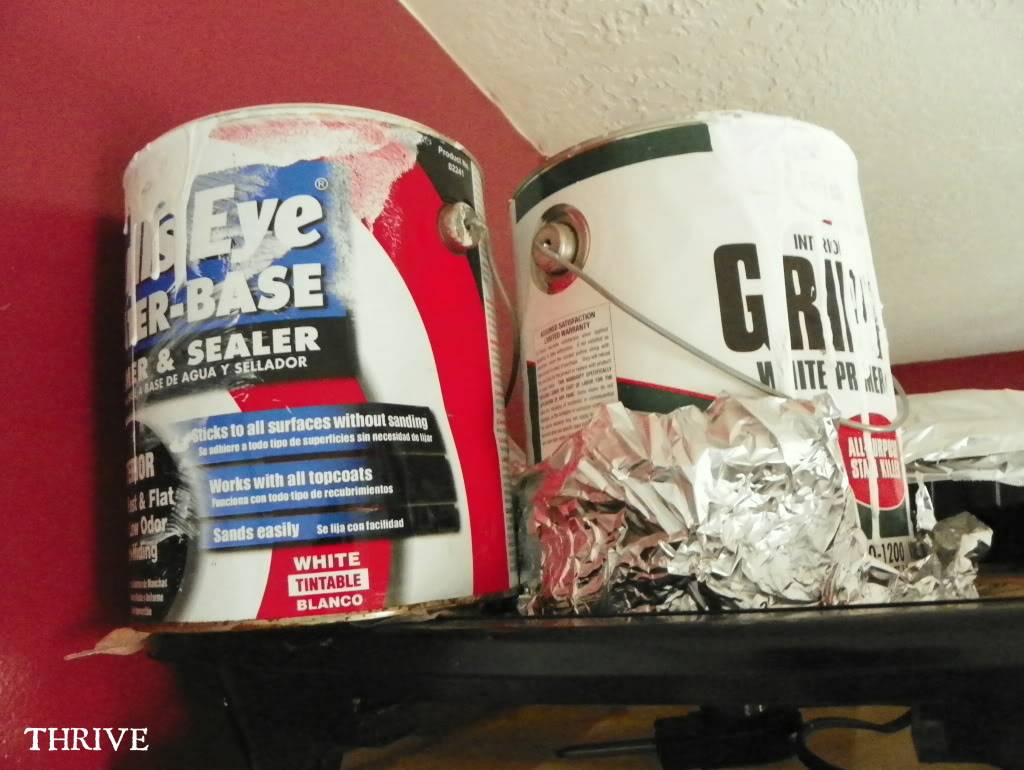
After five months of scavenging Craigs List, Freecycle and the local paint recycling center, I finally rounded up enough FREE paint and primer to tackle the upstairs.

And since there aren’t any “breaks” from the kitchen/living room/hall/entry, that meant getting enough paint to do the whole upstairs in one shot.  Most of the paint that I’ve found has been a half gallon of this or that—not enough to finish a single room, let alone the whole floor. But when I finally found a nearly full 5 gallon bucket of generic “builder’s beige” last weekend, I knew it was time to get going.  (Not that beige was my choice for paint colors, but beggars can’t be choosers.)

 photo paint16.jpg

But even with 5 gallons, I knew I only had enough paint for a single coat of the upstairs. That meant I would need enough primer to do two heavy coats to completely cover the red underneath. Thankfully half-full gallons of primer have been easy to find and it wouldn’t matter if I use two different brands.

 photo paint19.jpg

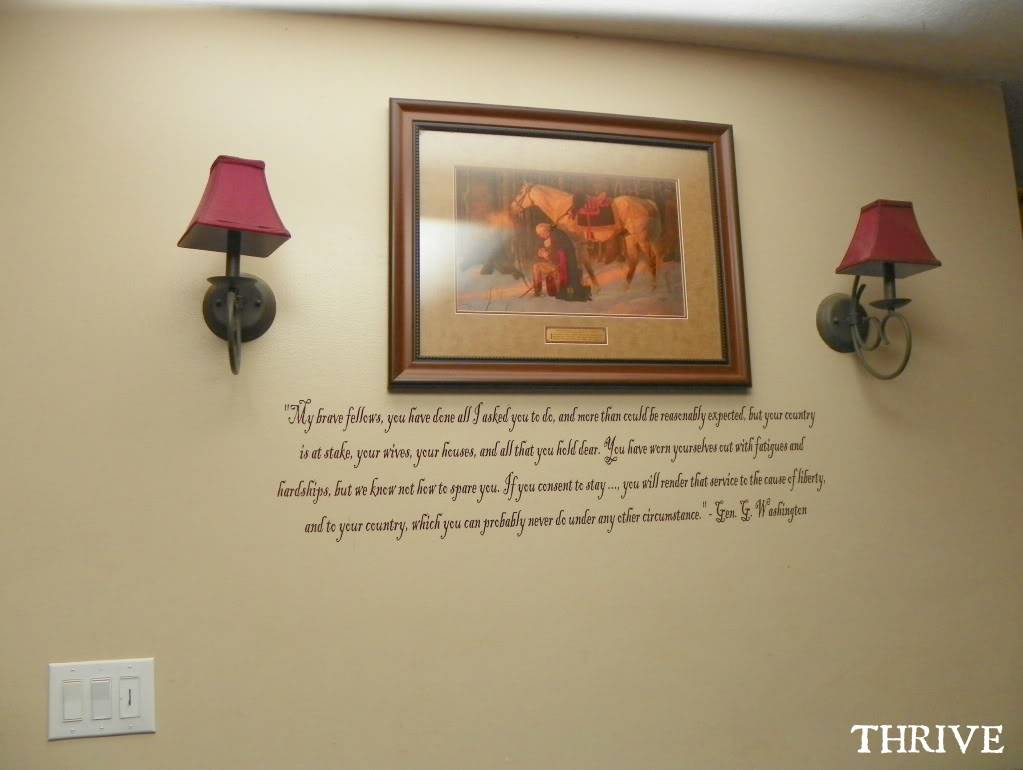
The first step was to remove the vinyl sayings from the walls. And honestly, I really hedged here because the art and sayings in the living room speak to me on an intensely personal and emotional level.

 photo paint5.jpg

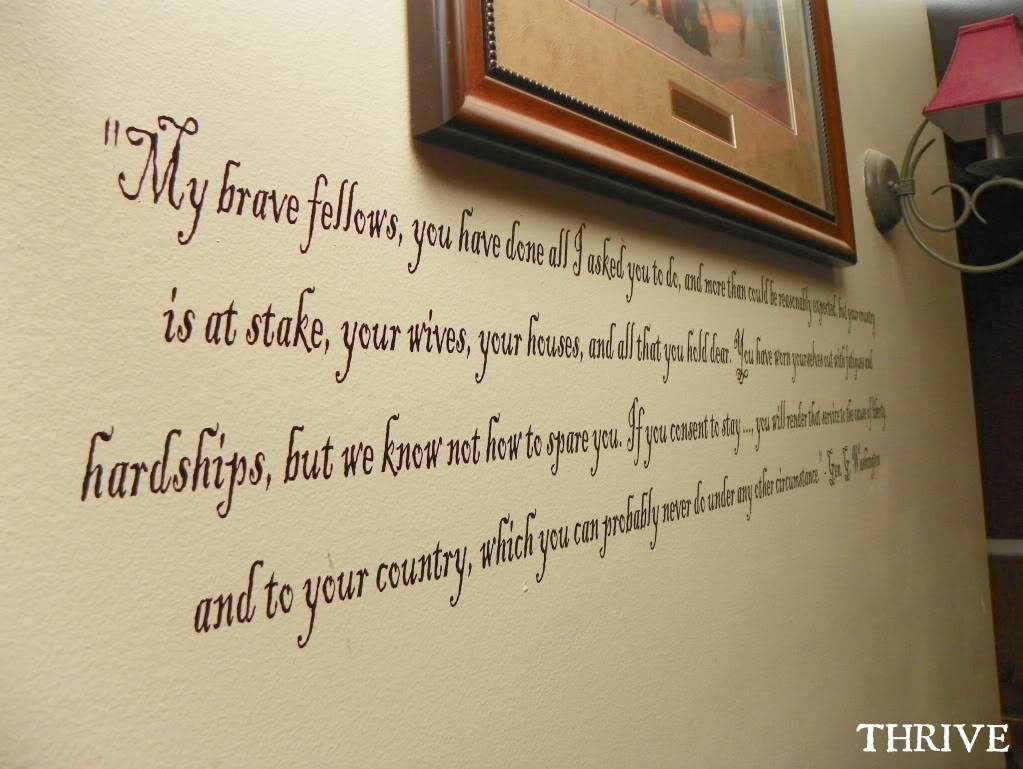
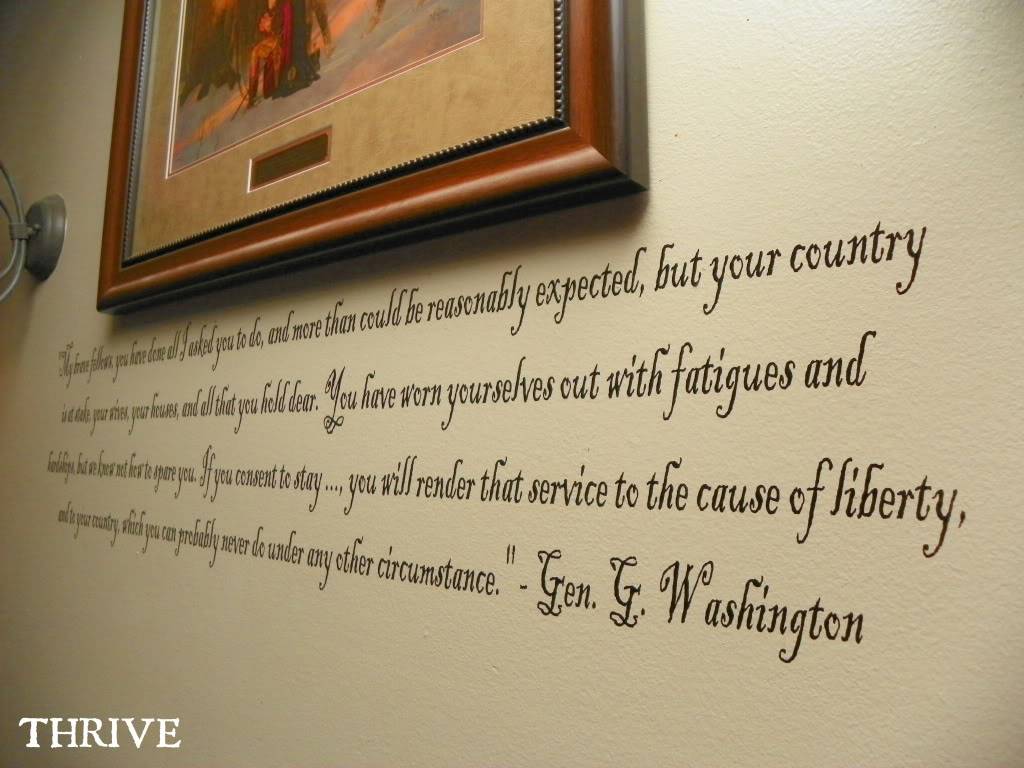
I am moved every time I look at this picture and read one of my favorite quotes from George Washington given as he addressed the Continental Army following their miraculous victory in taking Trenton.

 photo paint6.jpg
 photo paint7.jpg

But, you can’t paint walls with the vinyl still there (plus I never liked how high up I put my quote—should have moved it down a few inches.) And as my sister reminded me … I can always put that same quote back up once the walls are repainted.

So after 30 minutes of peeling (totally forgot to use a hair dryer to loosen up the vinyl first—oops), it looked like this.

 photo paint9.jpg

One more reason to love vinyl: not a single bit or paint came off or residue was left after three years on the walls. Love that.

The other vinyl was a large scripture that was above the Declaration of Independence and Bill of Rights along the overly-long red living room wall. I loved how rich the red looked with the aged parchment and dark frames during the fall and winter …

btl

… but it’s pretty dark for spring and fall. So down came the scripture and frames with a little help from my kids during commercial breaks from Saturday morning cartoons.

 photo paint1.jpg
 photo paint2.jpg (And let’s just ignore the foot of dust on the organ, m’kay? Thanks.)

The next step was repairing all the massive holes in the walls—bleh. Someone recommended we use special drywall screws for hanging the large frames and curtain rods, but it was a huge mistake. The screws left big holes in the walls that practically pureed the sheetrock around it. When we went to remove these stupid things, the wall around the screws was noticeably puffy and completely disintegrated.

 photo paint3.jpg

We had to lightly pound the wall around the holes flat so that the powdered sheetrock bulges could be brushed away. We used a ton of spackle to try and repair the damage, but it’s still very noticeable. The damage from the curtain rod over the living room window is so bad that I think we’re going to put a window box valence there instead. 

A quick wipe down of the walls and it was time to paint – yeah! All of the furniture got pushed into the center of the room all classy like and I was ready to go!
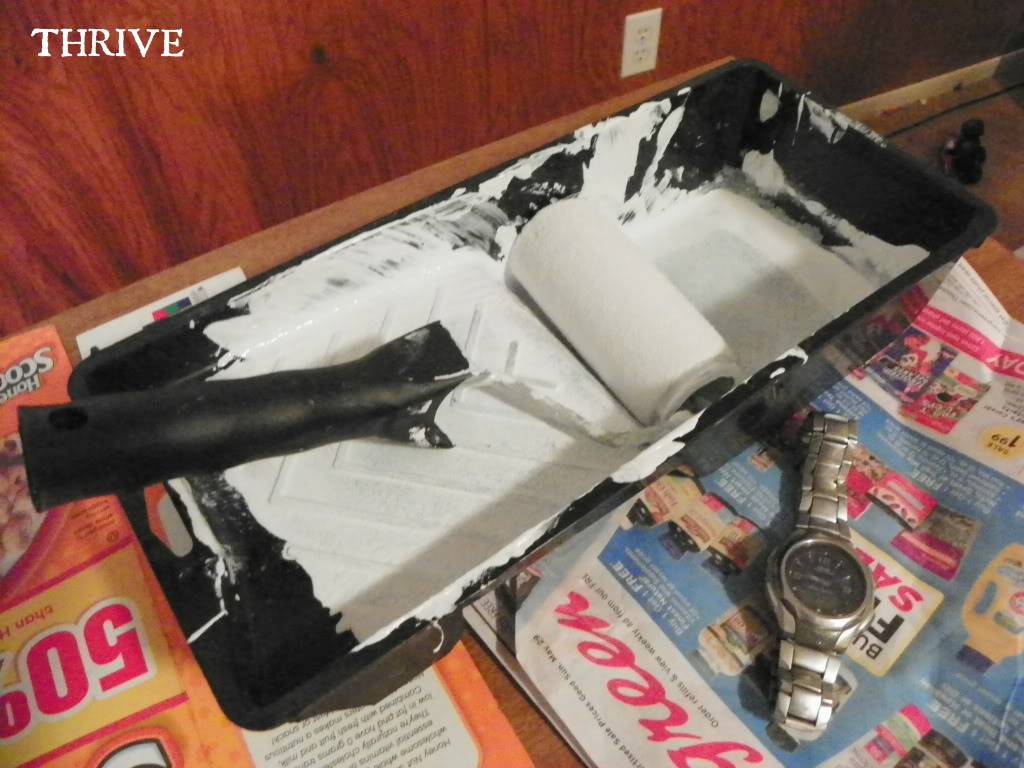
The only problem was that I only had the small rollers on hand because Smart Girl (me) insisted that we had plenty of left-over rollers and supplies downstairs and didn’t need to buy any more thankyouverymuch.

Ahem.

So since my truck was acting up (long story) and Mr. Thrive was still at work, I went ahead and started painting with the small roller just to prove that a small roller would work just as well.

 photo paint13.jpg

Dumb, da dumb, dumb, dumb.

 photo paint12.jpg

Using the small roller took for-ever and didn’t cover worth a darn. So I sheepishly texted Mr. Thrive to pick up some big-kid rollers on his way home and then watched as he rollered a nice, thick coat of primer in no time flat.

 photo paint14.jpg

Yeah. Much better.

 photo paint15.jpg

The game plan for tonight and tomorrow is to finish priming the entry way walls and kitchen. I started the entry, but could only reach so high. My awesome neighbor brought over a ladder last night so that I can tackle the rest of the red after kids go down.

 photo paint18.jpg

The kitchen is going to be a chore and will probably take most of tomorrow’s nap time to knock out … assuming kids actually take naps 🙂

Once that’s done I’m going to get The Dirty Half Dozen to work sanding the bead board so we can paint that, too.

So …

Not a bad way to start our upstairs remodel and worth the wait:

Living room + entry way primer: FREE

Signature

 photo basket6.jpg

Quick—someone knock on wood—but it looks like we might get a break from the rain, hail and snow that refuses to leave Utah.

Heck, it’s a balmy 54 degrees outside right now.

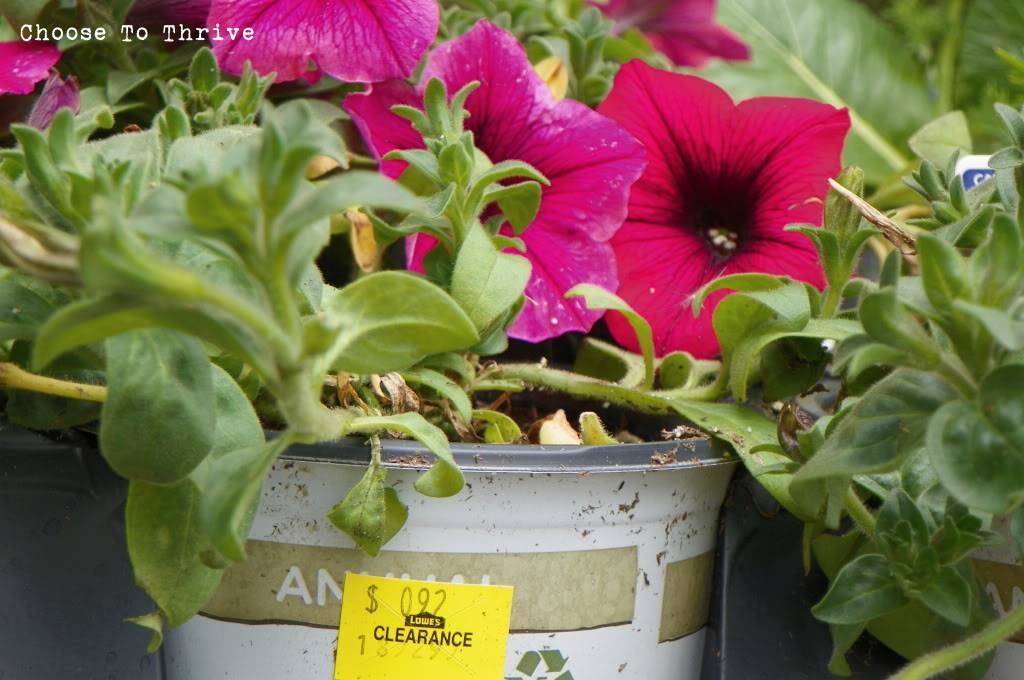
That means that the rest of my sad clearance flowers from my cake dome planter project that have completely taken over my kitchen table can finally move outside.

 photo basket22.jpg

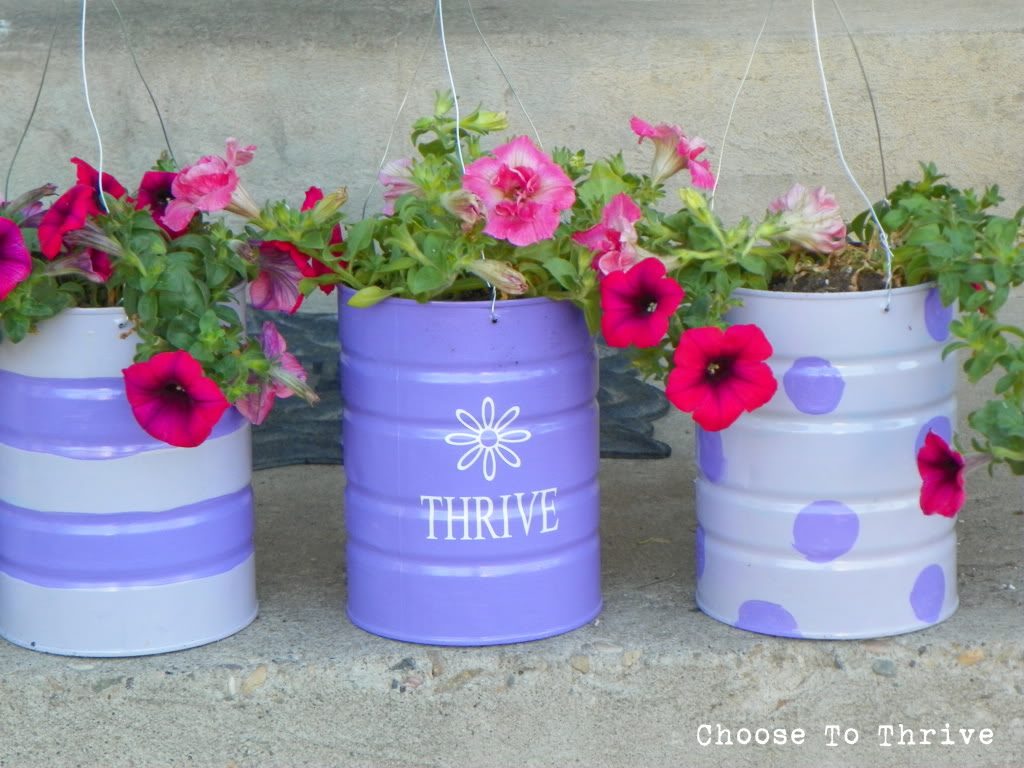
I’ve been wanting some more color to go with my cake dome planter along the front porch and love the look of hanging baskets.

 But as it turns out, I was fresh out of hanging baskets.

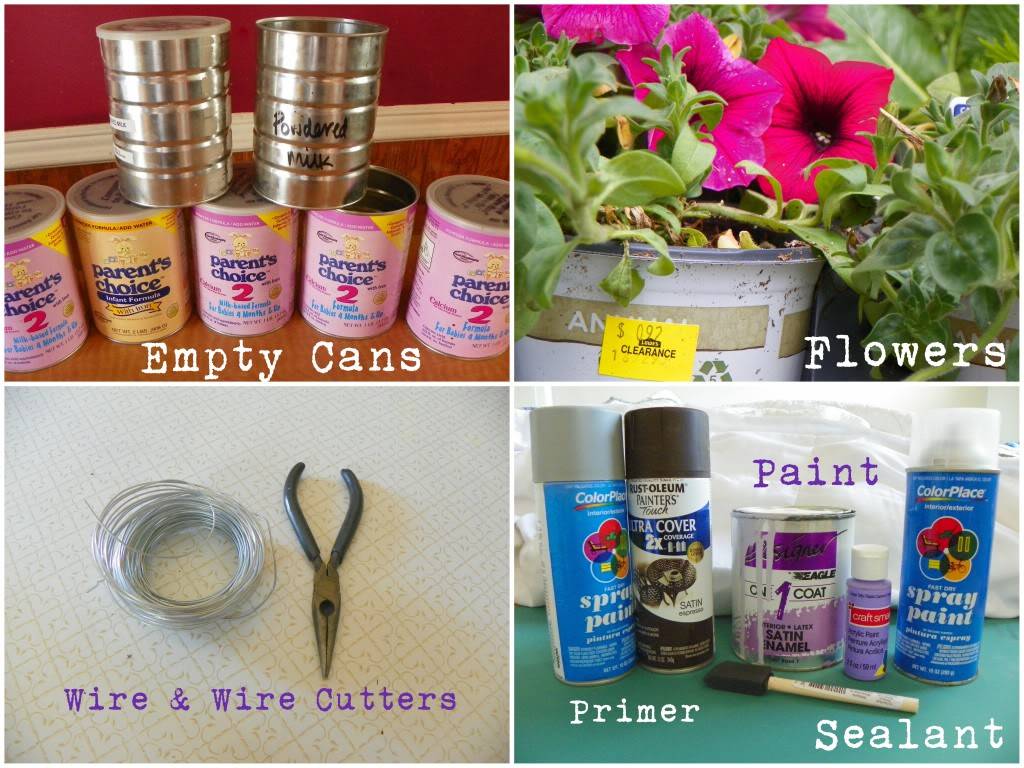
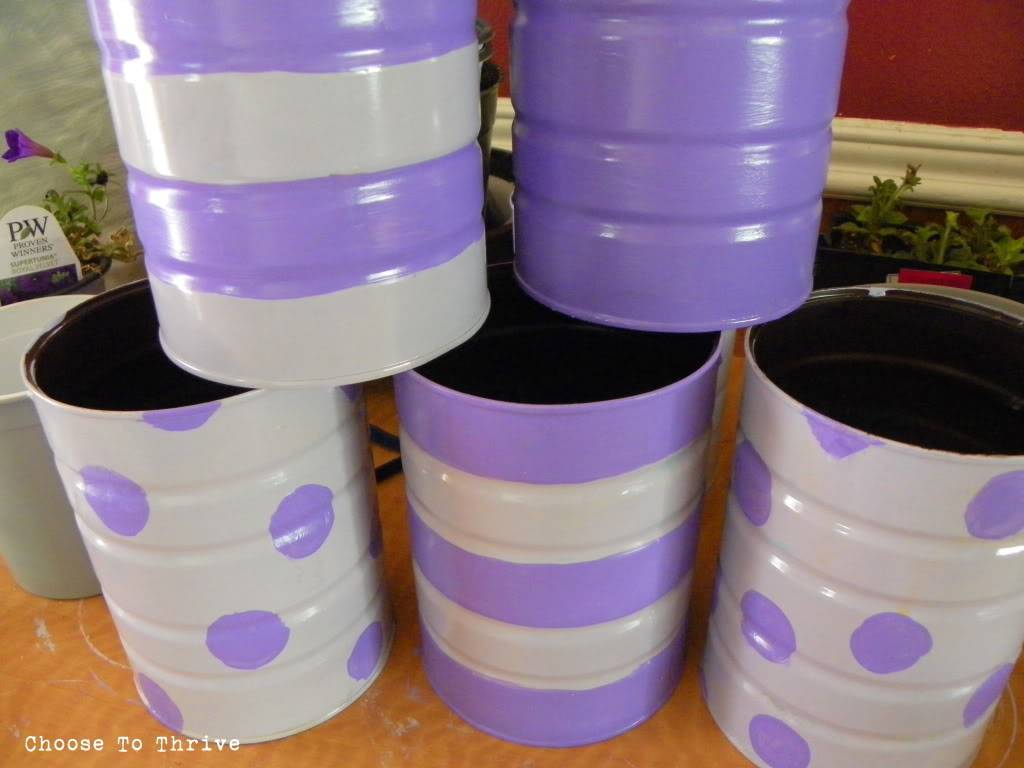
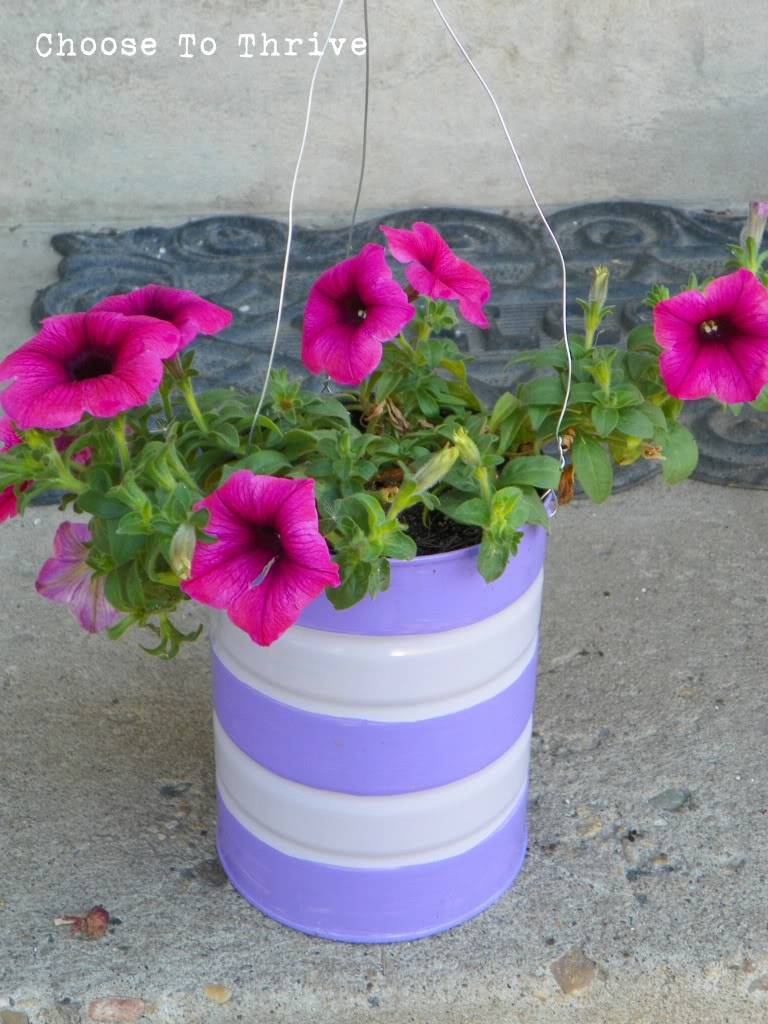
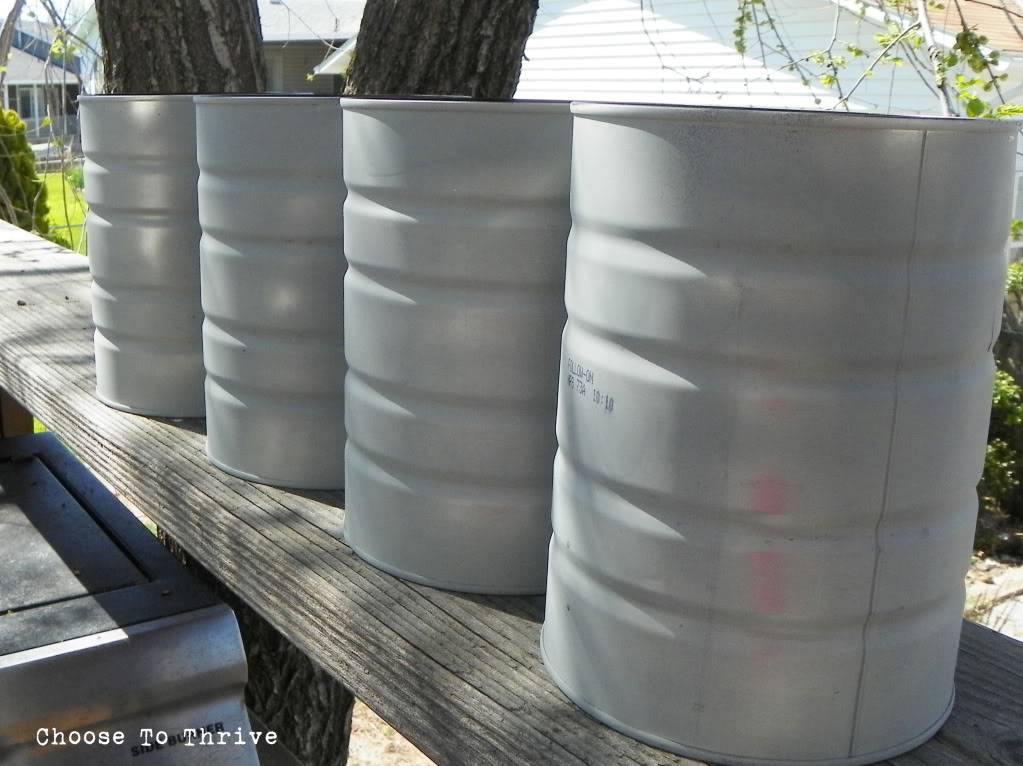
So the only thing left to do was grab some empty formula cans and get to work!

For this project you’ll need:

 photo basket20.jpg

{As always I hope you’ll rock what ya got an use whatever you have on hand to make this without an extra trip to the store.}

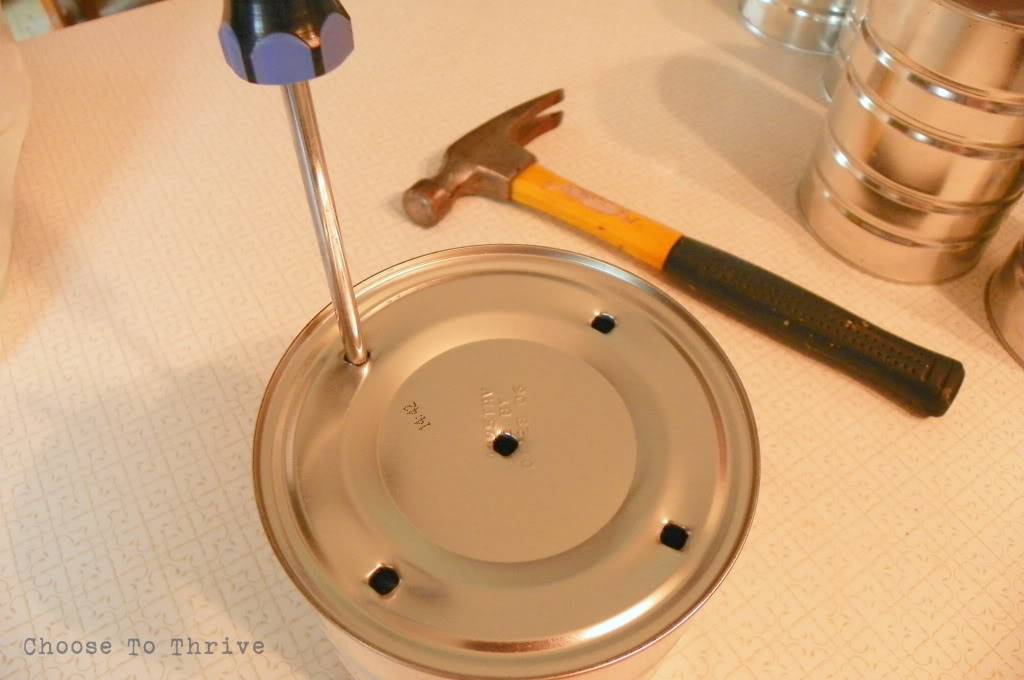
Punch drainage holes in the bottom with a screw driver and hammer.

 photo basket15.jpg

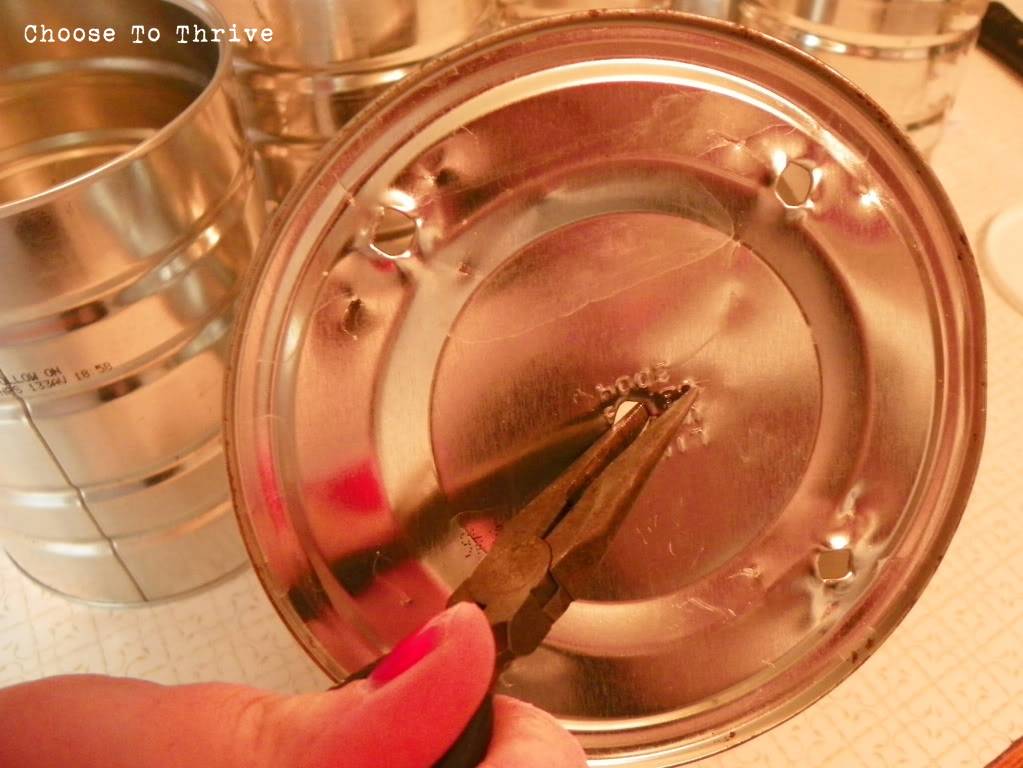
Flatten rough edges with a pair of needle nose pliers.

 photo basket16.jpg

Coat cans with a quick coat of primer on the inside and out …

 photo basket18.jpg

… and cover with your choice of paint. I used a coat of left over house paint for the base and craft paint for the stripes and spots.

 photo basket2b.jpg

A coat a clear spray paint sealed everything.

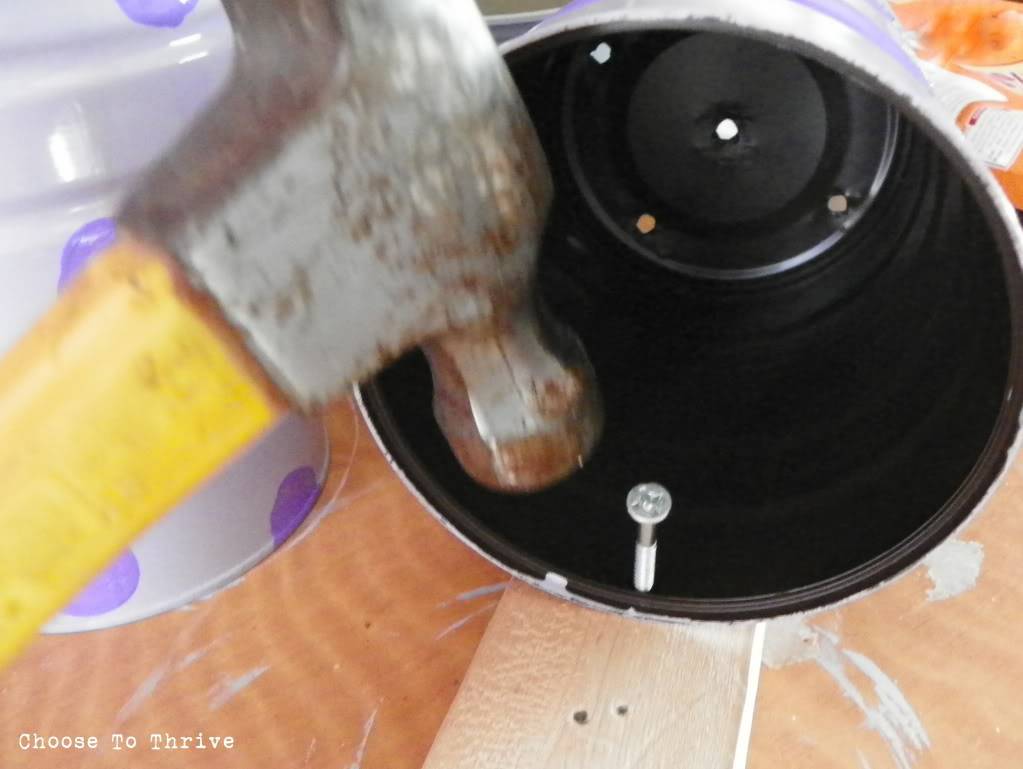
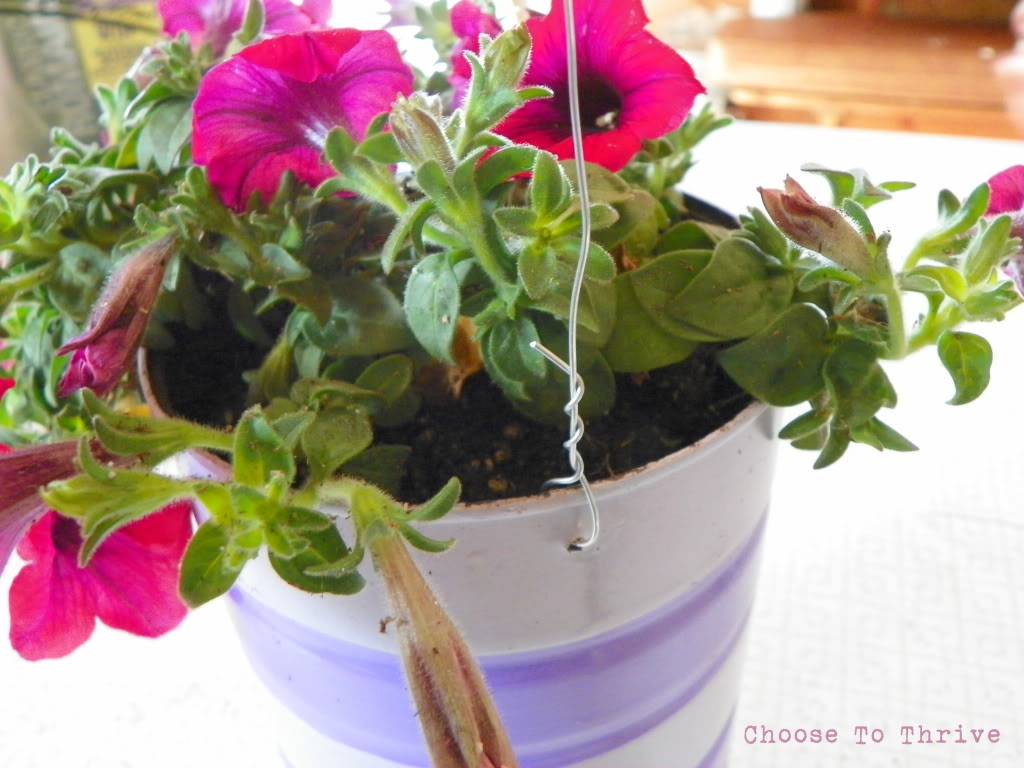
Hanging holes were made using a left over nail/screw. I placed a piece of scrap wood beneath my cans and hammered away.

 photo basket1.jpg

I filled the bottom quarter of each can with packing peanuts to keep the weight down and save on soil …

basket.3

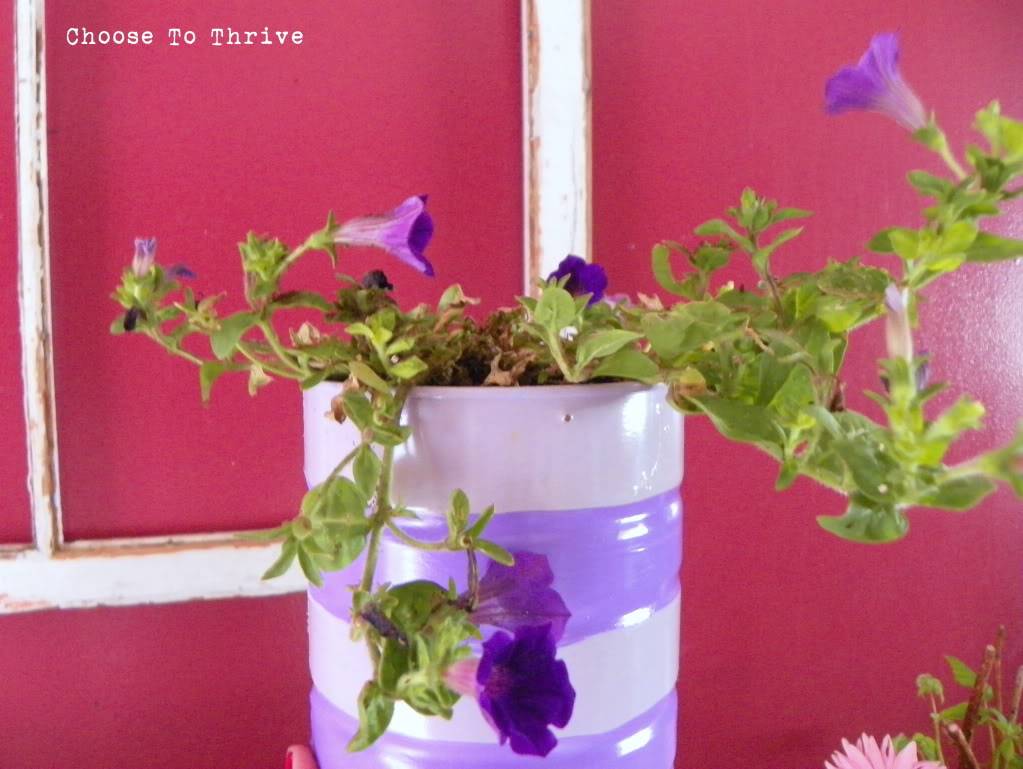
… and then added my plants.

 photo basket19.jpg

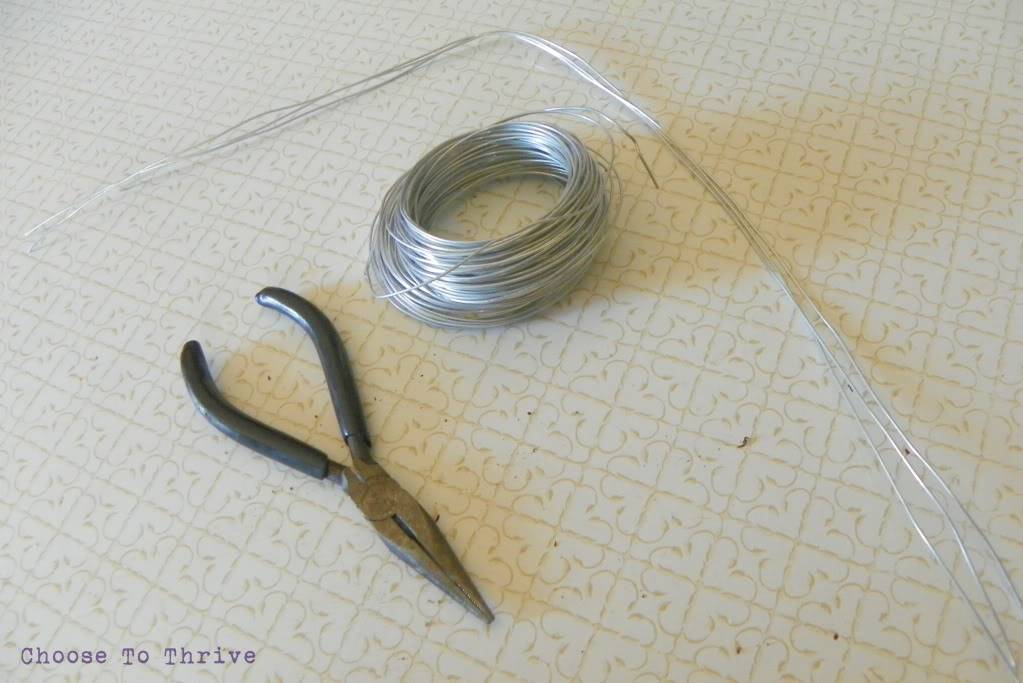
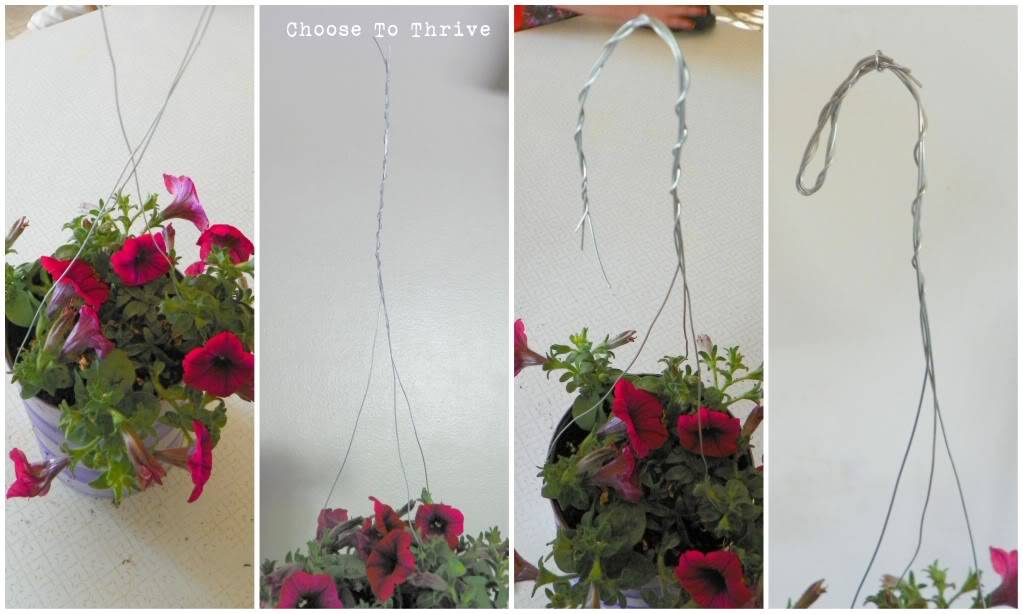
To make the hanging wires, I cut 3 –  18” lengths of wire per can …

 photo basket21.jpg

… and threaded them from the outside, twisting them into place.

 photo basket4.jpg

I twisted all three wires together above the flowers and bent the end over to make a hook.

 photo basket5.jpg

Left over wire was trimmed away.

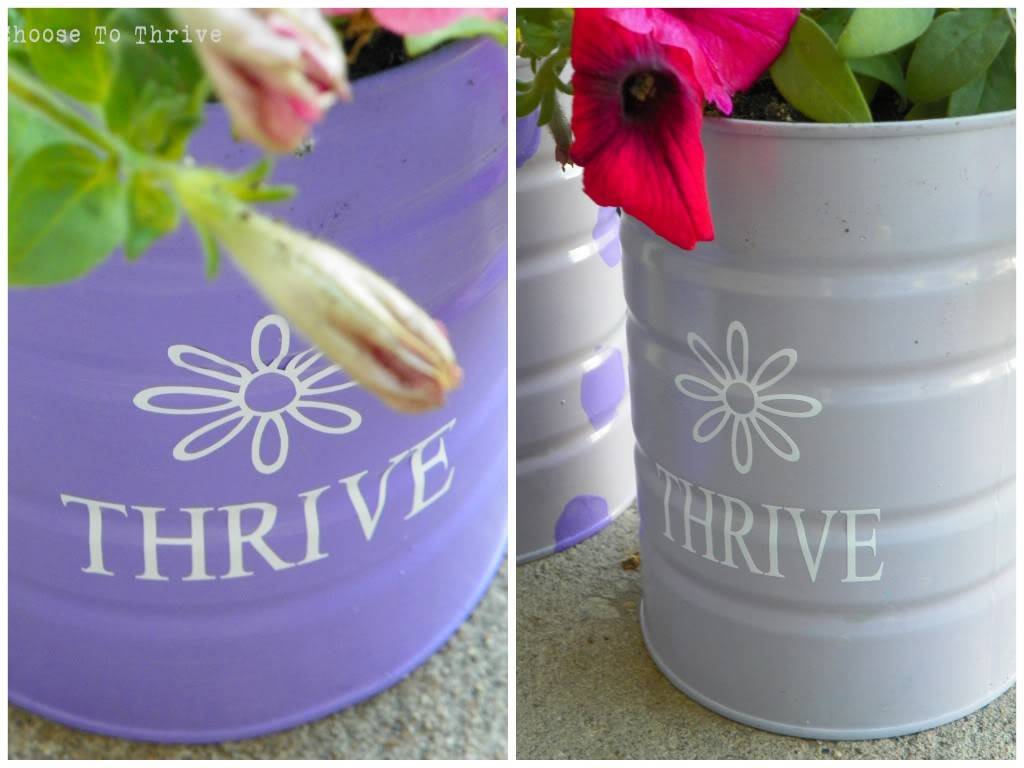
And just for fun, I added some vinyl to the outsides of a couple can planters.

 photo basket14.jpg

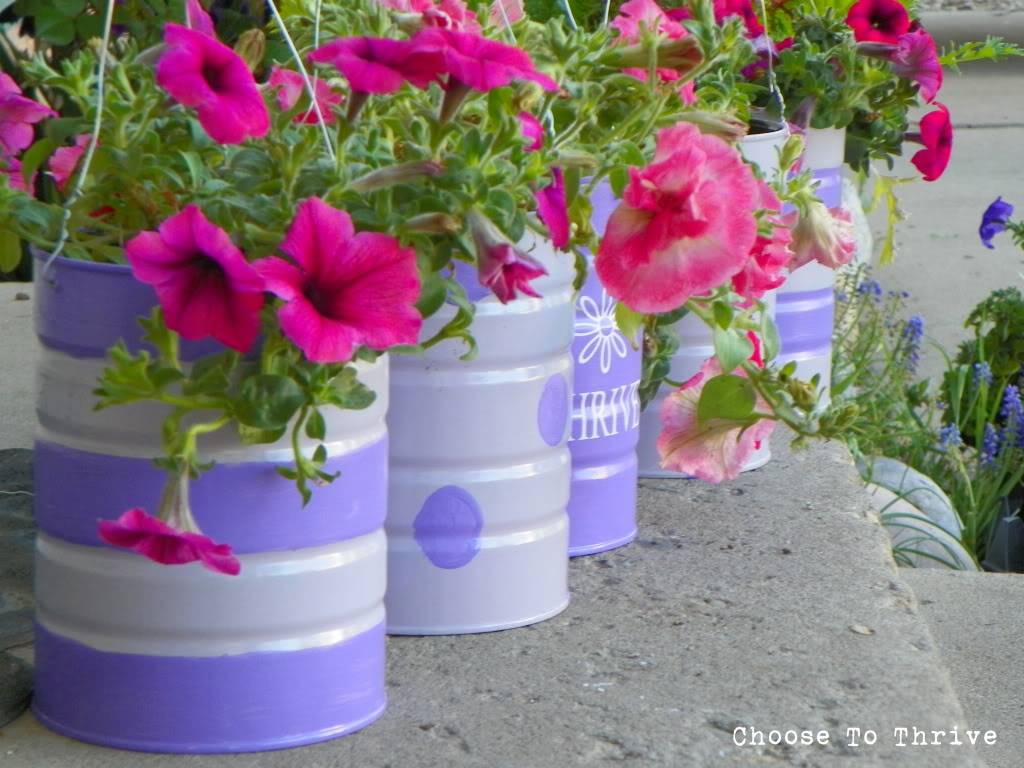
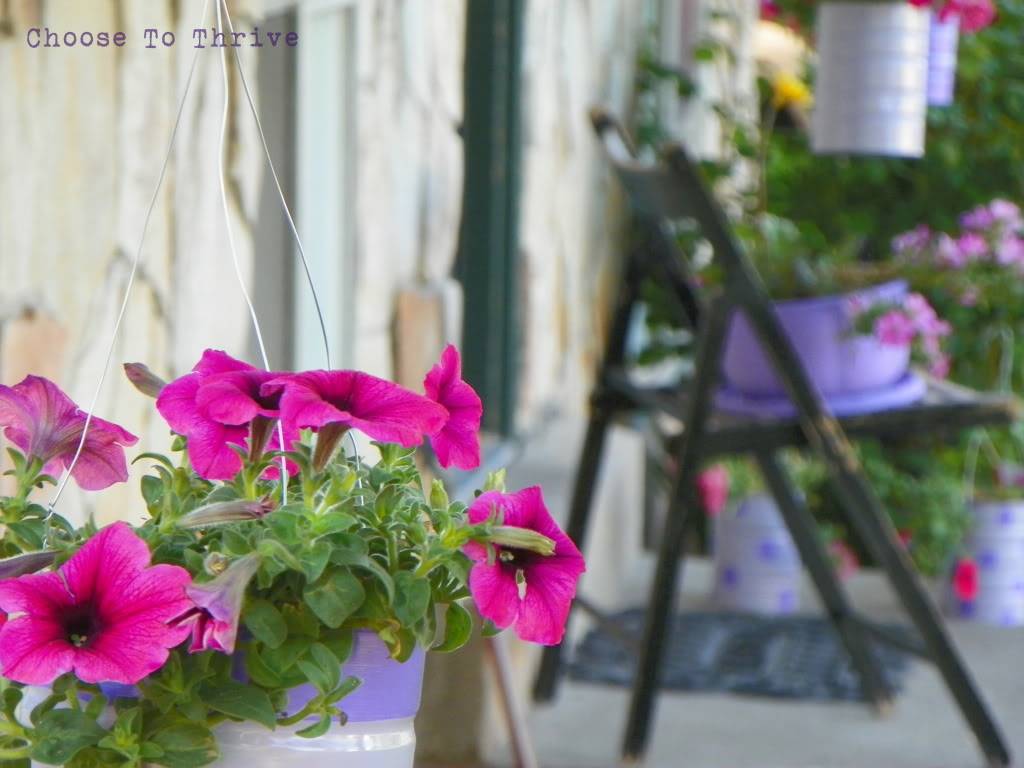
And just like that, six colorful baskets were waiting for a break in the weather to make their debut along the front porch.

 photo basket9.jpg

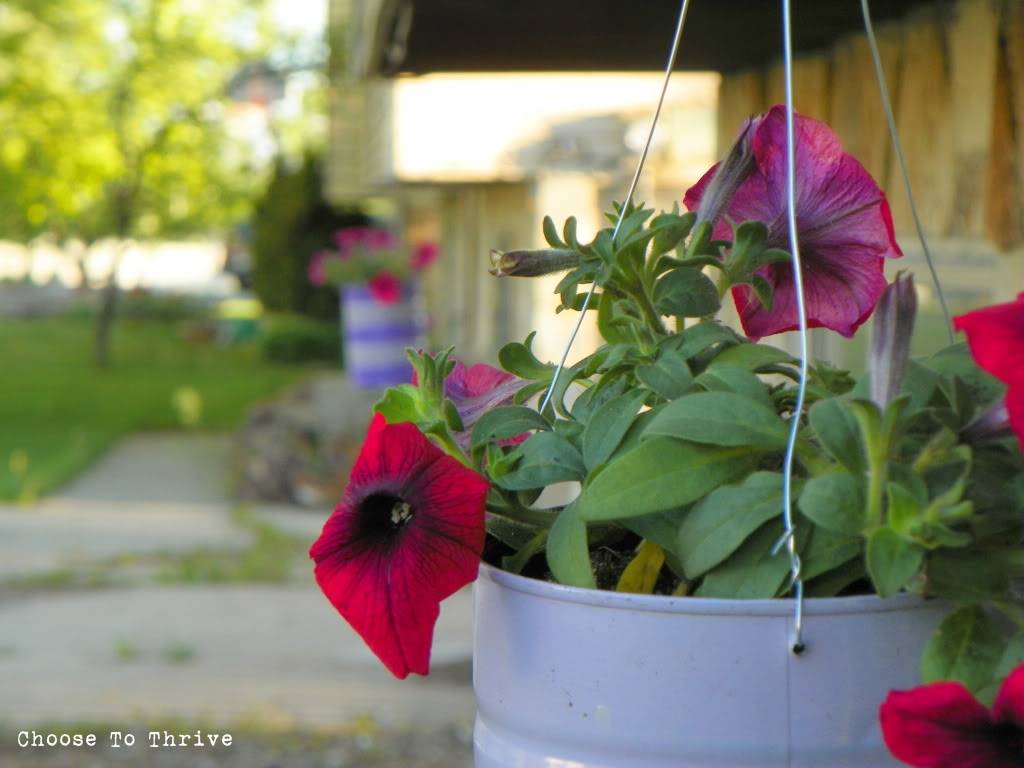
And I love how they turned out …

 photo basket7.jpg

… and how bright and cheerful they make the front of my house look!

 photo basket23.jpg

Finally … finally … welcome to Utah Spring! Glad you made it in time for summer.

 photo basket24b.jpg

Signature 

Featured on (thank you!):

top 10 sunday.showcase.feature

I’m so excited to announce  a new feature on THRIVE–

What Not To Toss Weekends

—a chance to show how a little TLC can save everyday items from ending up in the trash.

And in honor of Clothing Refashion Week at The CSI Project, this week’s WNTT project is a victory for mom’s of toddlers everywhere.

I sadly present:

Pink Nail Polish

vs.

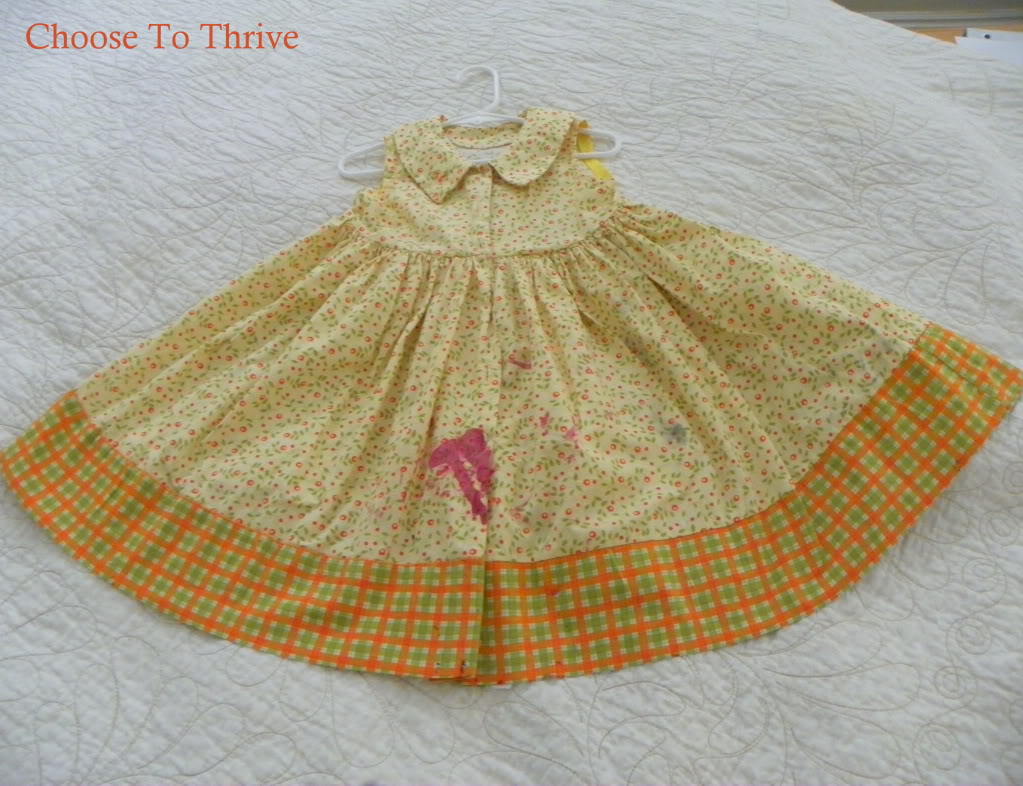
The-Favorite-Made-By-Grandma-Dress

 Ahhhh. Nice and inconspicuous. Grandma L’s gonna kill me.

Totally time to toss, right?

Wait! Don’t toss that!

This skirt can be saved as well as most FULL, GATHERED skirt/dresses with spots, stains, or even rips.

You’ll only need the basics for this project:

Scissors, Rotary Trimmer, Seam Ripper

Remove the skirt from the bodice or waistband using a seam ripper.

Open a side seam and remove any left-over gathering stitching from the waistband so that the fabric lays open. Iron flat if needed.

Cut away the stained area(s) using a rotary cutter and mat …

Sew skirt pieces back together along the side seems and zigzag/overlock/serge raw edges to prevent fraying.

Your finished skirt piece should look like this:

With the destroyed section removed, the finishing is easy.

To Reassemble Using The Existing Bodice or Waistband:

Stitch along the top skirt edge with a basting stitch, gather the skirt fabric to match the width of the original bodice/waistband and sew everything back together.  Easy, done.

To Make A New Skirt (Method I used):

You could add any type of a waistband, but I went the ultra easy route and added a simple elastic waistband.  The top skirt edge was folded over 1/4” and then another 1” and stitched in place to make a casing for the elastic.

(Need help making an elastic waistband? Click HERE)

The elastic for the waistband was reclaimed from an old pair of leggings …

…threaded through the casing using a safety pin and stitched in place.

In 30 minutes that nail polish and ink-stained dress is good as new and back in the closet.

And just for fun, I cut circles from the stained scraps and made some fabric yo-yos …

… and added them to a matching shirt using this technique HERE.

(Need help making yo-yo’s? I learned how HERE.)

So go pull that stained skirt out of the trash or fabric stash and start trimming.  In no time you’ll have a cute new skirt and “clothing save” that so deserves a gold star on the Mom Chart.

Destroyed Dress?

It’s What Not To Toss this weekend!

Signature

Linking Up To:

wwatttandj funkyjunk showandtell sunday.scoop sunday.showcase

planter.14

When Mr. Thrive asked if I wanted anything for Mother’s Day, I told him “no” and meant it. The whole go-get-a-camera-thing was more than enough, thankyouverymuch. 

But our front porch has been looking a little nekkid …

planter.19

… and seeing all those beautiful Mother’s Day flowers everywhere got me thinking.

So I marched down to Lowe’s with a little bit of birthday money–just enough to buy a dozen or so of the cheapest, ugliest clearance flowers and hope that a ton of Miracle Grow and a break in our screwy weather might just bring them back to life.

100_0525

But as it turns out, spending those few bucks on flowers meant that I had roughly

 NOTHING LEFT

to spend on an actual pot to put them in.

What a surprise.

So there was only one thing left to do:

Grab some cake and get to work!

Yum.

This was beyond easy:

wash, prime, paint, drill. 

planter.8

** I used BROWN because its what I had on hand, but I’m already wanting to repaint this a bright spring color like purple or yellow. Textured spray paint would look great, too. **

And since I didn’t have a bunch of extra soil laying around and didn’t want this planter to get too heavy, I filled the bottom third of my “planter” with left over packing peanuts.

planter.4

Pop in plants, water and Voila!

planter.16b

A quick, FREE planter from the ghost of birthday cake pasts.

And for a drip tray?

The base of the dome works great.

planter.18

My front porch is so much happier now.

planter.7b

And while my planter flowers may look a little sad and sparse up close, I know that they can push back against damage from heat, hail and frost to THRIVE once more. 

planter.13

And this fun little cake cover-turned planter reminds me that thriving is a choice every time I look at it. 

planter.12

So is your yard or porch needing some color?

Short on materials, money or both? 

No problem. 

Just have some dessert, lick clean the container and get painting!

planter.16b

Now if I could just get that Welcome mat cleaned off …

planter.15

Have fun Rockin’ What Ya Got~

Signature

Linking Up To:

Anyone else completely space that Mother’s Day is this weekend?

I’m scrambling today to get Mother’s Day cards put together and in the mail by nap time. In the mean time, I thought I’d pass along a quick, no-trip-to-the-store idea that I made last year using only scraps.

100_3200

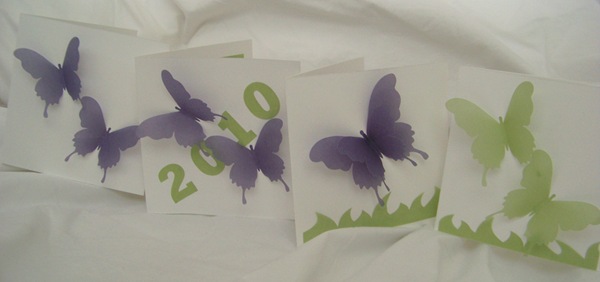
Last year I made little mini 4” x 4” cards with butterflies. Since I was using scraps, each one is different (which I actually like better anyway).

I started with left over cardstock with printing on the back and some scrap vellum (although regular cardstock or printed paper would work find, too.)

Blog Pics1

I created a mother’s messages in Microsoft Word and ran it through my printer on the plain side of the paper.

I trimmed down my messages to 2.75” x 2.75” square, cut my vellum to 3.25” x 3.25” …

Blog Pics

… and attached my message cards to the vellum with double sided tape. And since no one will see the printing on the back or flaws in the vellum, this is a perfect project for using up stuff that might get tossed.

The message was taped/glued on the right and a 3.5”x3.5” picture of the kids got taped to the left side.

100_3203

Embellishing the front was easy with images cut on my Silhouette, but you can use punches, cut these by hand or use another shape of your choice.

100_3202

And just for fun, I made a petal wrap to go around my card. For extra embellishment I cut a design out of the back on the silhouette, but it’s so cute without it, too. (A left over butterfly was glued onto the edge of the petal wrap on a whim).

Blog Pics2You can download the petal template HERE.
No envelopes to match? No problem!

Just make your own.

100_3207

I printed out the shipping info on a regular piece of copy paper and trimmed it down to make a custom fit envelope and glued it together with scrapbook adhesive. (Regular glue works fine, too.)

100_3197

You can download the word document for mailing envelopes HERE or plain envelopes with just a name on the front HERE. You can change the names/font/color choice to match your card. Make sure you select a word document download version so that you can make changes to the text.)

So there you go!

Quick, mini cards using scraps and custom envelopes and wraps using regular paper!

Hope you all have a wonderful Mother’s Day!

Signature

Linking up to:

tidy.mom

The kitchen remodel continues!

Here’s a reminder of what the kitchen looked like during our initial walk-through with the plain plywood cabinet doors, tan walls and frig shoved randomly into the former pantry next to the stove.

BEFORE

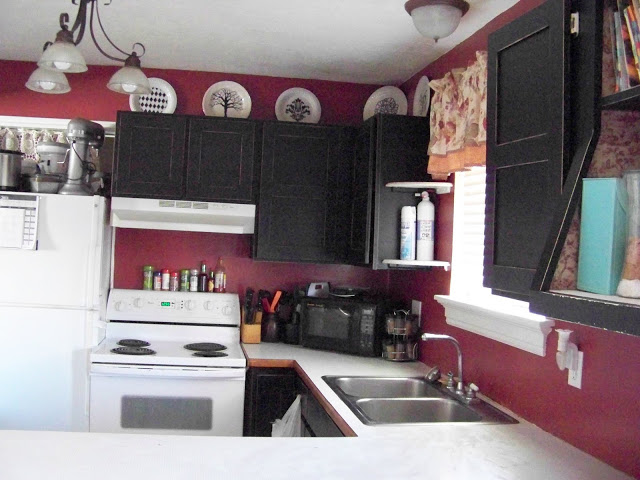
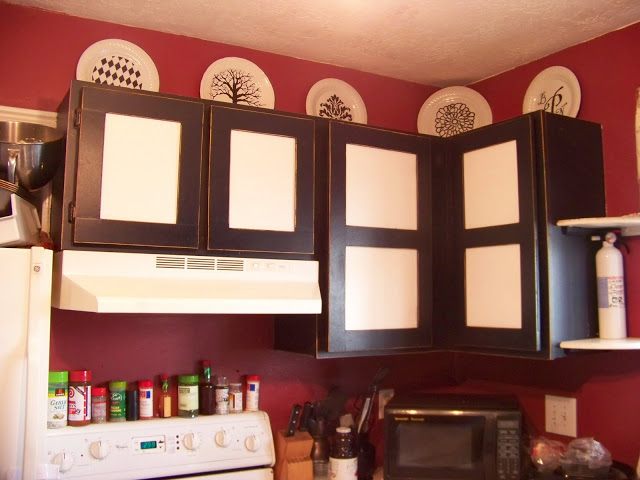
After a splash of color, painted fixtures, some repurposed decorations and some new picture frame cabinets the room now looks like this:

AFTER

Much better.

So far we’ve painted all the icky brass fixtures without removing them–yeah!

But the hands down best part of this room is the custom picture frame cabinets!

Want to make your own?

First: The Disclaimer

Ana White I am not.

Unfortunately I have no drafting skills, no working knowledge of Google Sketch and I stink at trying to use the draw tool in Microsoft Word. So, instead you’ll have to tag along while I walk you through this  project old school style. Ideally I’d have enough scrap wood from four years ago to just make another frame door to show you. But since I don’t and spending money is a no-no, I’m going to do the next best thing and show you exactly how to building them … using cardboard.  

I have not included exact dimensions since everyone’s cabinets will vary in size. What I have included is a few specific dimensions for the width of the frame pieces and then you can cut the length to fit your doors.

Make sense?

The good news is that this project is so easy to build, so customizable and so dirty cheap – as in about $7 per door cheap — that the whole tutorial-out-of-cardboard-without-exact-measurements won’t even phase you.

The bad news is that, as you’ll remember from this post, most of the “during” pictures STINK and were taken in 2007 before I had any idea what blogging was or how to take pictures.

Phew.  Now on to building!

Materials

Cabinet Doors: 3/4” plywood or high-grade particle board

1 – 4’ x 8’ sheet will yield approximately 7 cabinet doors: 2 small doors for over frig or range and 5 standard doors.

April 2011 BLOG5

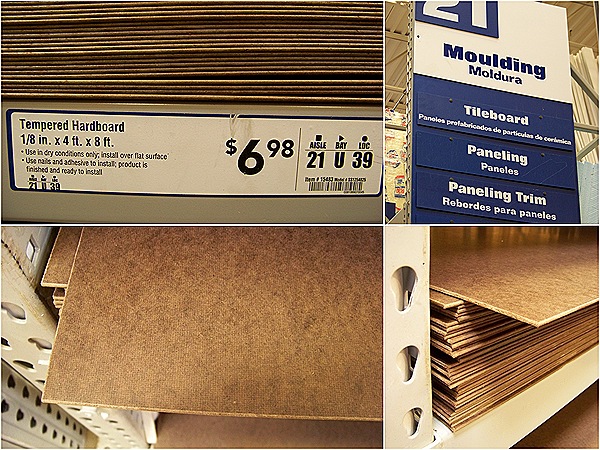
“Frames” For Each Door: 1/8” Masonite / Hardboard

Sold in 4’ x 8’ sheets for about $7 each. I found mine in the trim section.

April 2011 BLOG6

And of course you’ll need:

* Wood Glue    * 1” Finish Nails   * Chop Saw    * Sand paper

Prep Work 

If You’re Using Existing, Flat-Front Cabinet Doors …

 Remove cabinet doors and label, remove hardware, sand, wipe down and let dry. 

(If you have flat front, laminate-covered doors, don’t try and build over top of them–the paint won’t stick very well. Go with new plywood ones.)

If You’re Making New Cabinet Doors …

Cut new doors from 3/4” plywood, sand, wipe down and let dry. 

Frame Pieces

Do yourself a favor and have the Masonite board pre-cut at the hardware store in 2.25” x 8’ and 2.5” x 8’ strips. Have the last strip from the board be cut to 2” x 8’.  These long strips can then be cut down to the exact length you need for each cabinet door.

Building The Frames!

There are three layers to these doors: plywood base, under frame and top frame.

The under frame pieces are 2.25” wide

The top frame pieces are 2.5” wide.

*****

Small “Single Frame” Doors

door. 9

Attach the under frame to the base using 2.25” strips in a “U” shape. 

door.11

Glue under frame pieces to the base making sure frame pieces are flush with the door edges.

door.15

Measure the inside area for the picture insert and make sure it fits. (This is the easiest time to do this step.)

door.12 

Attach the 2.5” strips of the top frame across the top and bottom edge first, then along sides using wood glue.

door.13 

(Sorry, forgot to remove the insert before taking this picture. No, don’t leave insert in while gluing.)

Use a 1” finish nail in each corner.

door.14

*********************************

Large “Double Frame” Doors

door.7

Attach the under frame to the base using 2.25” strips in an “E” shape using wood glue.

door.16

NOTE: The middle section of the “E” is only 2” wide. If you use a 2.25” piece, the top frame will not sit right.

Also make sure that the picture insert openings are on the opposite side of where the door hardware will be attached.

Measure the inside area for the picture inserts.

door.18

Attach the 2.5” strips of the top frame down the long outside edges first, then along top, middle and bottom of the door using wood glue.

door.19

Use a 1” finish nail in each corner and then center frame piece.

door.20

When glue has dried, sand all doors lightly, wipe down with a damp rag and let dry.

Painting

Paint doors with one coat of primer and two coats of semi- or high gloss paint. Distress edges lightly with sand paper to bring out the details of the frame and stain if desired. Finish with a coat or two of polyurethane. 

door.3

(I skipped this step and have to do regular touch ups. Oops.)

Sand cabinet insides and sides, prime, paint, distress and seal as with the cabinet doors.  

door.4 

 (Lousy photo of cabinets painted black inside and out to match the cabinet doors)

Reattach hardware, hang doors and 

Voila!

100_8468

Picture Frame Cabinet Doors for $7 each

and a whole new look for your kitchen!

ASSECORIZING!

Not that the classic look doesn’t rock, but here’s what you can do with these cute, framed-out bad boys and some cheapie $0.50 poster board:

GALLERY STYLE

door.27

(very first gallery cabinets – regular digital prints taped to poster board)

– or –

TISSUE PAPER / FABRIC / WRAPPING PAPER

door.21(tissue paper attached to poster board with spray adhesive – made to match my Easter tree)

– or –

HOT TRENDS

door.23 (tissue paper covered poster board + scrapbook paper/fabric pennants)

door.24 

(poster board + old house paint. Loved the look, but hate that I’m a lousy hand painter. Total CRAFT FAIL—ha! I’ll probably try this look again using vinyl and my silhouette machine.)
– or –

HOLIDAY / VINTAGE

door.25(poster board + computer printed images from Graphics Fairy)

– or even a –

BULLETIN BOARD DOOR

door.26 

(poster board + old VHS tape hot glued in place)

And can’t you just imagine inserts covered with

 BURLAP? STENCILED BURLAP?

Or maybe even

UPHOLSTERED and TUFTED FABRIC?

What about

SHEET METAL or CHALKBOARD PAINT?

I know. It’s crazy.

I kinda want a whole wardrobe for my cabinet doors now and it is such a good thing.

**********************************************************

A few THRIVE hints to save you some headaches

* I don’t have glass fronts in my doors and it’s no big deal. I love seeing the texture of the inserts up close and like being able to add 3-D touches. I’ve rarely had a problem with splatters or kid schmeer ruining inserts. And when the inserts start to show their wear, I just grab another .50 piece of poster board and make new ones. (You can also tape a piece of acetate or clear cellophane to each insert if you’d like them to be wipe-able).

* If you do want to add glass or Plexiglas to your frames, using 3/16” Masonite will allow enough room for the insert and 1/8” glass/Plexiglas.

* For the bottom cabinets, skip the under frame all together and just build the top frame straight to the base. That way the bottom doors will have the same look and feel as the framed doors without the hassle of the real thing.

*Make sure the openings for the inserts are on the opposite side of the hinges or you won’t be able to get pictures in or out. 

* To save even more money, I decorate the front and back of each insert.

door.6

* In years past I’ve added vinyl lettering for holidays for a fun touch.

* To help me keep track of which insert goes where, I lettered my cabinets and then mark the bottom corner of each insert with the corresponding letter and which direction it goes. When I forget that step, I may or may not end up with an insert with a pattern going the wrong direction.

101_0772

So there you go!

Hope you have fun making my crazy cheap, super simple picture frame cabinets! Please leave a comment or drop me an email if you have any questions.

Signature

Linking up to:

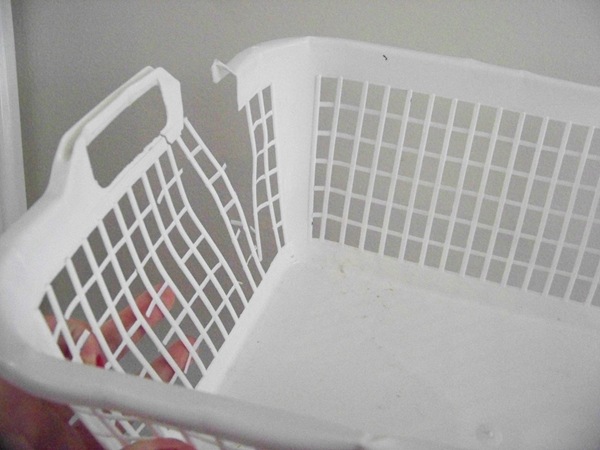
Do you have any of those lattice bins from the dollar store?

They last a year or so and then split and break, right?

Time to toss it, right?

100_5542

WAIT! Don’t Toss That!

With some scissors, hot glue …

basket.6

… and some scrap paper strips …

basket.1

… you can transform that broken sock bin into this:

basket.5

A sweet little basket perfect for hunting down those eggs.

basket.2

Want to make your own?

I cut apart my bin with kitchen shears and trimmed the two long sides …

100_6534

… and attached them to each other with hot glue. For extra strength I wrapped a few sections with tape.

basket.7

(I only used floral tape since my scotch tape had mysteriously vanished. Clear tape really is the way to go here.)

To make the base of the basket, I cut a circle out of cardboard …

100_6536

… and covered it with left over tissue paper and Mod Podge.

100_6537

(You can use anything to cover the base: wrapping paper, cardstock, fabric, paint, etc.) 

Hot glue the bottom edge of the lattice around the base and trim the sides so that they line up. Glue sides together with hot glue and secure with clear tape.

100_6545

Make strips to weave through the lattice from paper, ribbon, fabric, etc.

100_6549

Weaving is simple and will bring out your inner 2nd grade artist: over, under, over under, over, under. Secure strips in place with glue.

basket

Making the handle is a snap.

I used left over white plastic from the sides of the bin, hot glued them together …

April 2011 BLOG4

… then glued the handles to the inside of the basket and covered it with a scrap of paper.

And just for fun, I wrapped a few scraps of paper around the top of the handle to cover the glue together pieces. No biggie.

Done and done.

That sad, busted sock bin yields a cute little basket just waiting to be filled grass or tissue paper and lots of EGGS!

April 2011 BLOG3

So whether your Spring weather calls for an egg hunt inside …

basket.12

… or out side …

basket.11

have fun hunting for eggs!

basket.14 Signature

Linking up to:

thecsiproject.com-logo-150 wwatttandj funkyjunk iheartnaptimebuttonsundayscoop sunday.showcase

I have two problems. 

Problem #1:

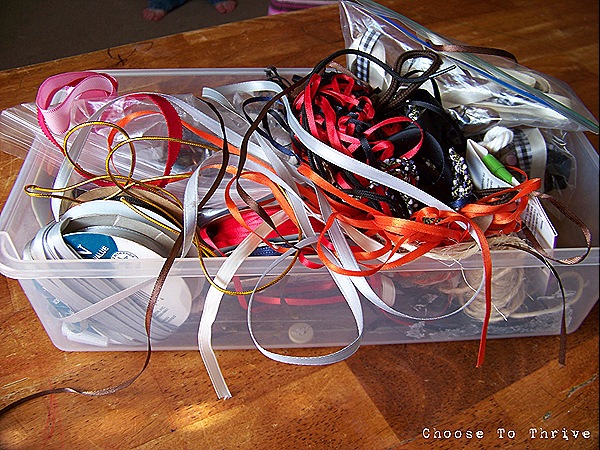
I have tons of ribbon and string and twine and ric rac that I rarely use because they’re in jammed in a shoe tote in a tangled mess.

bat.1

Problem #2:

Our school district has an annoying policy of store-bought only treats for birthdays which means I’m forced to cough up over $10 bucks for lousy cookies instead of doing something cute and homemade.

bat.12

But after whining to Mr. Thrive, it occurred to me that I could solve both problems with the same frosting-smeared solution:

bat.13

I Give You: The Bat-Scrap Organizer

bat.2

Trust me on this one. 

These cookie containers will rescue your ribbon supply from the forces of chaos.

Just grab some cardboard, a canning ring and your nicest, broken crayon and cut out enough circles to fill a cookie tray.

bat.7

Then notch out the top and bottom ala bat wings to make room to wrap your ribbon. 

bat.9

A quick slit in the bottom holds scraps in place while you wrap …

bat.14

… and before you can say, “Robin, to the Bat Cave!” you’ve got a tidy little Bat-Scrap organizer for your twine.

bat.15

Or ten tidy little Bat-Scraps all nice and organized.

bat.5

And someday when I have oodles of free time, I’ll actually paint these little Bat-Scrap organizers to make them cute and less box-ishUntil then, ugly works.

Ah.

No more chaos … no more tangles … no more searching for scraps.

bat.11

And storage takes up hardly any space on the shelf since they stack neatly. Love that.

bat.6   

(And yeah … I’m going to go re-wash these bad boys and get all those water marks off ASAP. Robin, to the Bat Soap!)

So there you go.

Chaos defeated. Scraps corralled. Order restored.

Thanks Batman!

Signature

Linking up to:

flower.3

Ya know what makes me crazy?

Finding a perfectly good pack of wipes totally dried out and worthless.  Anyone else hate throwing that money away? (Edited to add: Yes, I realize you can just add water, but it’s still frustrating.)

Well good news.

It’s Spring now and those dried out ghosts of diapers past just happen to make a mean gerber daisy.

Seriously.

I’ve been wanting to make some white felt flowers to brighten up my enough-of-the-red-already upstairs, but as it turns out, I was almost out of white felt. So when I found yet another dried out pack of baby wipes, I decided to give Huggies with Aloe a whirl.

Toss in some burlap scraps, a coat hanger and a quick repurposed vase and voila!

Soft, natural colored flowers perfect for that dark living room …

flower.7

… and a bright punch of color for my new office …

flower.27

all made from stuff I was going to toss anyway!

Want to make your own?

You’ll need:

flower.21

As always, I hope you Rock What Ya Got and adapt this project to use what you have on hand.

****************************************************************

And 3 quick disclaimers right now: 1) I had to reshoot a few pictures at night so sorry for those, 2) yes, I really need to repaint my nails, and 3) because of the whole “re-shoot” thing, there are samples with natural and orange burlap that interchange. Sorry for that. Obviously you’ll use same burlap color for the center, back and label.

Open up a metal hanger, straighten out and cut stems. Mine measured 16, 17.25 and 19 inches.

flower.28

Bend the top 1/4” of each stem 90 degrees and set aside.

flower.32

On a dried baby wipe or piece of felt, trace and cut out a 5” and 2” circle. (The cheap-o wipes won’t work well; you need the thick “good” kind).

flower.16  Cut 4 of each size per flower.

To shape the large petals, fold each 5” circle into eighths …

March 2011 BLOG10

… cut down the middle, stopping a 1/2” before the bottom …

flower.35

… and round each petal so that your circle looks like the one above.

Layer the petals, off-setting slightly …

100_5661

… and poke a small hole in the middle with scissors.

100_5663

Glue each of the layers together with a ring of hot glue around the center hole.

To form the center, take all four layers together and cut closely-spaced slits around the edge about 1/2” deep …

flower.11

… and ruff up the edges with your fingers to create texture. Poke a small hole in the center and glue each layer together with a ring of hot glue.

Then glue both circles together.

flower.29

Slide the stem through the hole and glue in place with a generous blob of glue.

flower.31

Don’t worry if the flower seems pretty floppy at this point.

To finish, cut a small circle 1.5” wide and thread stem through the center, gluing to the bottom side of the flower.

flower.33

Your flower should be rock solid now.

To make the center, cut a 1/2” x 6” strip of burlap and twist to make a small rosette–trimming as necessary—and hot glue in place.

flower.23(Rosette tutorial HERE)

Congratulations: flowers are done. Onto the vase.

Cut a 4” x 11” scrap of burlap and attach to bottle with hot glue.

flower.24

I created labels in Microsoft Word using a vintage label from Graphics Fairy for my neutral flowers and the free knock off Coca-Cola font, Loki Cola for my bright flowers.

To transfer the design to fabric I cut a rectangle scrap from an old dress shirt, ironed it to a piece of freezer paper, trimmed it down to 8.5” x11” …

flowers.4

… and then ran it through my printer.

100_5606(Detailed freezer paper tutorial HERE)

I used a rotary cutter to trim each label to 3” x 11” and then attached it overtop of the burlap and glued it in place with hot glue along the back seem.

100_5609

Quick, easy, done.

A soft, feminine label for the neutral colored flowers for the living room …

flower.6

… and a bright, soda-shop inspired label for the orange flowers in my office.

flower.22

Love ‘em both.

Two fun options with the same design.

So whether you like classy …

flower.34

… or splashy …

flower.20

Have fun cutting up those baby wipes!

Signature

Linking up to:

thecsiproject.com-logo-150  mkc_fantabulousfriday_png tidy.mom wwatttandjfunkyjunk iheartnaptimebuttonsundayscoop CraftomaniacMondayButton CRAFTSB_button_11 get-your-craft-on-300x84 trashtotreasure