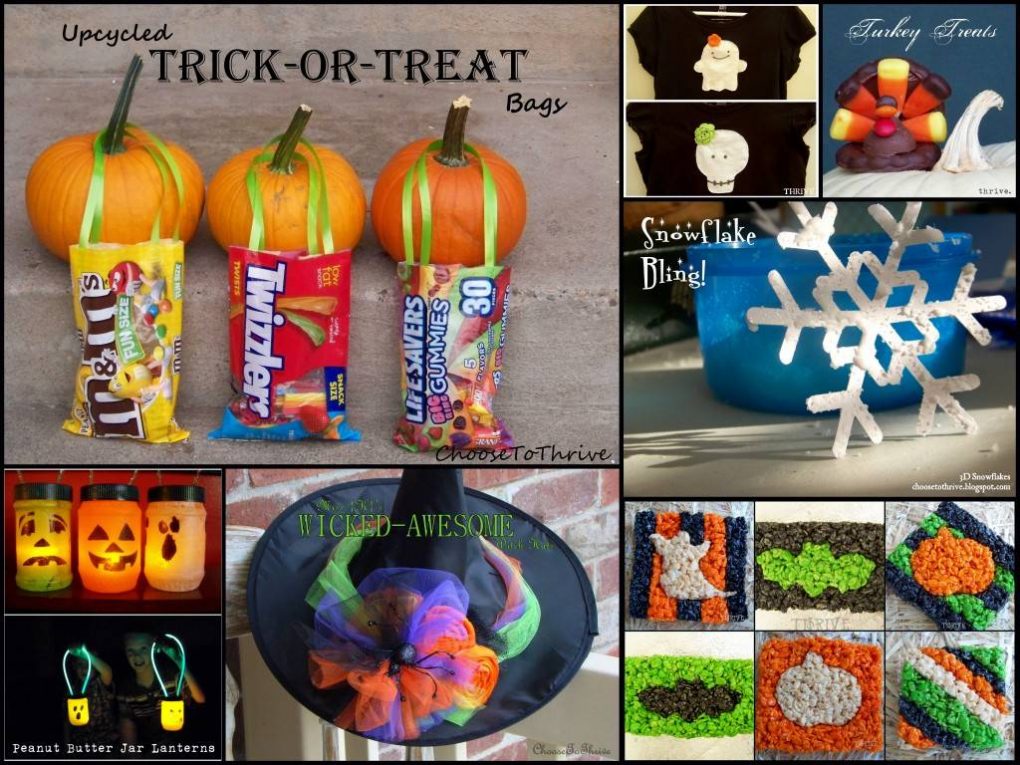
Ah, Halloween.
I love seeing all those fun costumes at the stores, but they’re not cheap.
And with six kiddos to outfit, it turns out that I’d rather pass on spending $120-$200 for a night of trick-or-treating and funnel that money towards Christmas instead.
So I say, “Rock-what-ya-got!”
If you …
1. Shop Your Closet
2. Shop Your Stuff
3. Shop Around
… you can probably throw together some of the 100+ costumes below using items you have on hand and an item or two from the dollar store.
Ready?
Got church clothes?
We can rock church clothes.
WHITE DRESS SHIRT, DRESS PANTS, SUIT COAT, etc.
Here’s what you can make:
Men In Black
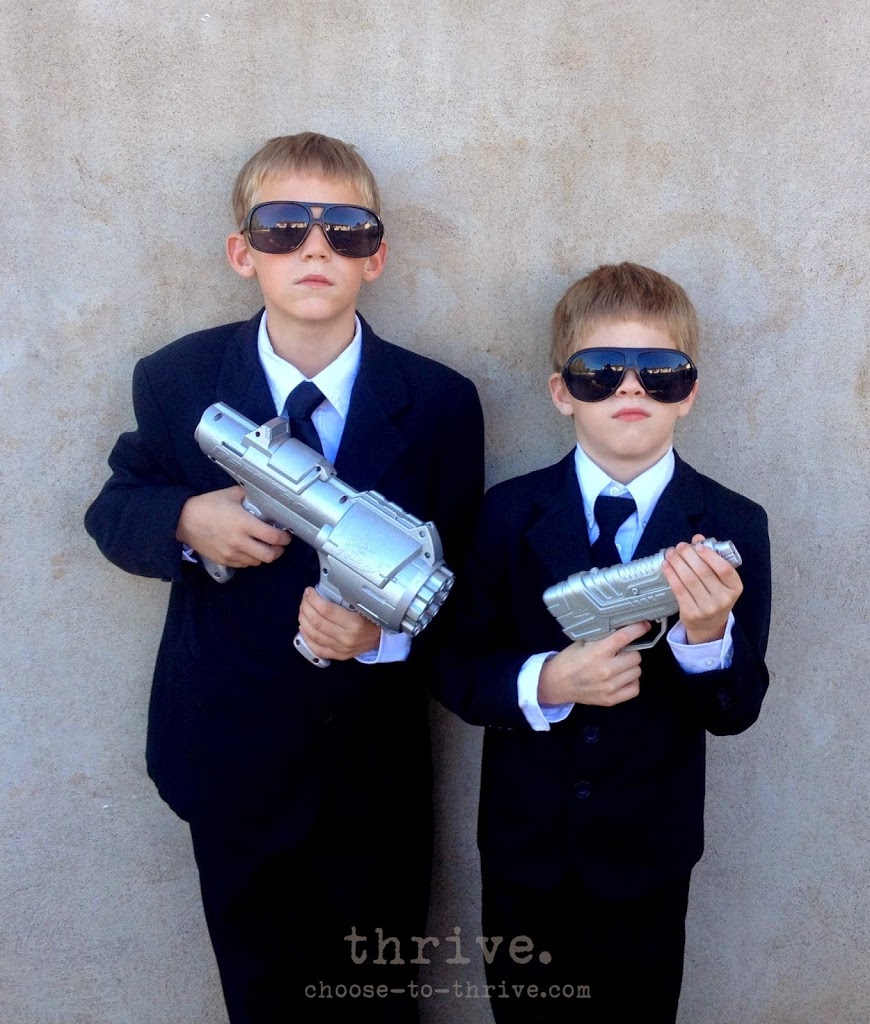
Shop Your Closet: Suit coats, black ties, white dress shirts
Shop Your Stuff: Sunglasses
Shop Around/DIY: Spray paint toy guns from thrift store
Secret Service Agents &
The President of The United States

Shop Your Closet: Suit coats, white dress shirts, dress pants, ties
Shop Your Stuff: Sunglasses
Shop Around/DIY: Dollar store ear buds, split apart, dollar store gift bag embellished with the presidential logo printed off in color on a printer and attached with tape
Frankenstein
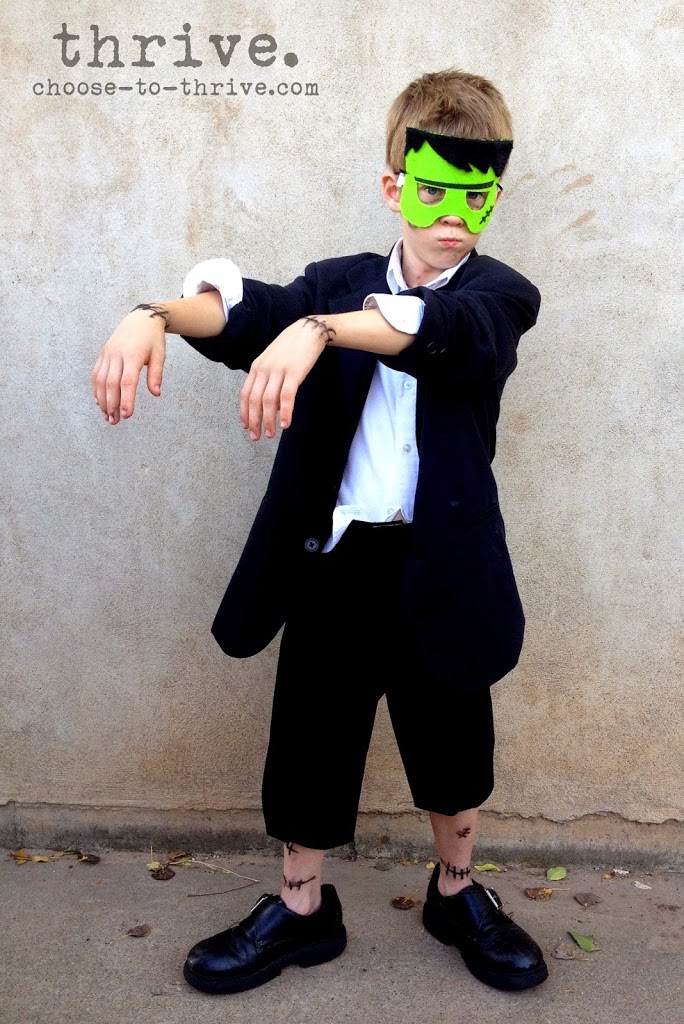
Shop Your Closet: Black suit jacket, white dress shirt, dress pants, church shoes
Shop Your Stuff: mom’s eyeliner for faux stitches
Shop Around/DIY: Frankenstein mask $1 at Target OneSpot or use green make-up
Clark Kent / Superman

Shop Your Closet: Black suit jacket, pants, white dress shirt, Superman t-shirt, red tie
Shop Your Stuff: n/a
Shop Around/DIY: dollar store glasses with lenses popped out
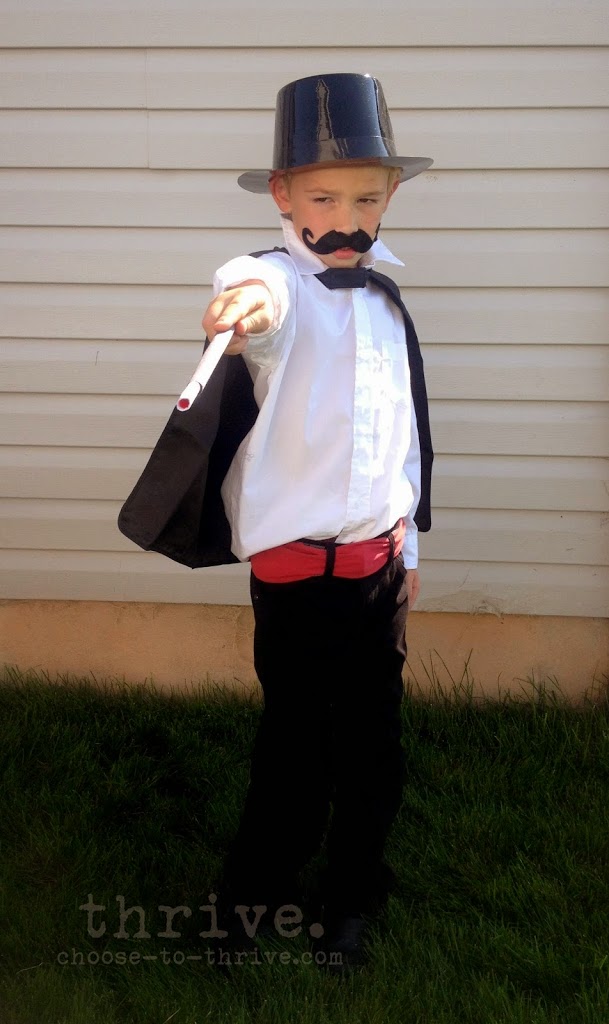
Abraham Lincoln
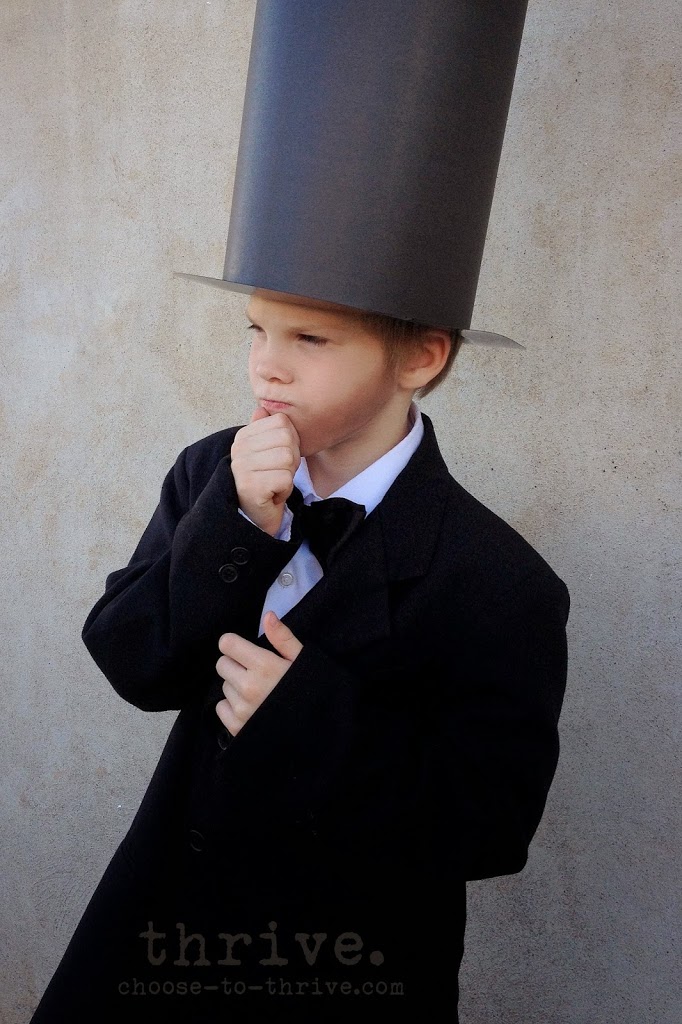
Shop Your Closet: Black suit jacket, pants, white dress shirt, dress shoes
Shop Your Stuff: mom’s make-up for beard
Shop Around/DIY: Wrap a dollar store top hat with black butcher paper; black bow tie make out of scrap fabric and hot glued together.
Member of the Press
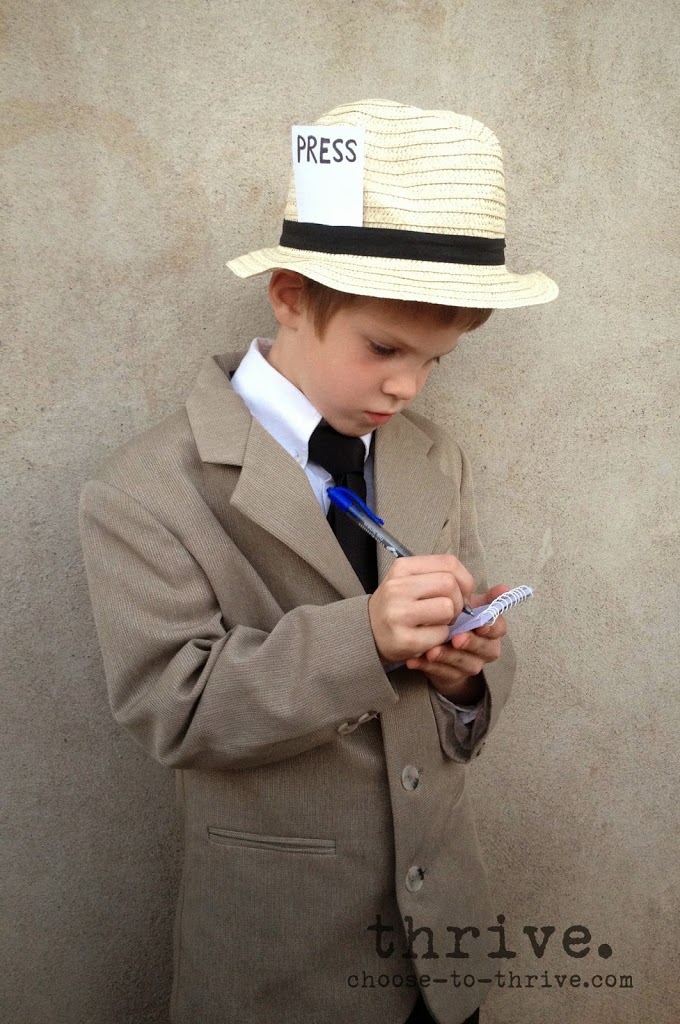
Shop Your Closet: Suit coat, pants, white dress shirt, tie
Shop Your Stuff: notepad, pen
Shop Around/DIY: Write “press” on a 3″x5″ card and hot glue to a dollar store fedora
The Mad Hatter

Shop Your Closet: Suit coat, pants, white dress shirt
Shop Your Stuff: tea cup
Shop Around/DIY: bow tie hot glued together from an old shirt; dollar store top hat embellished by adding height and shape with poster board and covered with tissue paper. Paint green, add scrap t-shirt fabric band and hot glue “10/6” paper to side.
News Reporter
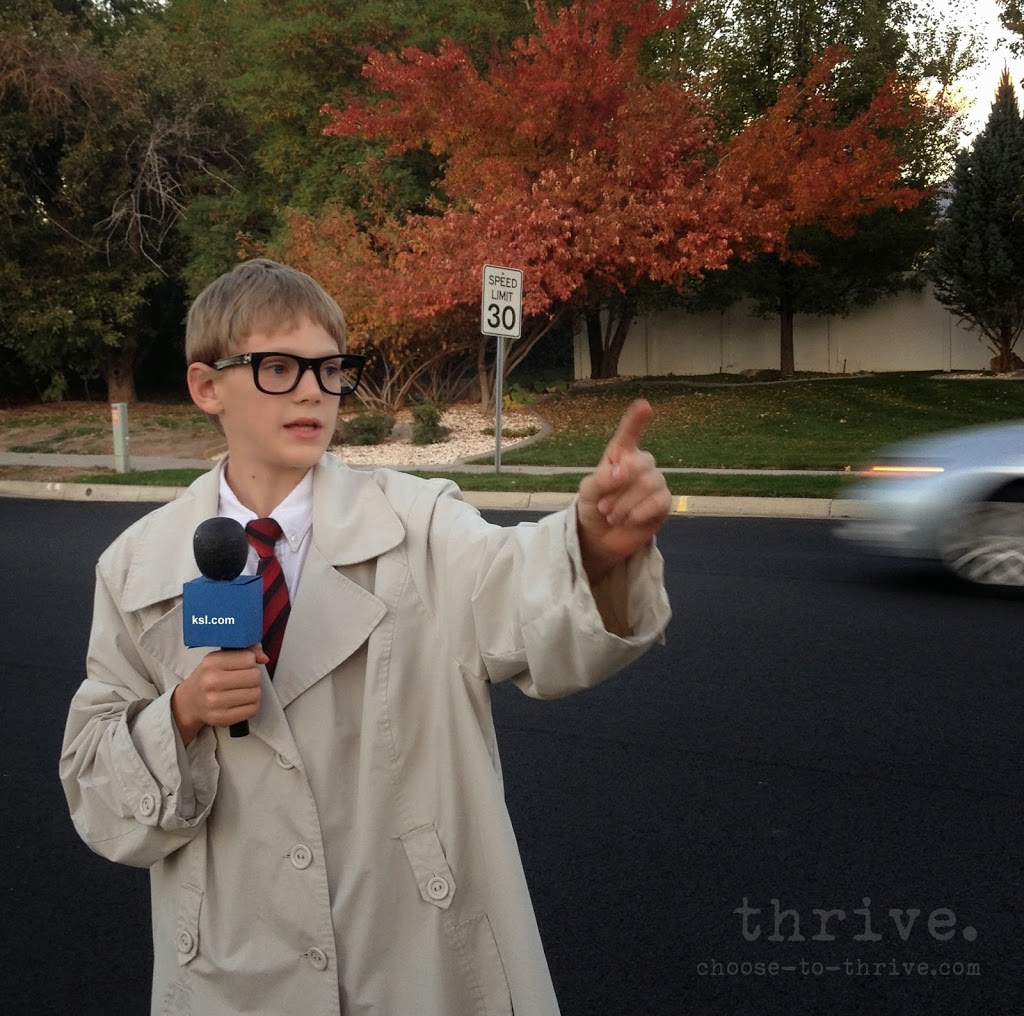
Shop Your Closet: White dress shirt, pants, tie
Shop Your Stuff: mom’s trench coat
Shop Around/DIY: purple dollar store glasses spray painted black; dollar store microphone embellished with a blue cube folded out of blue cardstock.
Private Investigator

Shop Your Closet: white dress shirt, pants, tie, shoes
Shop Your Stuff: mom’s trench coat
Shop Around/DIY: magnifying glass and fedora from dollar store
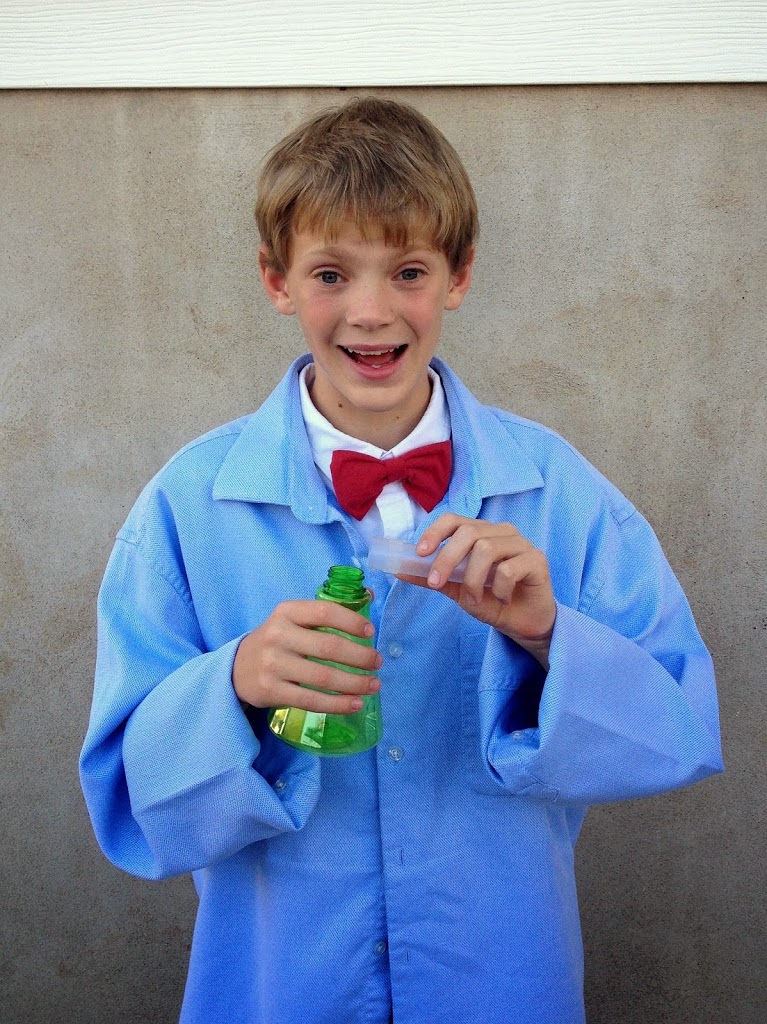
Scientist
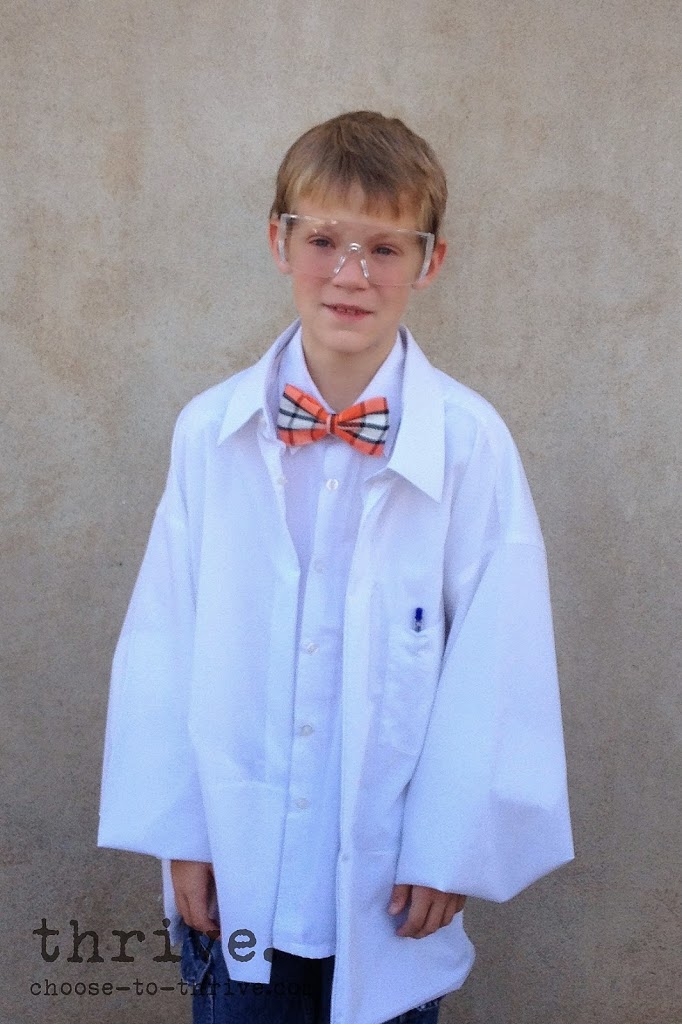
Shop Your Closet: white dress shirt, pants
Shop Your Stuff: pen, safety glasses
Shop Around/DIY: dollar store bow tie from girls’ hair section; dad’s shirt was temporarily “hemmed” by ironing the bottom edge up to create a level, bottom hem and held in place with clear tape. Cuffs were tucked up into sleeve and secured with tape or rubber bands.
MAD Scientist
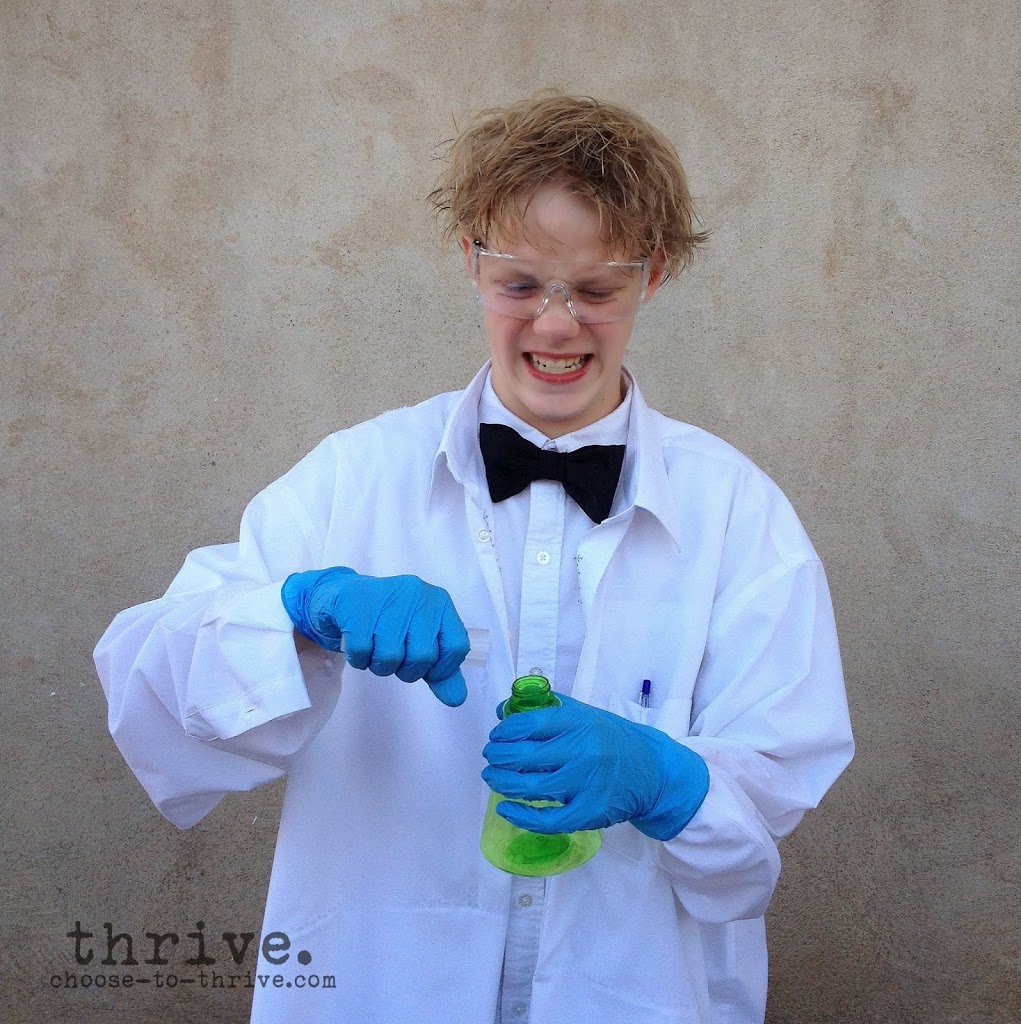
Shop Your Closet: white dress shirt, pants
Shop Your Stuff: pen, safety glasses; glue cleaning gloves from dollar store
Shop Around/DIY: bow tie made from scrap fabric and hot glued together; scientific beakers made from a dollar store spray bottle and clear toothbrush holder; dad’s shirt was temporarily “hemmed” by ironing the bottom edge five inches up to create a level, bottom hem and held in place with clear tape. Cuffs were tucked up into sleeve and secured with tape or rubber bands.
Bill Nye, The Science Guy
Shop Your Closet: white dress shirt, pants
Shop Your Stuff: n/a
Shop Around/DIY: bow tie made from scrap fabric and hot glued together; scientific beakers made from a dollar store spray bottle and clear toothbrush holder; dad’s shirt was temporarily “hemmed” by ironing the bottom edge five inches up to create a level, bottom hem and held in place with clear tape. Cuffs were tucked up into sleeve and secured with tape or rubber bands.
Doctor

Shop Your Closet: white dress shirt, pants, tie
Shop Your Stuff: clipboard, pen, sunglass holder used as a pocket protector
Shop Around/DIY: dollar store purple glasses spray painted black; lab coat – dad’s shirt was temporarily “hemmed” by ironing the bottom edge five inches up to create a level, bottom hem and held in place with clear tape. Cuffs were tucked up into sleeve and secured with tape or rubber bands.
Doc McStuffins

Shop Your Closet: purple striped shirt, pink leggings
Shop Your Stuff: stuffed animals, pig tail holders, headband
Shop Around/DIY: dollar store doctor kit; lab coat – dad’s shirt was temporarily “hemmed” by ironing the bottom edge five inches up to create a level, bottom hem and held in place with clear tape. Cuffs were tucked up into sleeve and secured with tape or rubber bands.
Chef
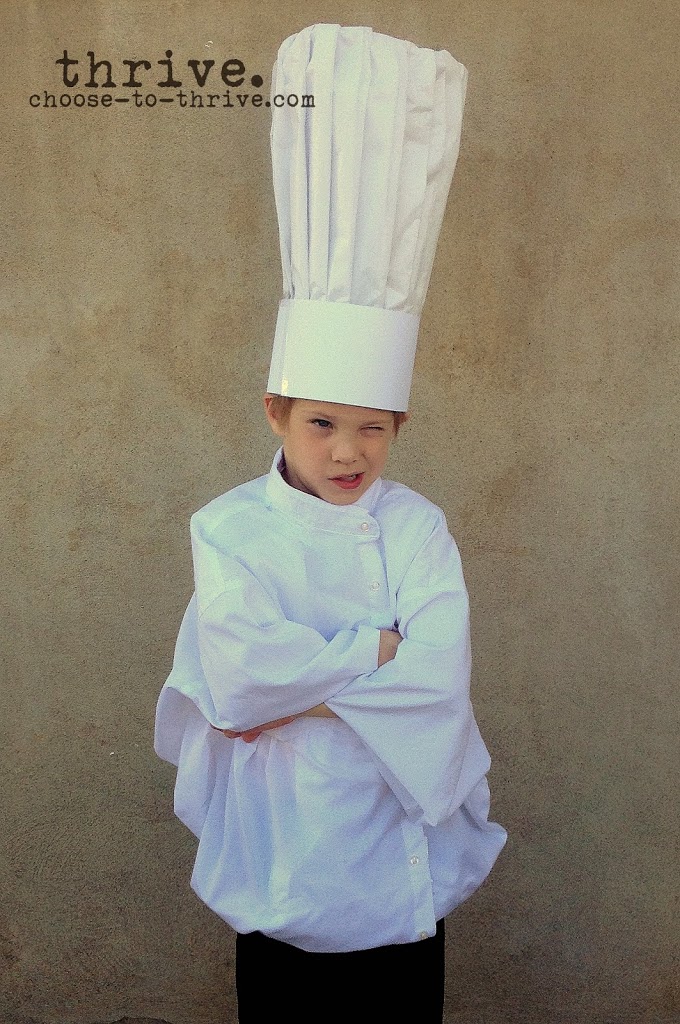
Shop Your Closet: white t-shirt, dress pants
Shop Your Stuff: n/a
Shop Around/DIY: chef’s jacket – dad’s shirt was temporarily “hemmed” by ironing the bottom edge five inches up to create a level, bottom hem and held in place with clear tape. Cuffs were tucked up into sleeve and secured with tape or rubber bands. Collar was turned down and taped to stay down. The side of the shirt with buttons was pulled far across the chest to create the off-set look of a chef’s jacket and held in place with double-stick tape. Chef’s hat was made from white cardstock and tissue paper similar to this one HERE.
Airline Pilot

Shop Your Closet: white t-shirt, dress pants, black/navy tie
Shop Your Stuff: toy pilots wings (or print off wings on cardstock)
Shop Around/DIY: pilot epaulets made from black cardstock and wrapped with gold ribbon, tape or paper. Held in place with double stick tape.
Waiter
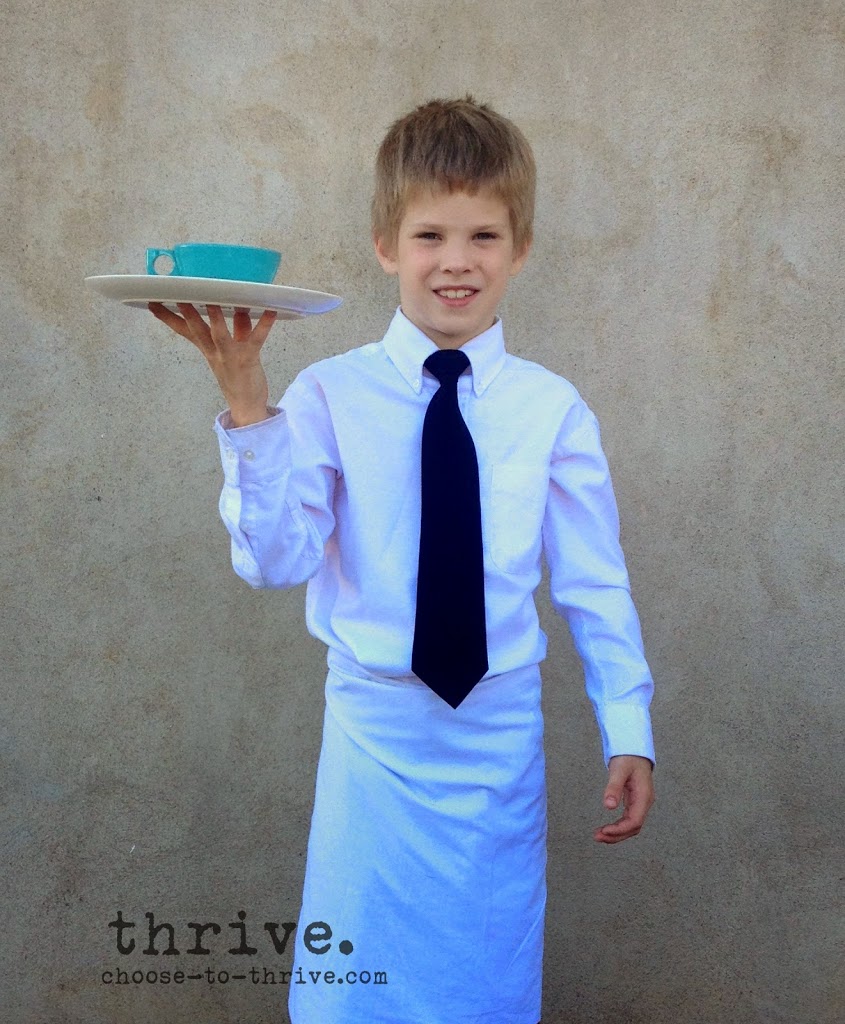
Shop Your Closet: white dress shirt, tie, dress pants, shoes
Shop Your Stuff: plate, saucer, white pillow case
Shop Around/DIY: wrap white pillow case around waist for a faux waiter’s apron
Russian Dancer
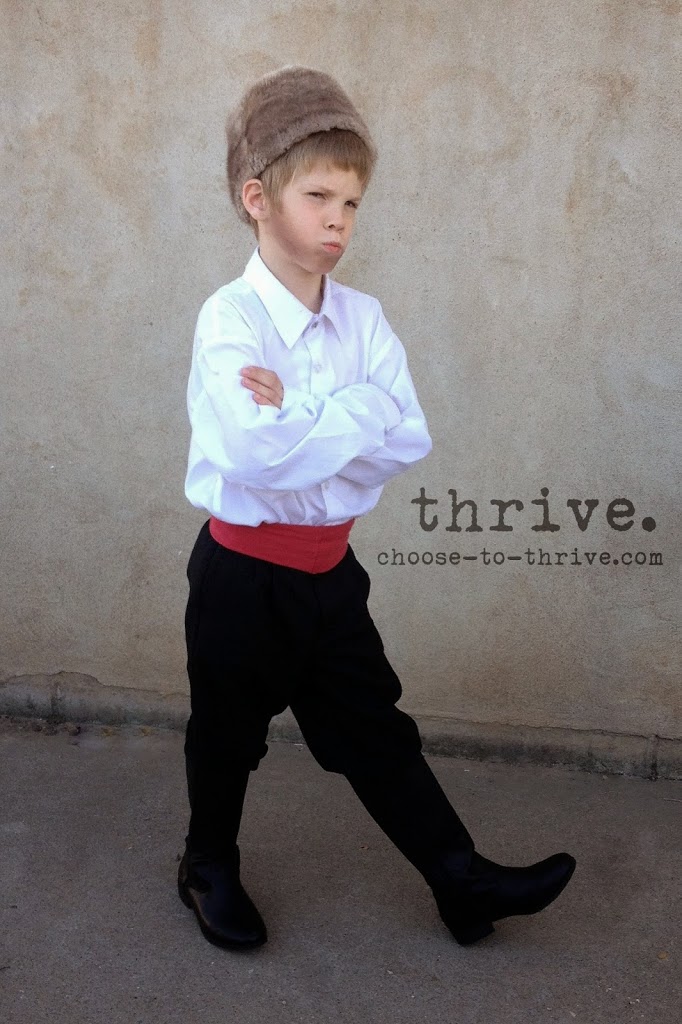
Shop Your Closet: white dress shirt, dress pants, boots
Shop Your Stuff: mom’s make-up for faux beard, old red t-shirt
Shop Around/DIY: fur hat from thrift store, red sash made from cutting a long, 4″ wide piece of t-shirt and tying it around the waist.
Newsies
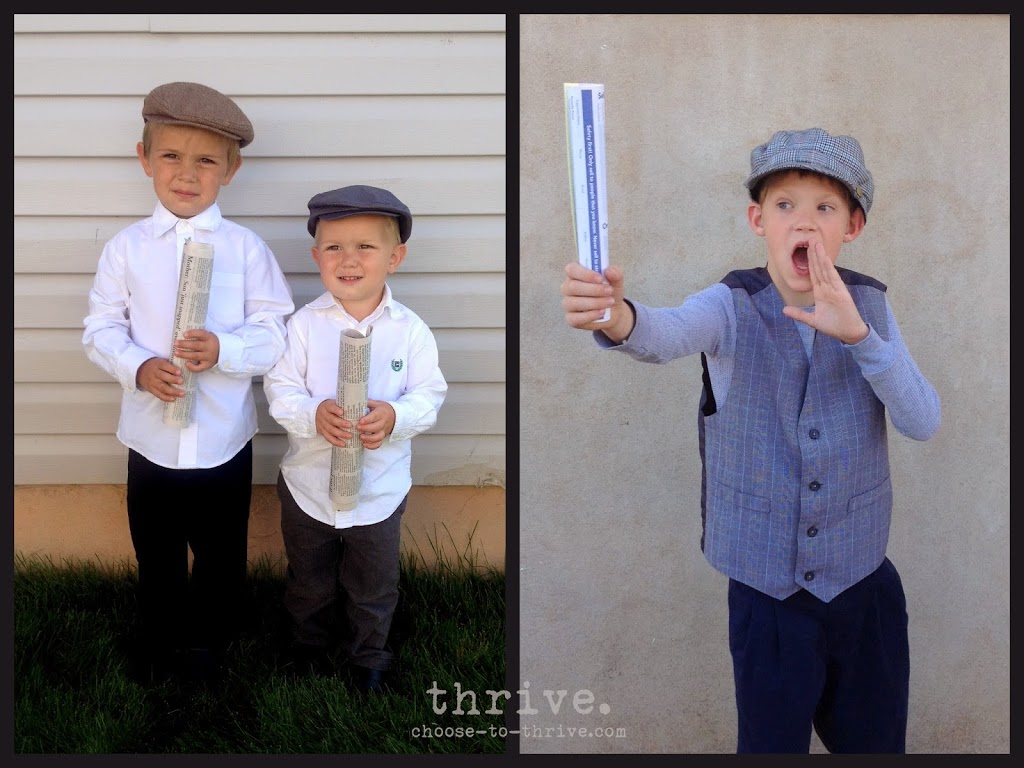
Shop Your Closet: dress shirts (any colors) or long-sleeve shirts, vests, dress pants, shoes
Shop Your Stuff: roll newspapers
Shop Around/DIY: newsboy hats $1 at thrift store
Pirate
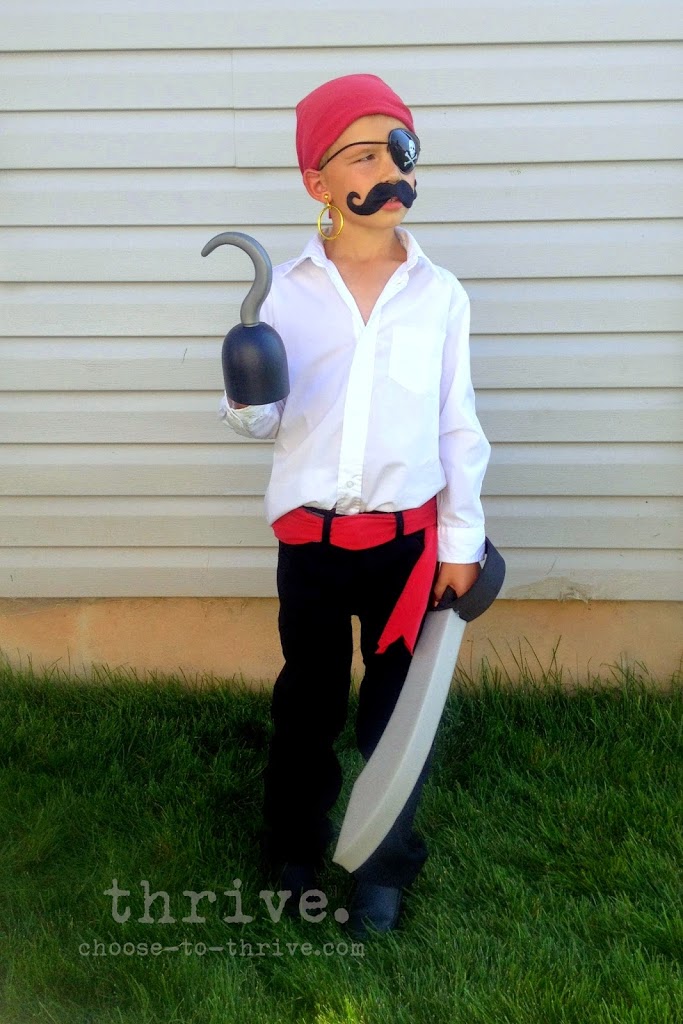
Shop Your Closet: white dress shirt, dress pants, shoes
Shop Your Stuff: old red t-shirt
Shop Around/DIY: pirate hook, sword, patch/earring kit from dollar store or Target OneSpot; sash and dew rag cut from an old t-shirt and tied in place.
Magician
Shop Your Closet: white dress shirt, dress pants, shoes
Shop Your Stuff: n/a
Shop Around/DIY: cape, top hat and mustache from dollar store. Wand available at dollar store or DIY by wrapping a straw with black/white paper or vinyl.
Vampire
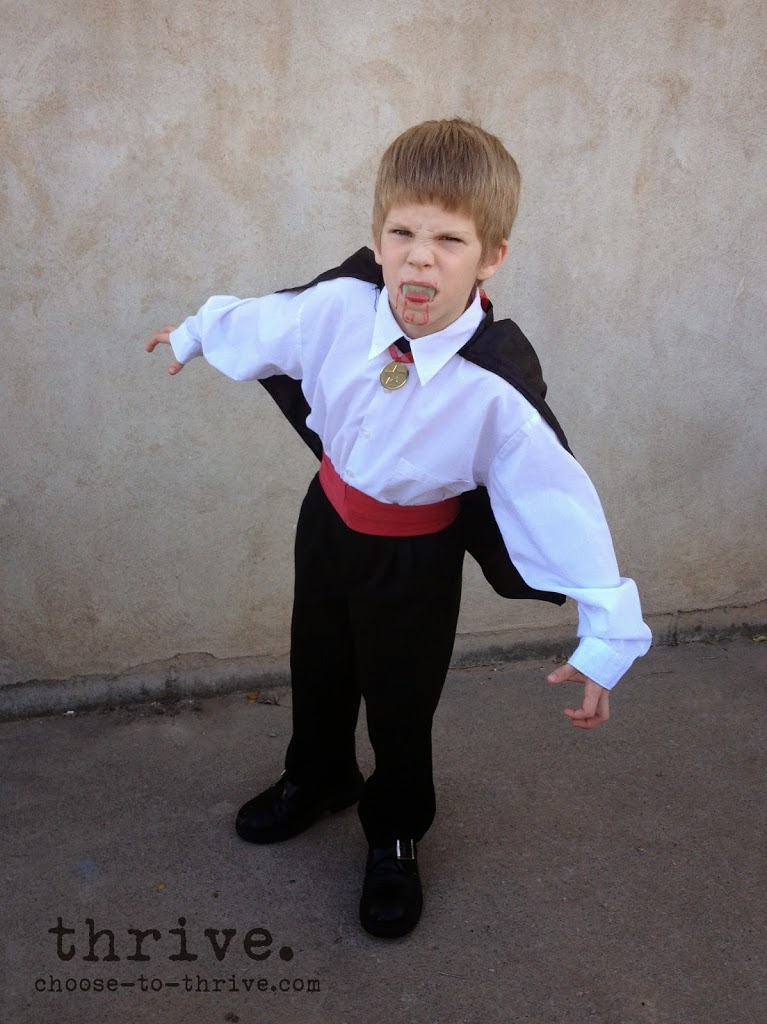
Shop Your Closet: white dress shirt, dress pants, shoes
Shop Your Stuff: medal from toy box, tied with ribbon (or at dollar store)
Shop Around/DIY: dollar store cape, vampire teeth; sash made from an old, red t-shirt.
Need more ideas for boys church clothes?
* Fairy Tale Prince
* Game Show Host
* Accountant/Business man
* SPY
What about girls’ church or dressy clothes?
Got ya covered.
FANCY DRESSES
Diva
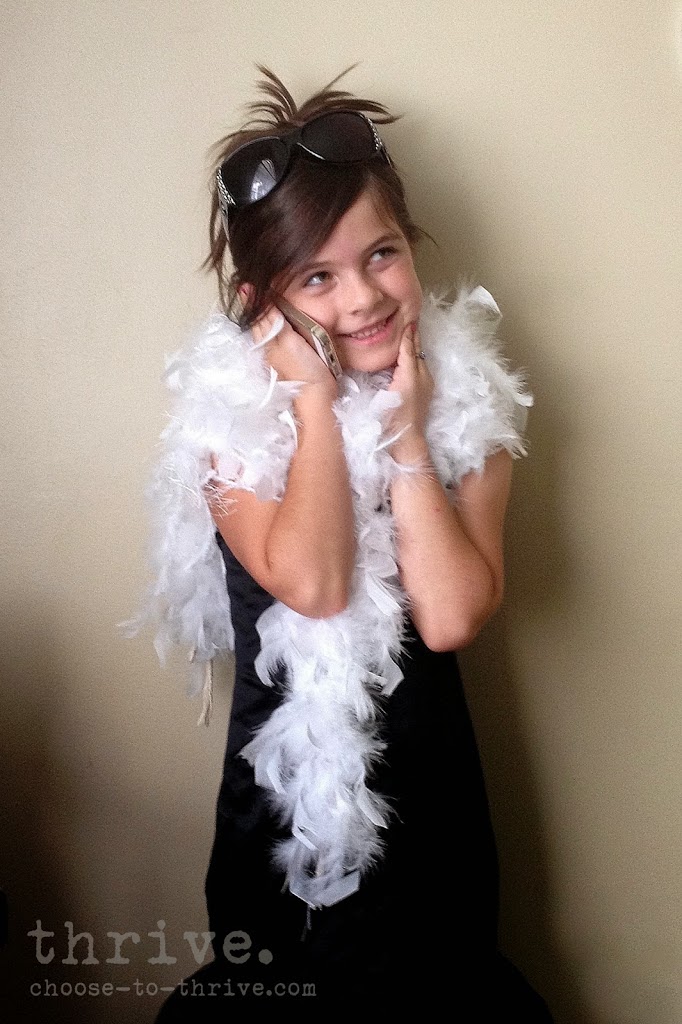
Shop Your Closet: any ‘fancy’ girls dress
Shop Your Stuff: mom’s cell phone and sunglasses, jewelry
Shop Around/DIY: dollar store boa
Pageant Queen
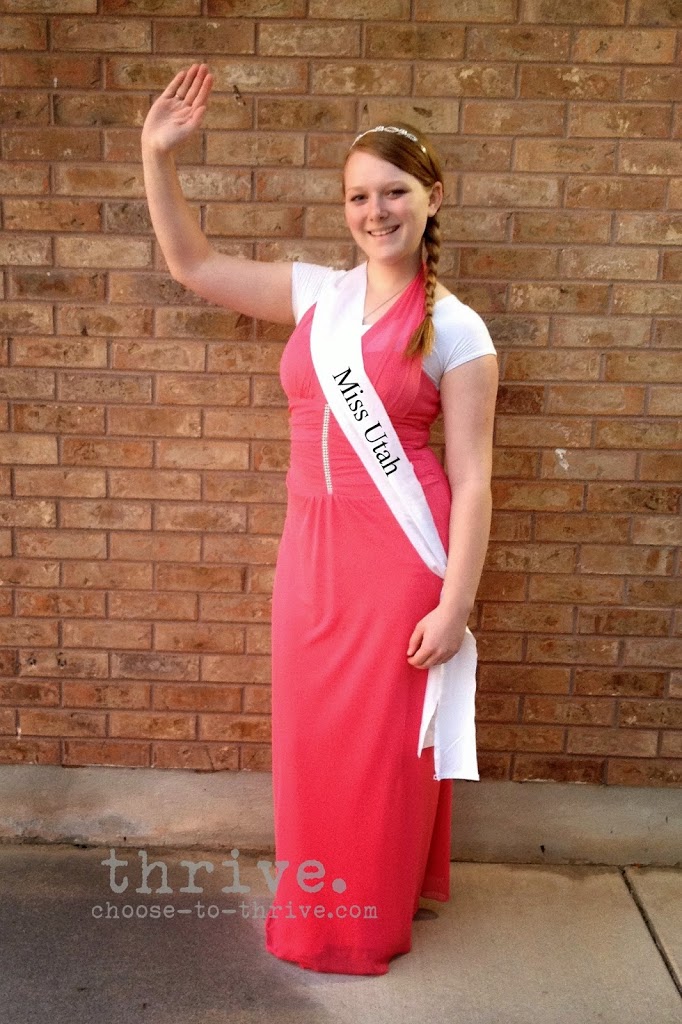
Shop Your Closet: any ‘fancy’ PROM dress
Shop Your Stuff: costume jewelry
Shop Around/DIY: make a sash from an old sheet or fabric. Add letters with paint, stencils, iron-on vinyl, sharpie or iron on letters from the craft store.
Fairy Princess
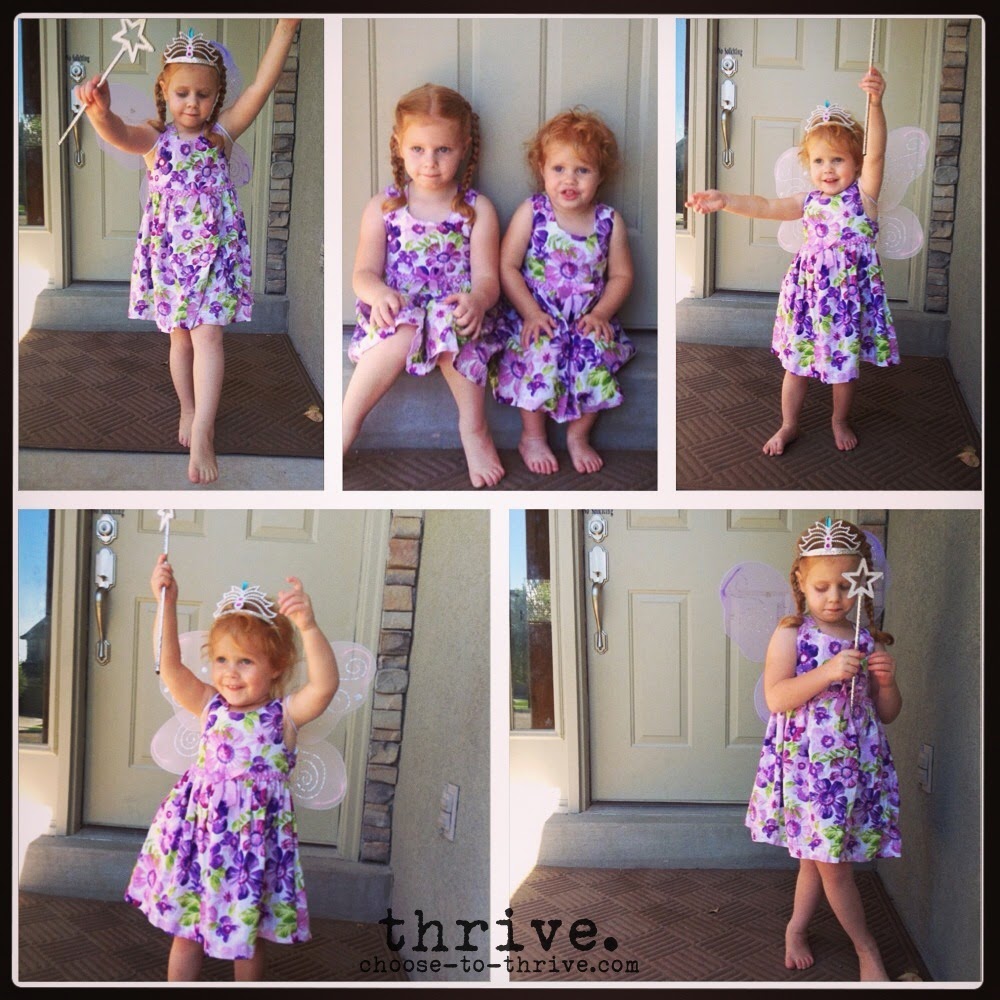
Shop Your Closet: any girls’ dresses, especially “Easter” or pastel colors
Shop Your Stuff: tiaras, wands from the toy box
Shop Around/DIY: dollar store wings
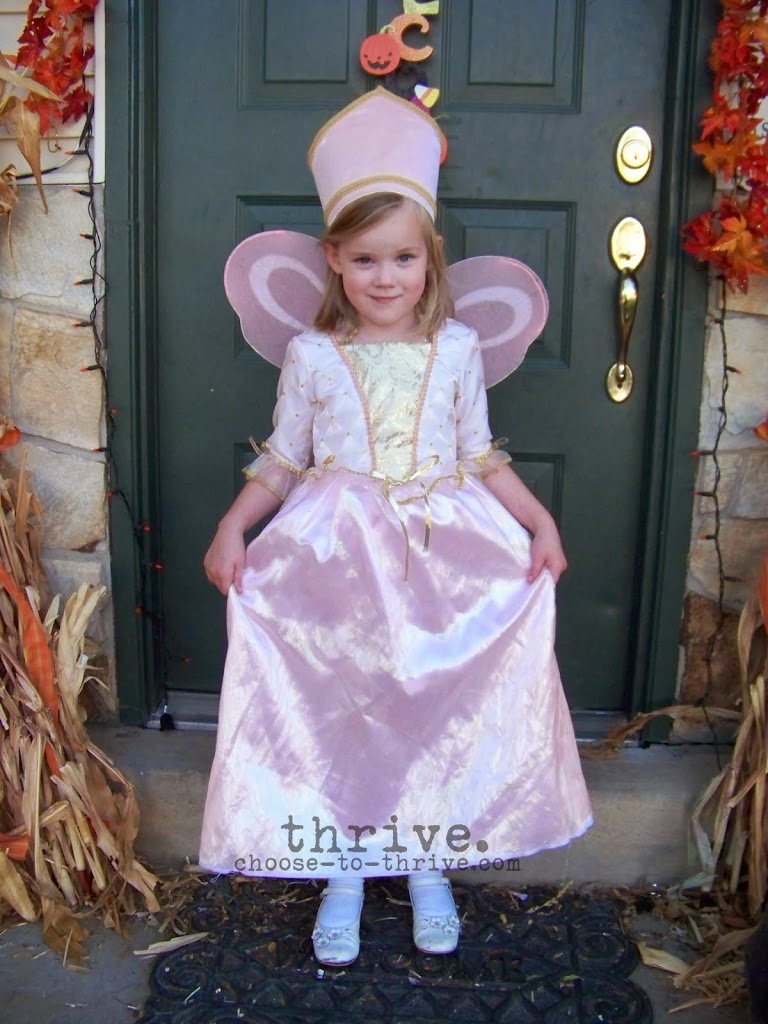
Glenda The Good Witch
Shop Your Closet: pink ‘fancy’ or ‘princess’ dress
Shop Your Stuff: n/a
Shop Around/DIY: dollar store wings; crown made from poster board wrapped in fabric with ribbon trim hot glued.
EVERYDAY DRESSY CLOTHES
Skirts, dress shirts, cardigans, etc.
President of the United States

Shop Your Closet: white dress shirt, cardigan, black skirt
Shop Your Stuff: n/a
Shop Around/DIY: dollar store bag embellished with a color print off of the presidential seal. Attach to bag with tape.
Librarian

Shop Your Closet: plain dress, cardigan
Shop Your Stuff: book(s) of choice
Shop Around/DIY: n/a
Teacher
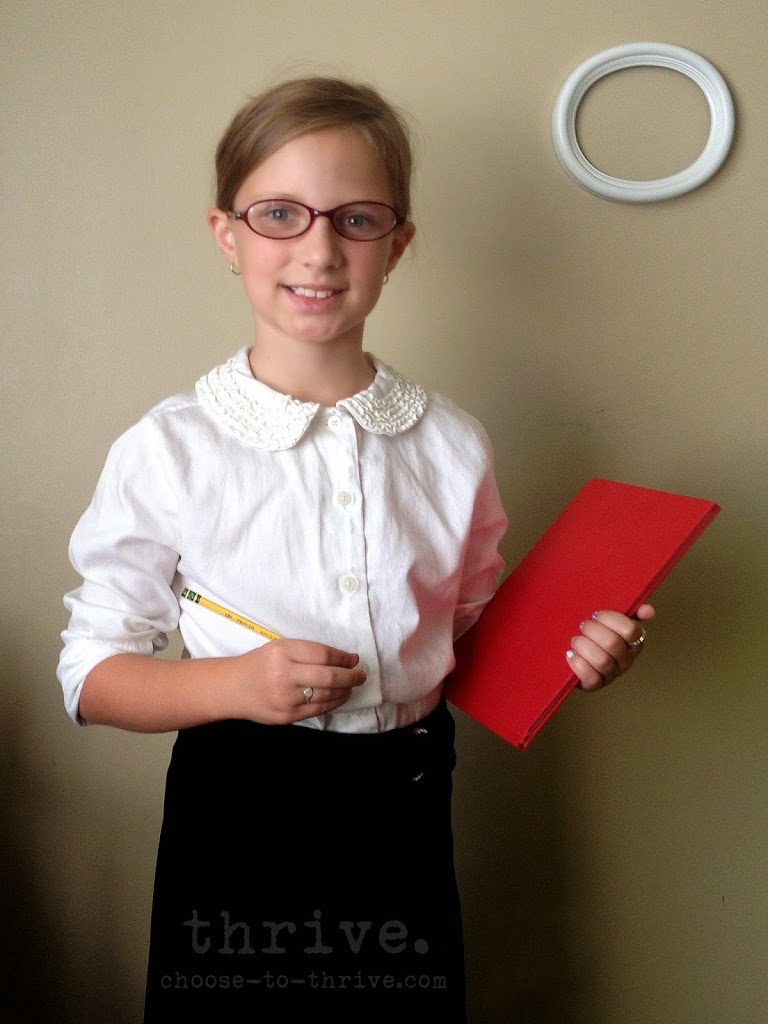
Shop Your Closet: white dress shirt, skirt
Shop Your Stuff: hair clip, folder, pencil
Shop Around/DIY: n/a
Witch

Shop Your Closet: basic black dress
Shop Your Stuff: black shoes or boots, crazy socks or tights
Shop Around/DIY: witch hat or fascinator
News Anchor / Reporter

Shop Your Closet: white dress shirt, dress skirt
Shop Your Stuff: lanyard/work ID badge
Shop Around/DIY: dollar store or other microphone
See how easy this is?
Got school uniform clothes?
We can rock school uniforms.
NAVY SLACKS + PLAIN WHITE SHIRT
Han Solo
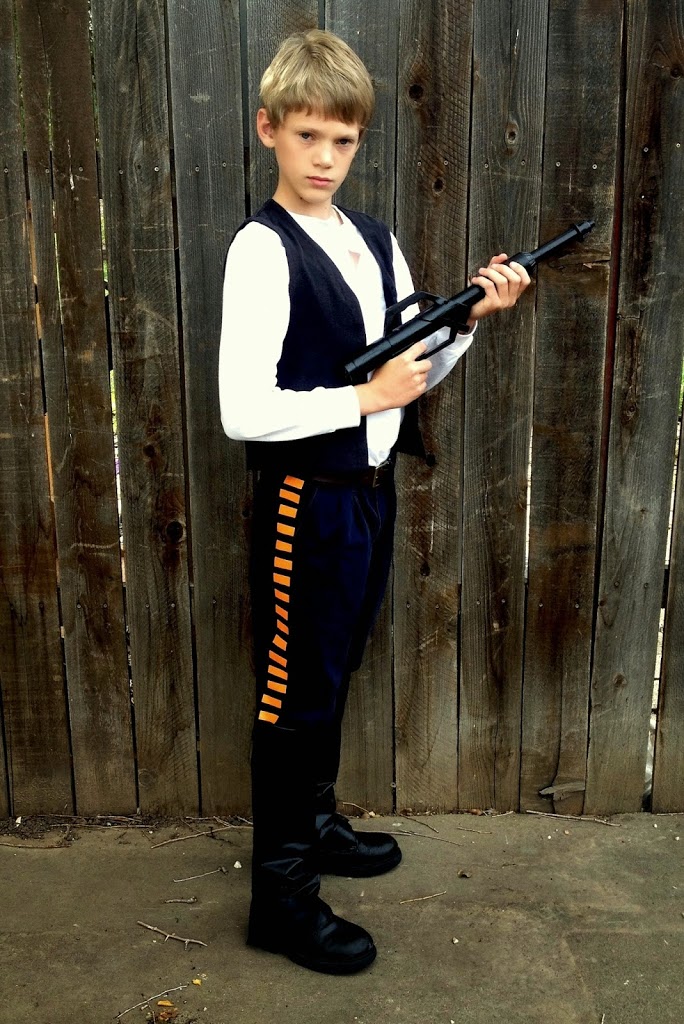
Shop Your Closet: navy pants, white long-sleeve shirt, shoes
Shop Your Stuff: toy gun painted black
Shop Around/DIY: Add orange lines to pants with vinyl, washi or other reflective tape; vest is an old t-shirt cut down the center with sleeves removed. Raw edges around arm holes and jacket front are “hemmed” with black electrical tape. Faux boots are made by wrapping black fabric (I used vinyl) around pant legs and taping down the back. Fits over black church shoes.
Police Officer
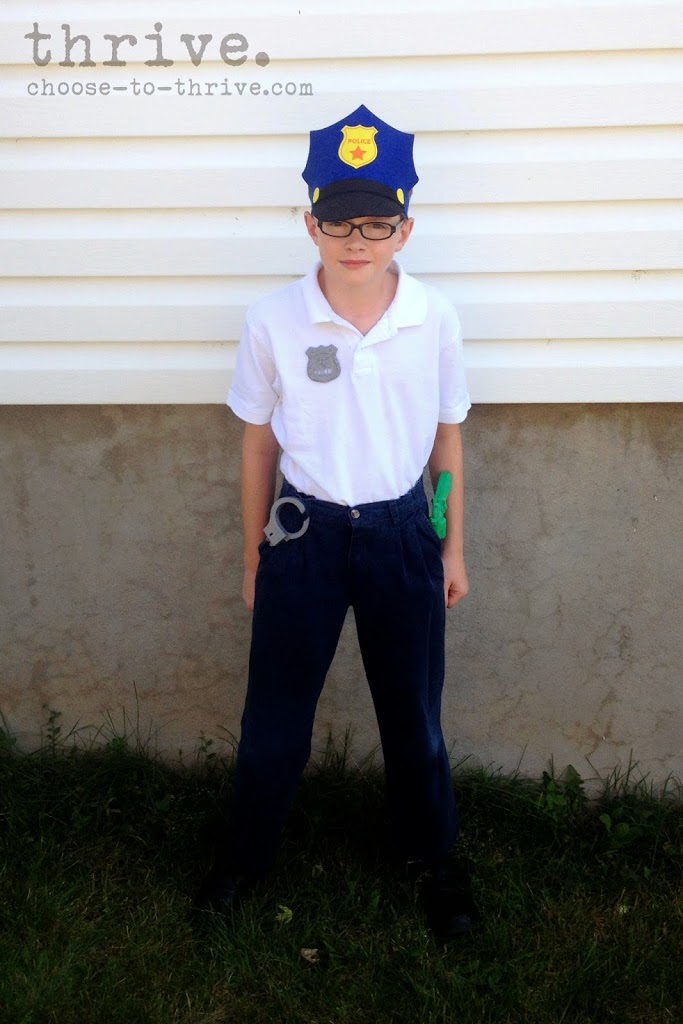
Shop Your Closet: navy pants, white polo
Shop Your Stuff: n/a
Shop Around/DIY: dollar store police toys; police hat from Target OneSpot
Knight
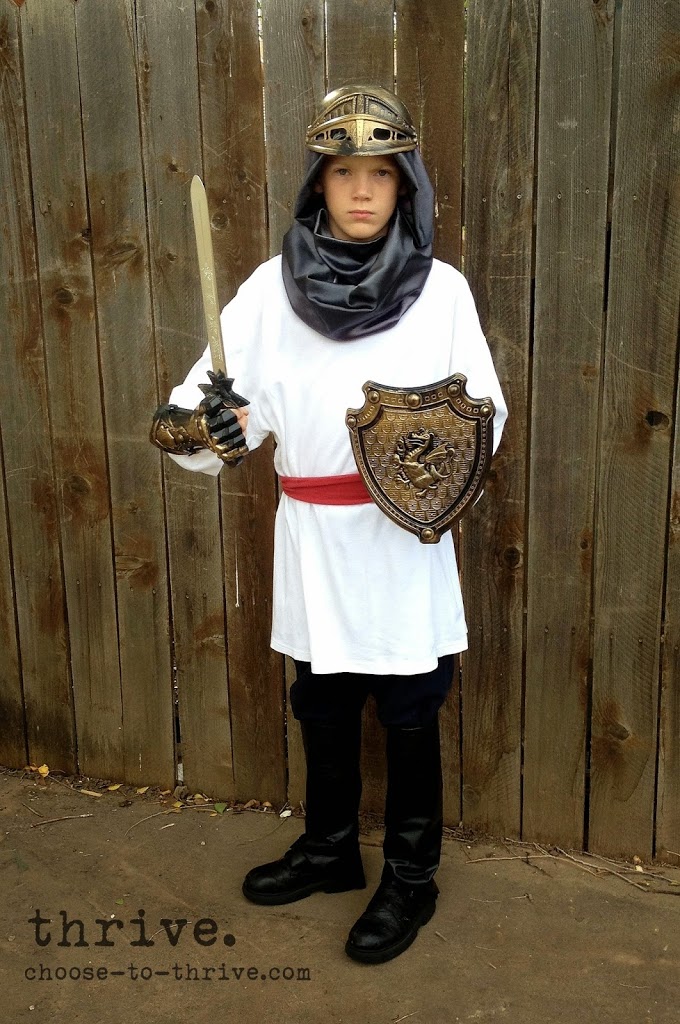
Shop Your Closet: navy pants, church shoes
Shop Your Stuff: dad’s white long-sleeve shirt; mom’s grey scarf
Shop Around/DIY: helmet, sword, shield, arm plates from dollar store; red sash from an old t-shirt; faux boot covers made by wrapping vinyl fabric around pant legs and taping together.
KHAKI PANTS + PLAIN SHIRT
Explorer
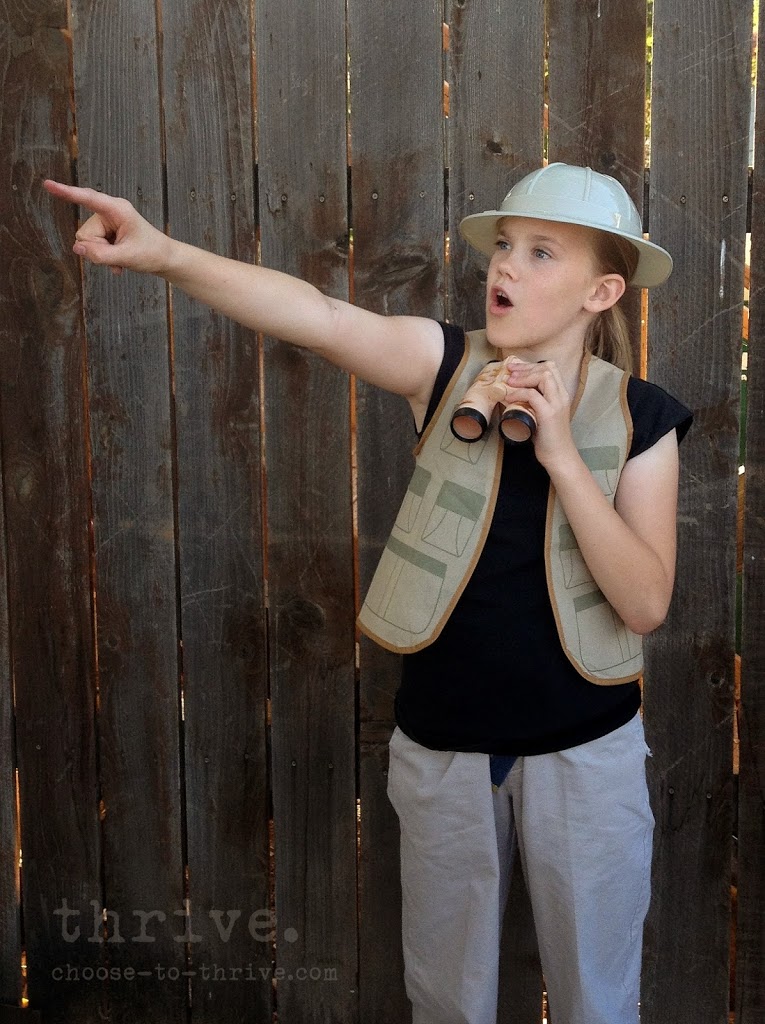
Shop Your Closet: plain black shirt and khaki pants
Shop Your Stuff: n/a
Shop Around/DIY: dollar store explorer hat, vest and binoculars
Need more school uniform ideas?
* Paramedic (navy pants/shirt)
* Uncle Sam
Got jeans and t-shirts?
We can rock jeans, too!
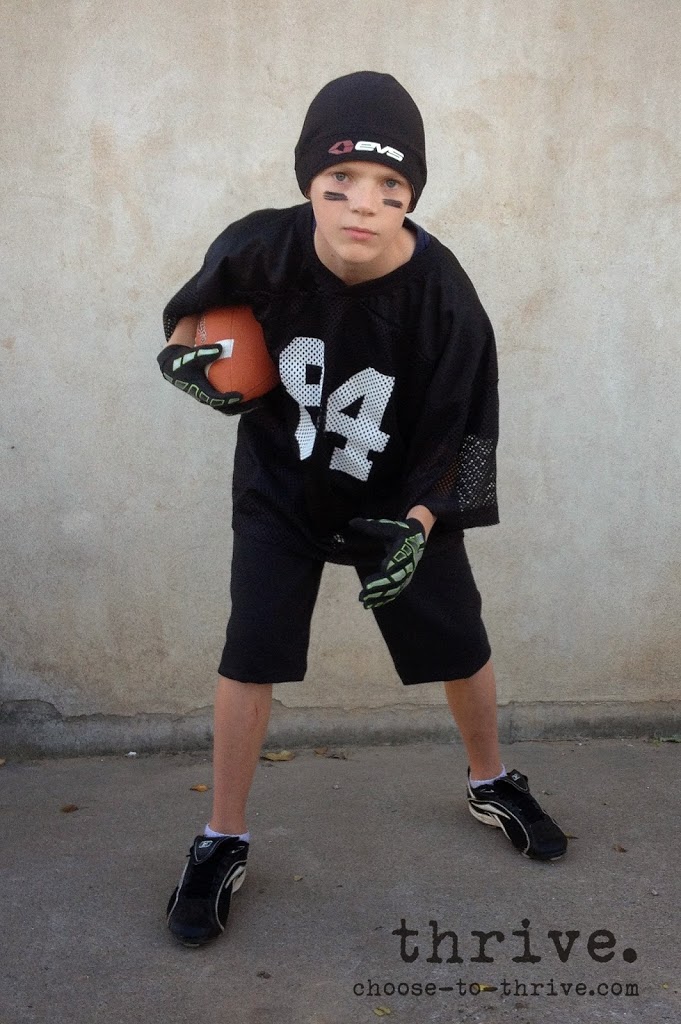
Super Fan
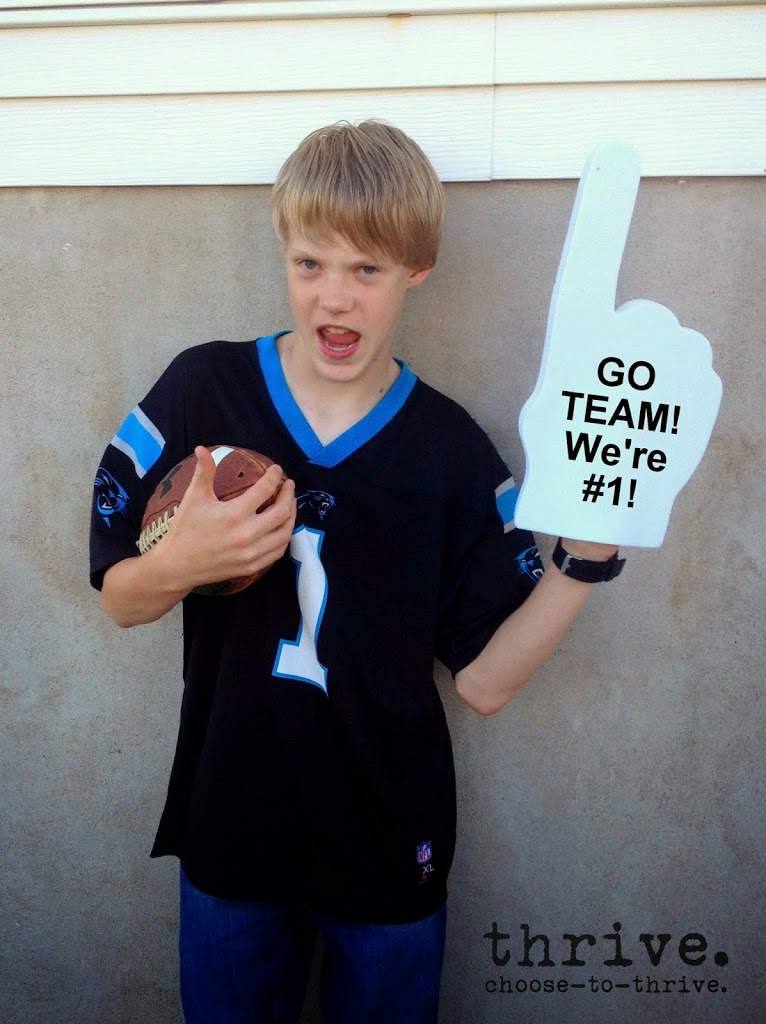
Shop Your Closet: Team jersey, jeans
Shop Your Stuff: football
Shop Around/DIY: Foam fan hand from Michaels ($3 w/out coupon) or make a hand out of two pieces of colored poster board staples or taped together.
Cook
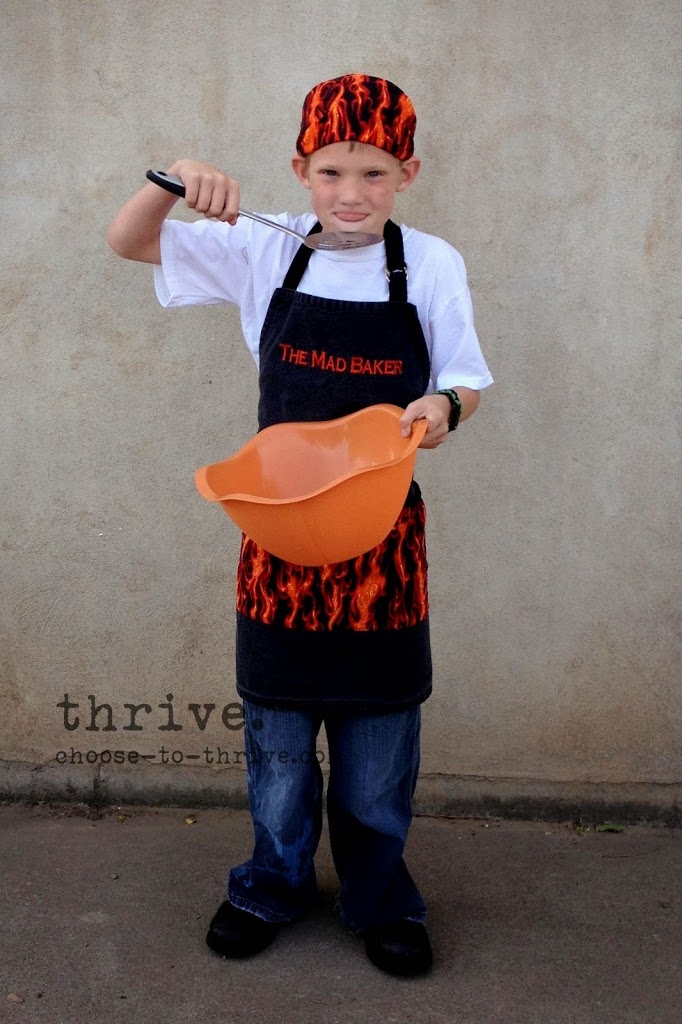
Shop Your Closet: white t-shirt, jeans, shoes
Shop Your Stuff: dad’s apron, dew rag; bowl and spoon from kitchen
Shop Around/DIY: n/a
Construction Worker
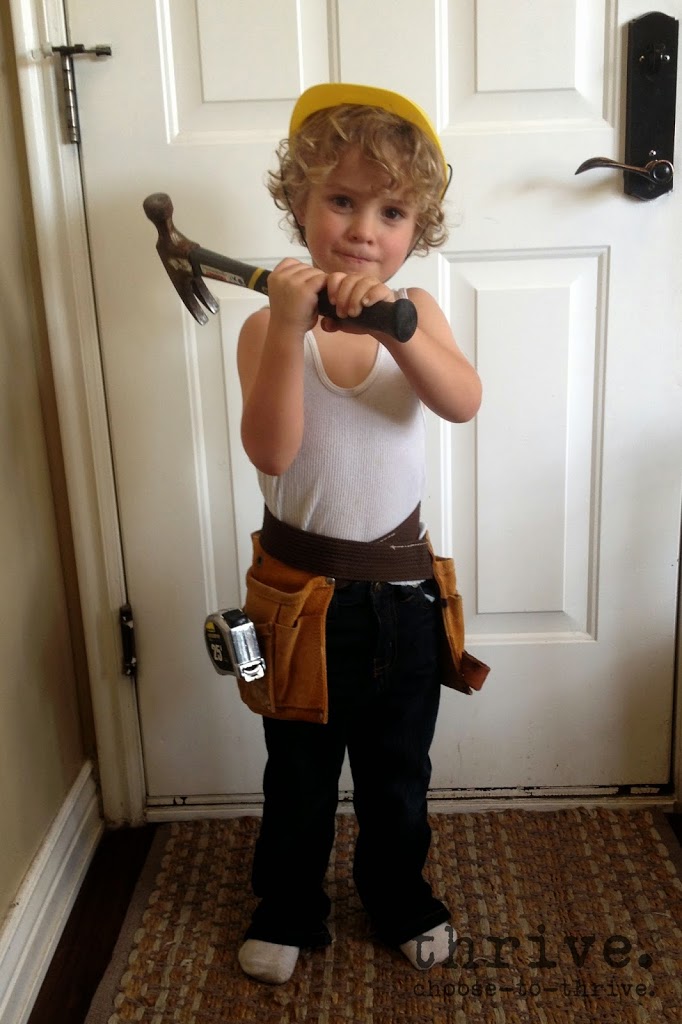
Shop Your Closet: jeans, white tank top
Shop Your Stuff: dad’s tool belt/hammer
Shop Around/DIY: dollar store construction helmet
Dr. Who
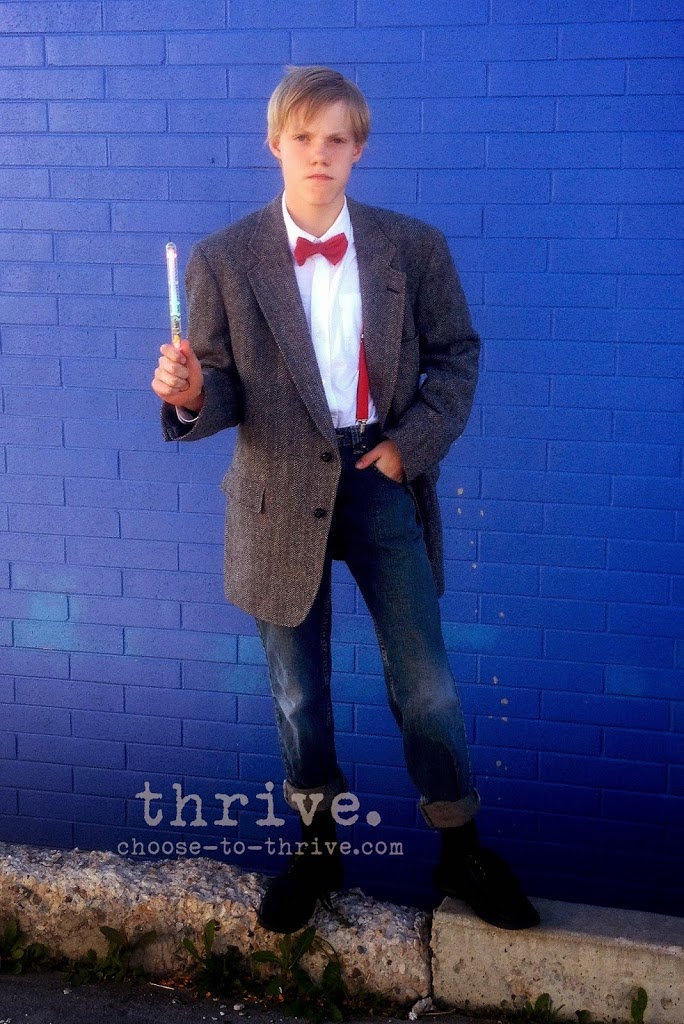
Shop Your Closet: jeans, white dress shirt, black socks and shoes
Shop Your Stuff: suspenders
Shop Around/DIY: dollar store light up wand (Sonic Screwdriver); bow tie from thrift store or hot glued from scrap fabric.
Cowboy
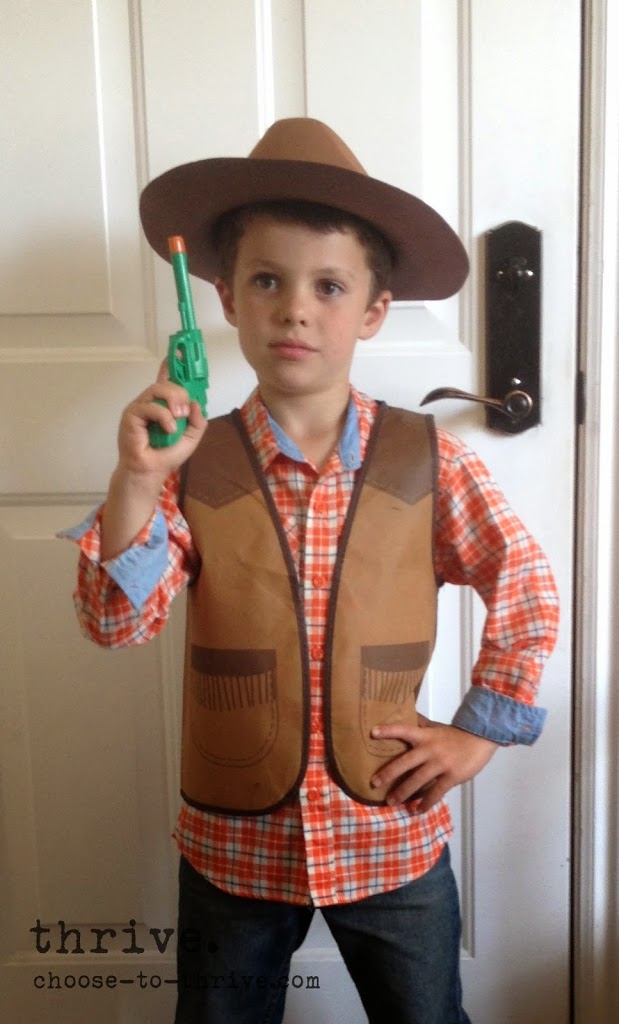
Shop Your Closet: jeans, long-sleeve shirt, boots
Shop Your Stuff: toy pistol, rope
Shop Around/DIY: dollar store hat (or use own)
Cowgirl

Shop Your Closet: white long-sleeve shirt, jeans
Shop Your Stuff: red bandana
Shop Around/DIY: red cow(girl) hat and vest from dollar store
Lumberjack
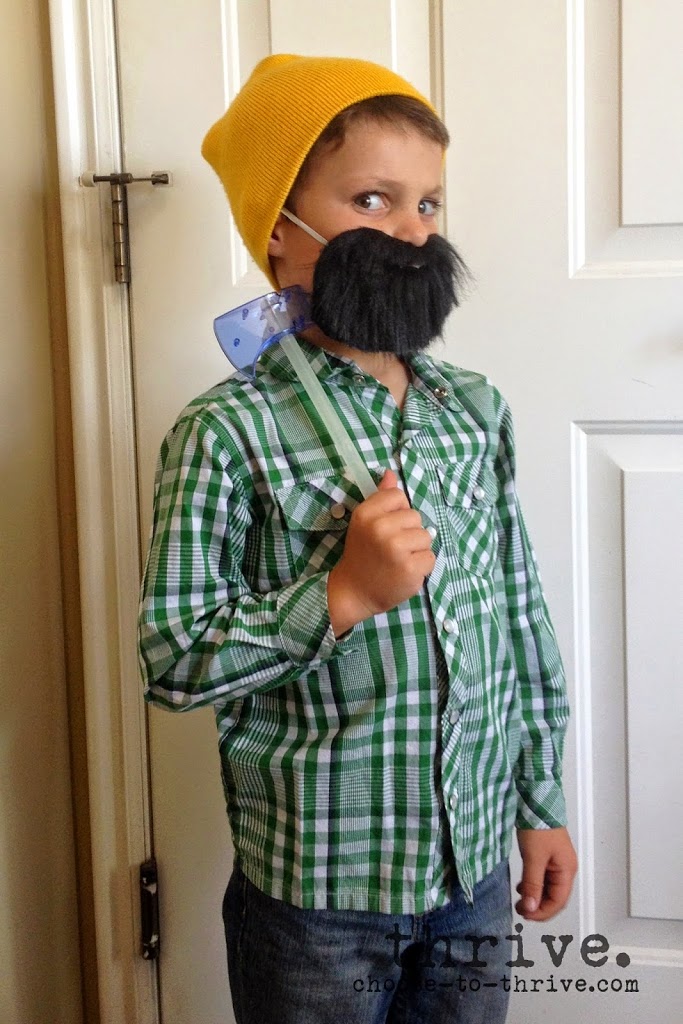
Shop Your Closet: jeans; long-sleeve shirt
Shop Your Stuff: knit hat
Shop Around/DIY: “outdoorsmen” beard from the dollar store; glow-in-the-dark hatchet (extra visibility at knight.
Sheriff

Shop Your Closet: jeans, long-sleeve shirt
Shop Your Stuff: n/a
Shop Around/DIY: dollar store sheriff’s badge, vest and toy gun
Mario & Luigi

Shop Your Closet: red/green t-shirts
Shop Your Stuff: overalls (or get at thrift store)
Shop Around/DIY: white gloves ($1 at Walmart); two red or green foam visors. Cut Mario and Luigi symbols out on Silhouette/Cricut/by hand out of vinyl and attach to visors.
Minion (Despicable Me)
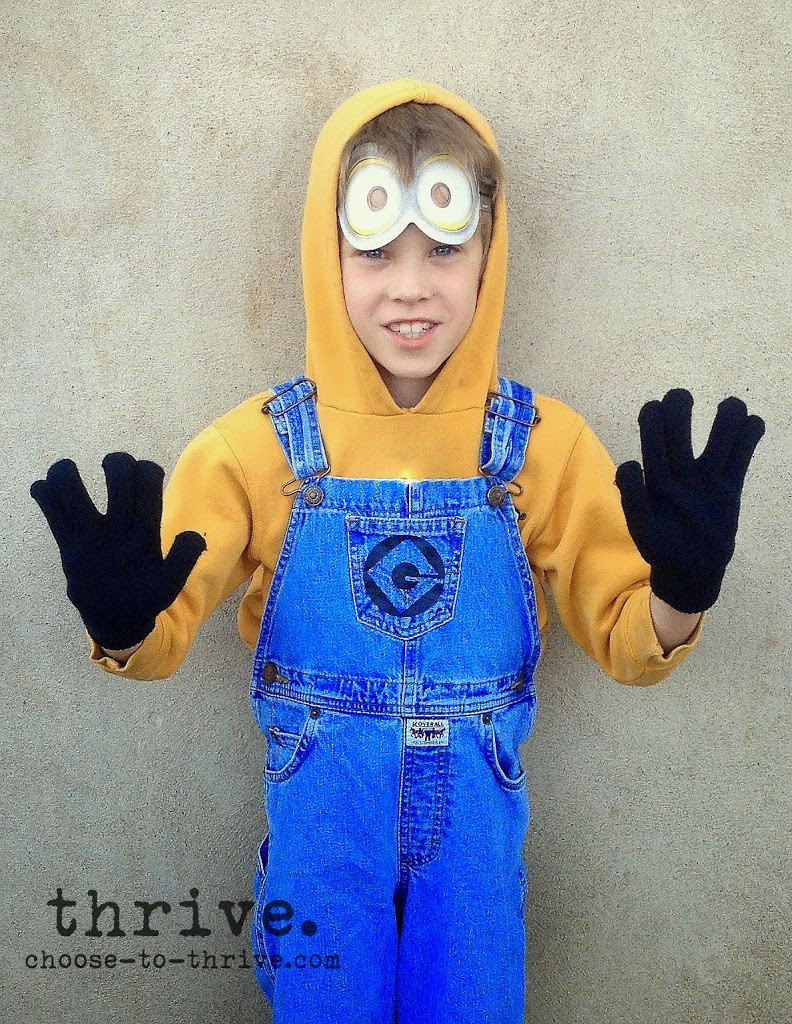
Shop Your Closet: Yellow Hoodie
Shop Your Stuff: $1 knit gloves; overalls (possibly); black vinyl
Shop Around/DIY: Dispicable Me 2 glasses at party stores 8/$1.49.
Train Conductor
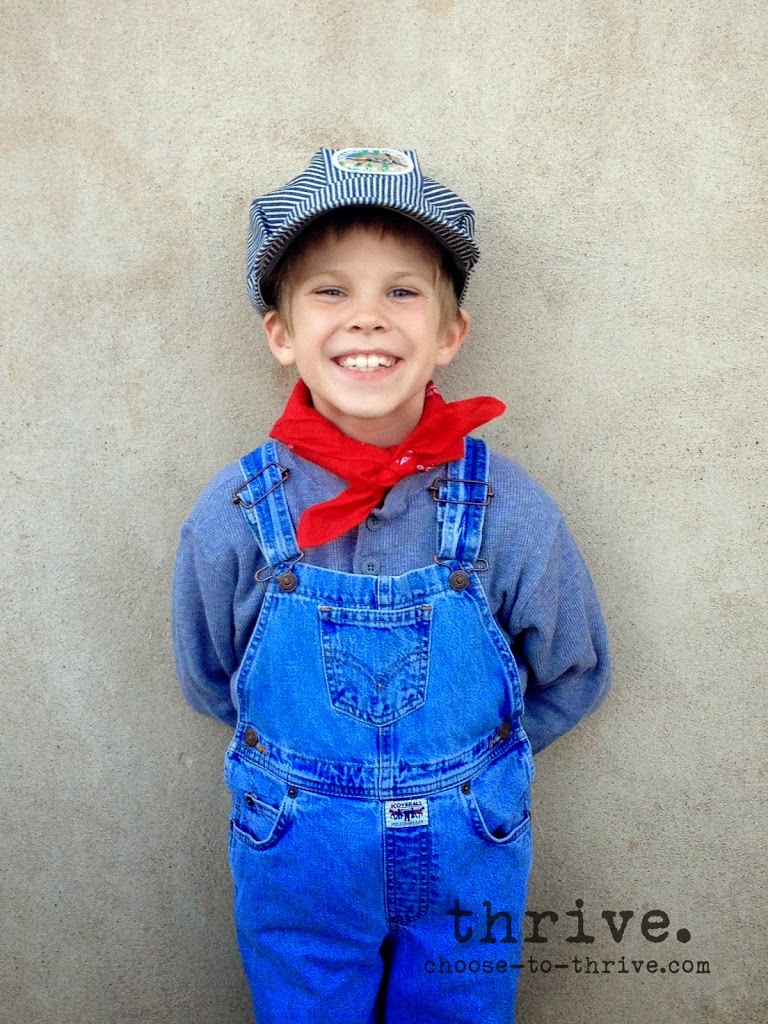
Shop Your Closet: long-sleeve grey shirt
Shop Your Stuff: red handkerchief, train hat (or look for at thrift store); overalls
Shop Around/DIY: n/a
Rosie The Riveter
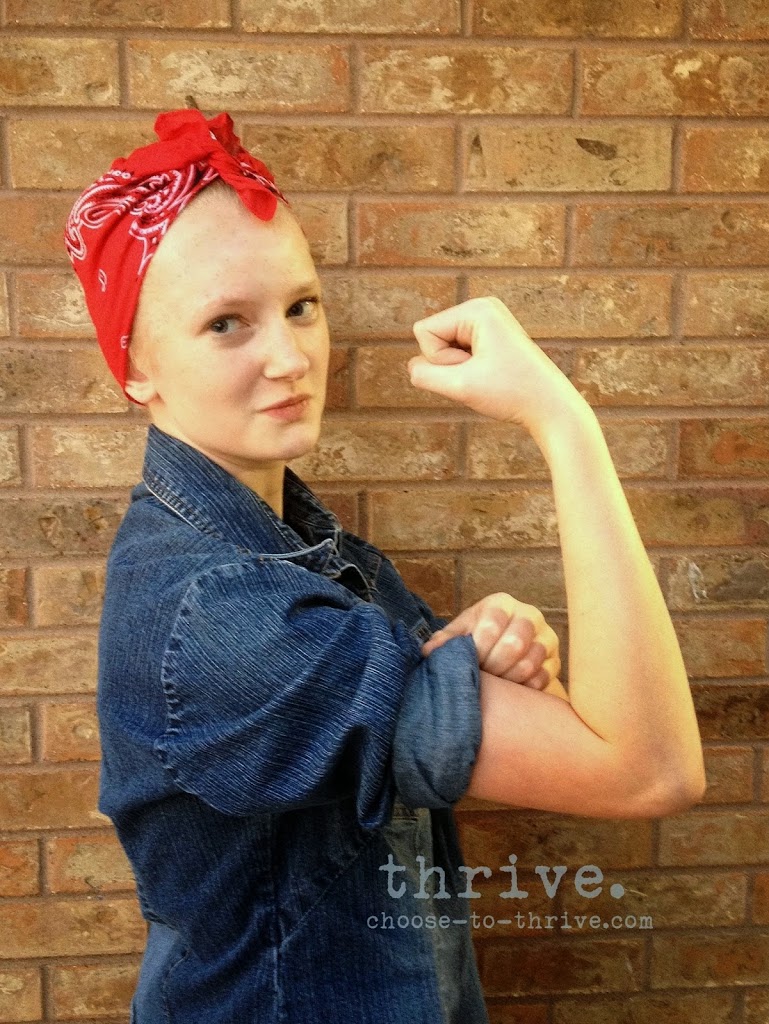
Shop Your Closet: denim/chambray shirt or jacket
Shop Your Stuff: red bandanna (or red polka dot handkerchief)
Shop Around/DIY: n/a
Need more ideas for jeans?
* ZOMBIES!
* Bob the Builder
* 50’s ‘James Dean’ (with leather jacket)
* MAGNUM, P.I.
What about black pants and a black shirt?
Black is the new black.
Mime
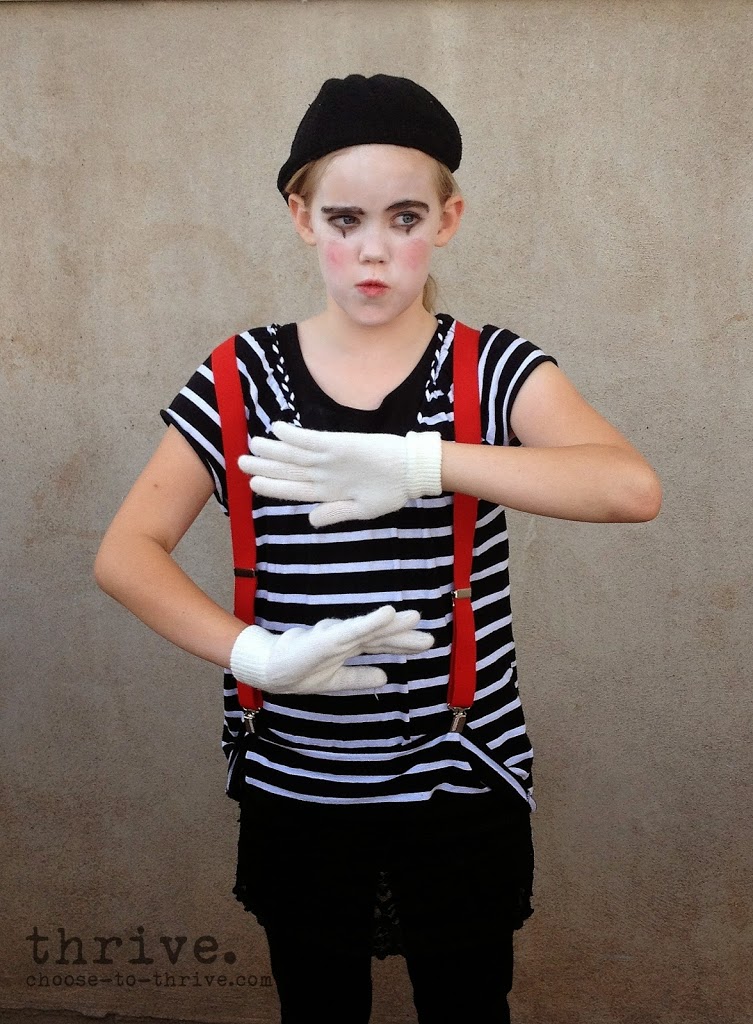
Shop Your Closet: black leggings, striped shirt
Shop Your Stuff: n/a
Shop Around/DIY: suspenders and hat were $2 at thrift shore; face paint; $1 gloves from Walmart
Firefighter
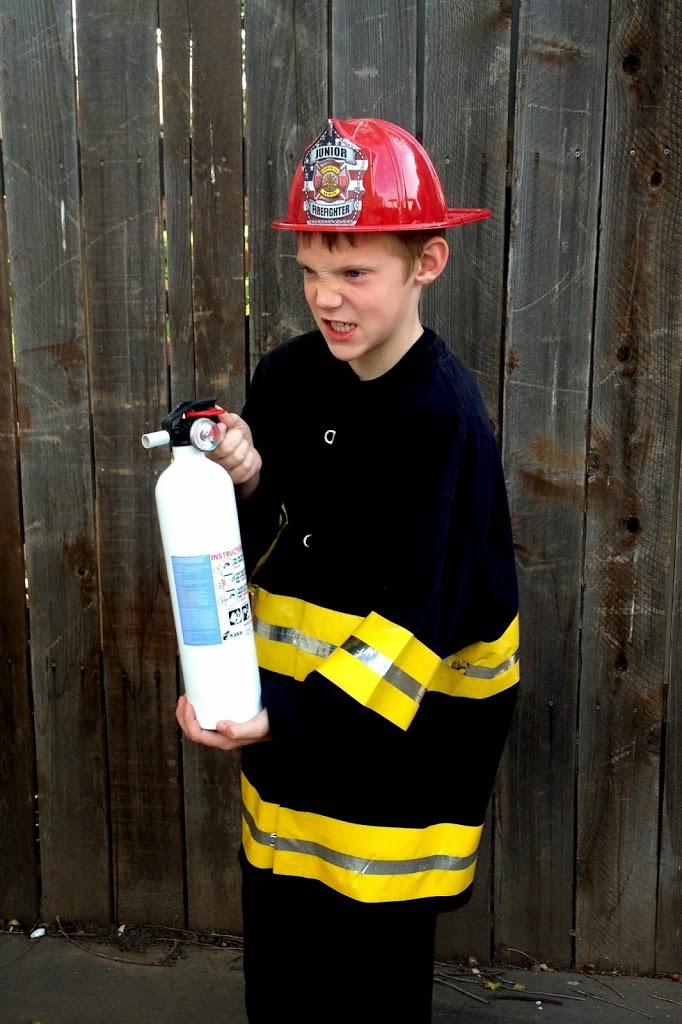
Shop Your Closet: black shirt; sweats or pants
Shop Your Stuff: kitchen fire extinguisher; fire hat from free from fire department
Shop Around/DIY: cute an adult, long-sleeve black shirt straight down the center. “Hem” raw edges with black electrical tape. Stripes are made with yellow and silver Duck brand tape. Faux jacket clasps are made from pop can pull tabs being hot glued in place. To keep jacket closed, you can attach adhesive-backed Velcro or use double stick tape.
Luke Skywalker
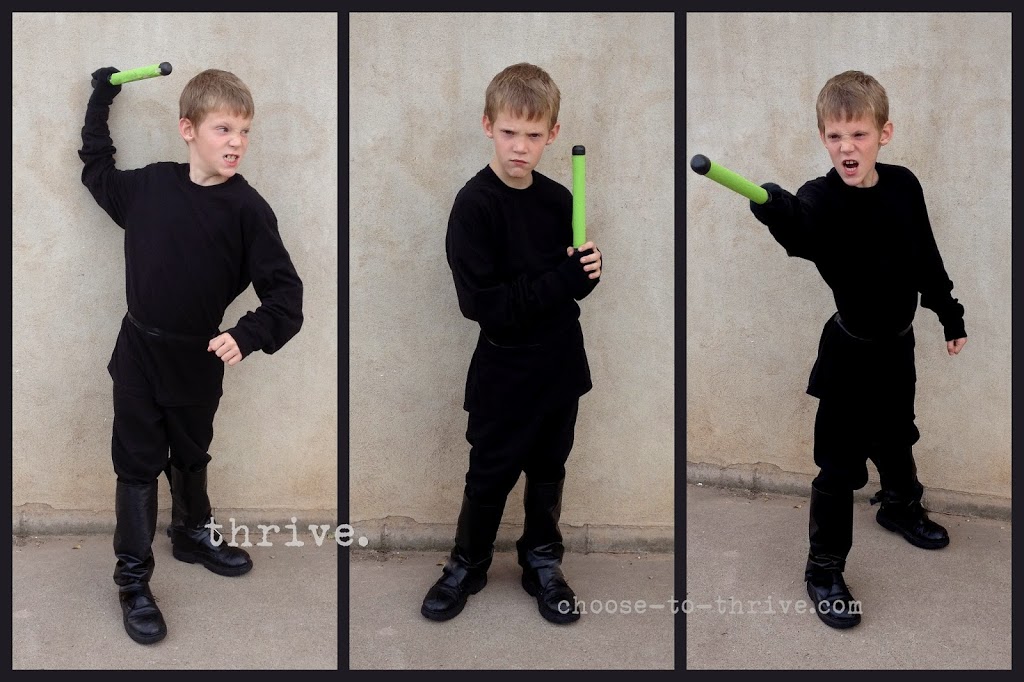
Shop Your Closet: black long-sleeve shirt, black church shoes, black sweats
Shop Your Stuff: single black glove
Shop Around/DIY: Make the black belt on the shirt using black electrical tape; green faux light saber is from the dollar store; faux boot covers are made by wrapping the pant leg in fabric (I used vinyl) and taping the covers in place down the back of the leg.
BLACK LEGGINGS + SHIRT
Minnie Mouse

Shop Your Closet: black leggings/skirt; red polka dot shirt
Shop Your Stuff: red shoes; Minnie Ears
Shop Around/DIY: n/a
Need more ideas for black pants + shirt?
* NINJA
* ARTIST (with smock + artist pallet)
* SKELETON (white vinyl bones stuck to clothing)
* STICK FIGURE (white lines painted on shirt/pants)
* CAT/CHEETAH/TIGER
* SPIDER
* BAT
Got old sports equipment?
We can have fun with sports equipment.
Football player
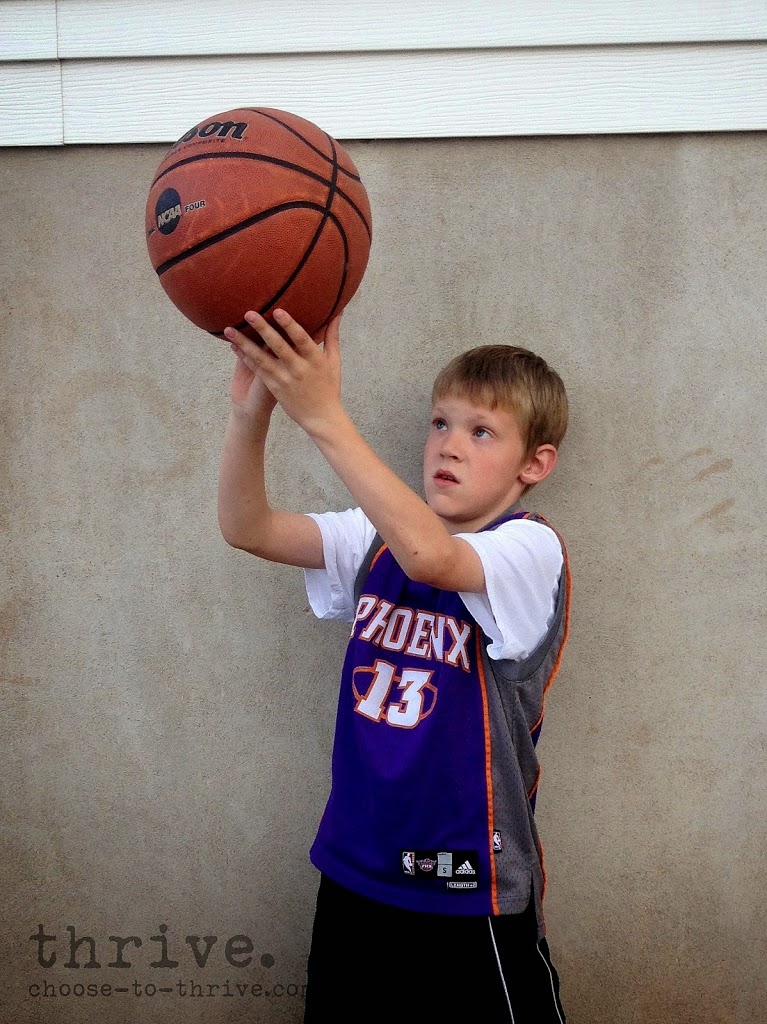
Basketball Player
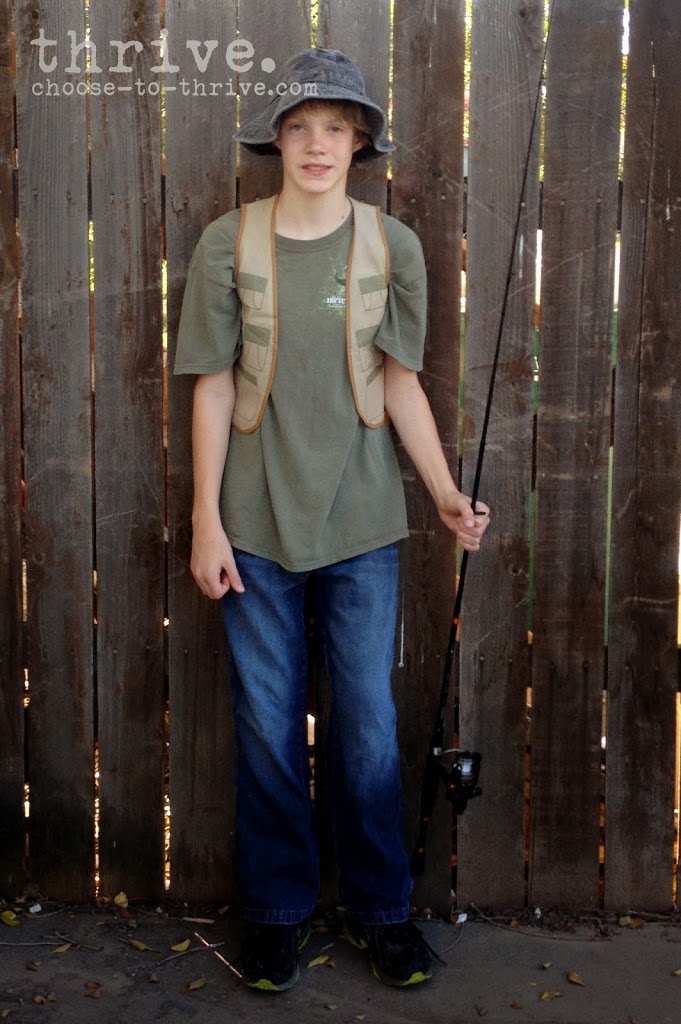
Fisherman
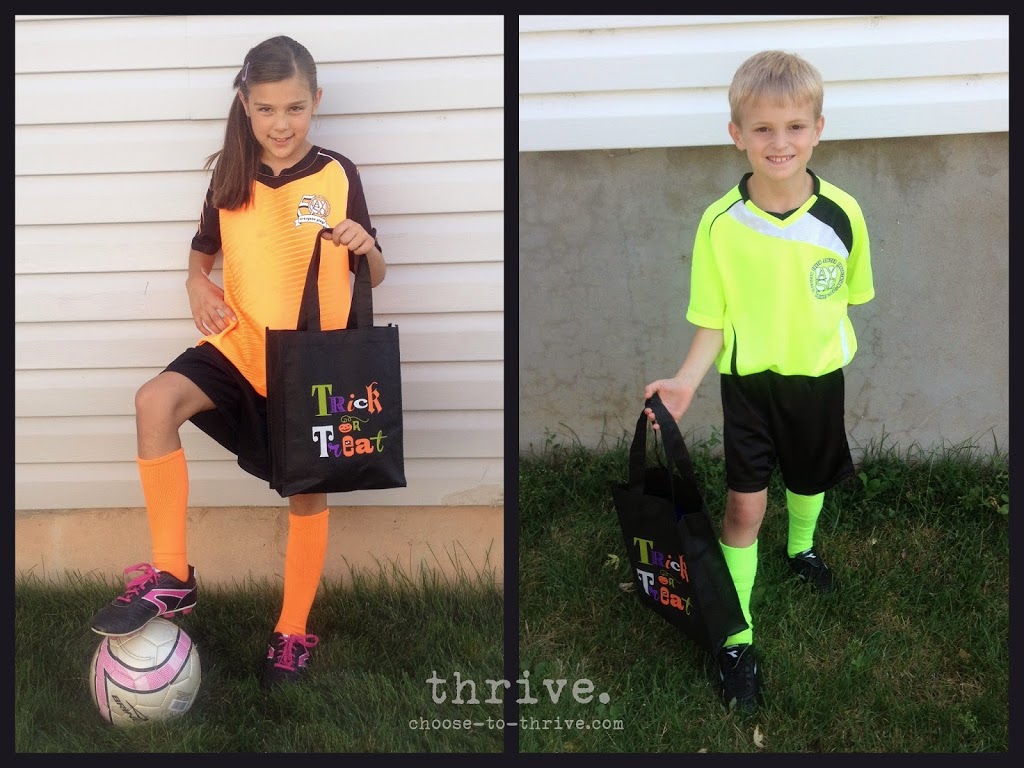
Soccer Players
Rugby

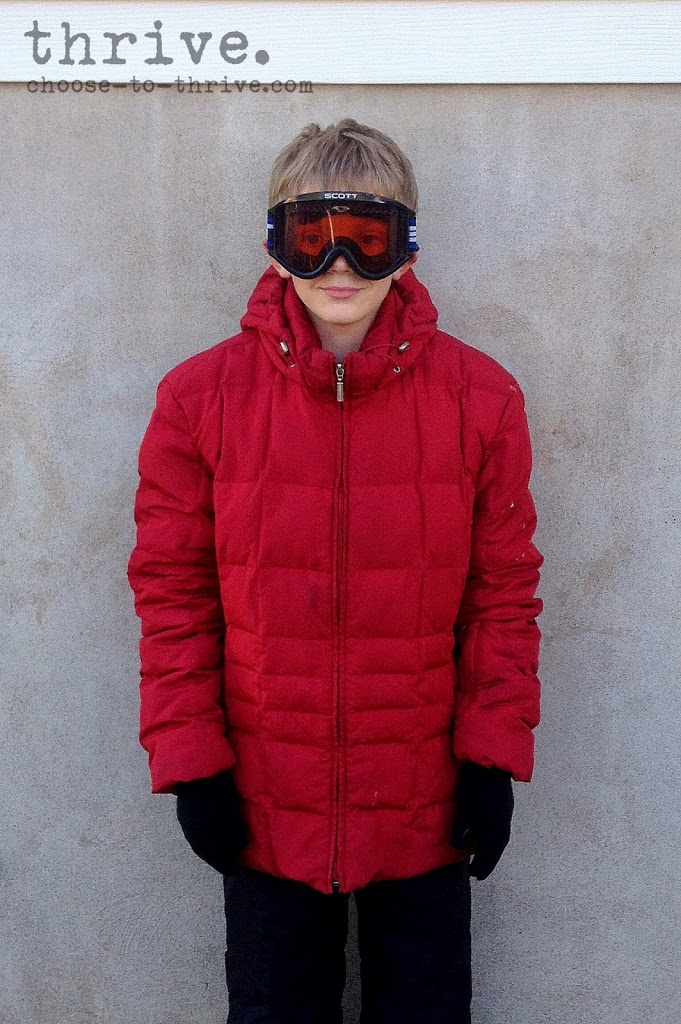
Alpine Skier
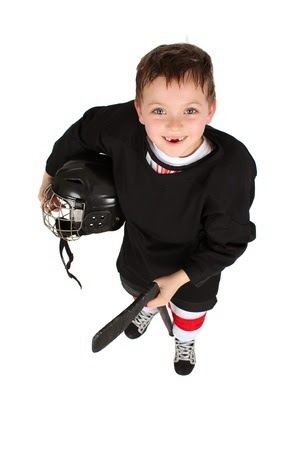
Hockey Player
Karate Kid / Martial Arts

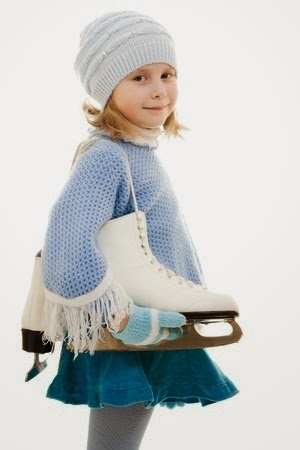
Ice Skater
Tennis Player

Need more sports ideas?
* GOLFER
* GYMNAST
* BASEBALL PLAYER
* CHEER LEADING
* WRESTLING
* TRACK & FIELD
* BALLERINA
* DANCER (Jazz, Tap, etc.)
* DANCER
Got any Camo Shirts or Jackets?
Hey, where did you disappear to?
Hunter
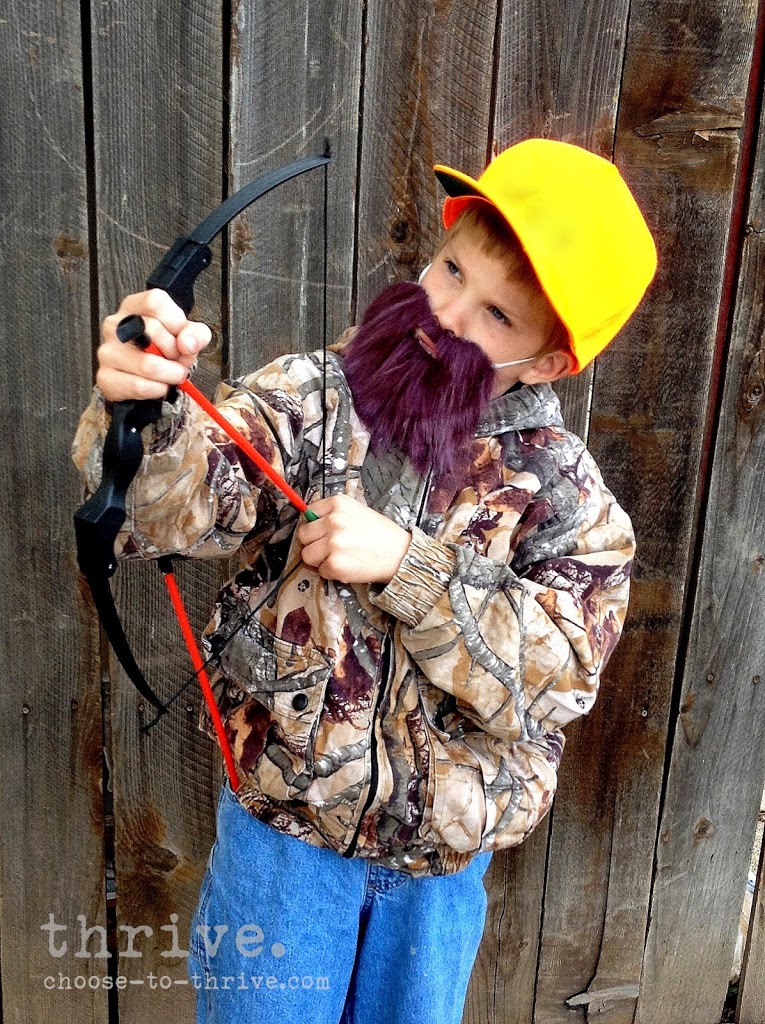
Shop Your Closet: hunter camo coat/shirt, jeans
Shop Your Stuff: n/a
Shop Around/DIY: dollar store bow & arrow (or use own); florescent cap from thrift store
Inspired by Duck Dynasty
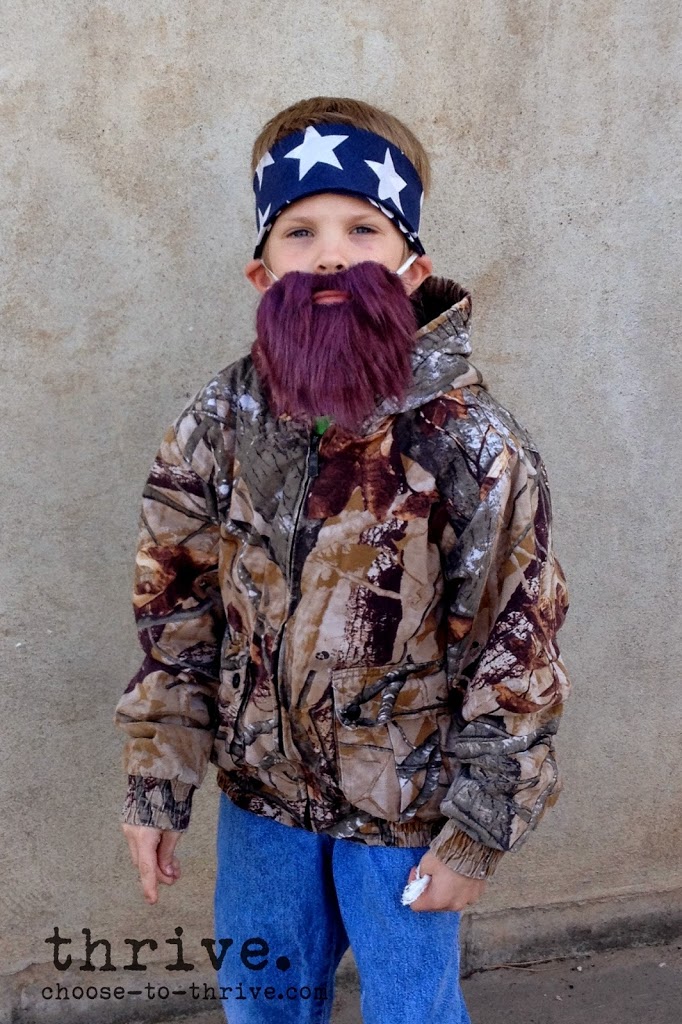
Shop Your Closet: hunter camo coat/shirt, jeans
Shop Your Stuff: n/a
Shop Around/DIY: beard from dollar store, $1 Duck Dynasty bandana
Military/Soldier

Shop Your Closet: camo shirt, hat
Shop Your Stuff: n/a
Shop Around/DIY: toy dog tags
What about plain ‘ol shorts?
We got shorts covered.
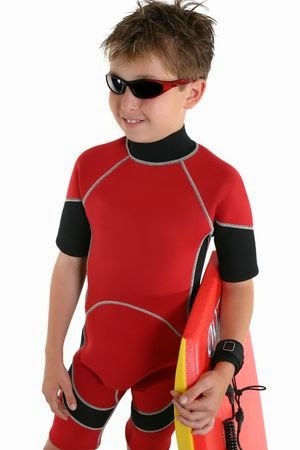
Lifeguard

Shop Your Closet: plain white shirt, shorts, flip flops
Shop Your Stuff: towel or whistle
Shop Around/DIY: red vinyl “Lifeguard” cut and added to the shirt (or paint, stencil or use iron-on vinyl)
Clown
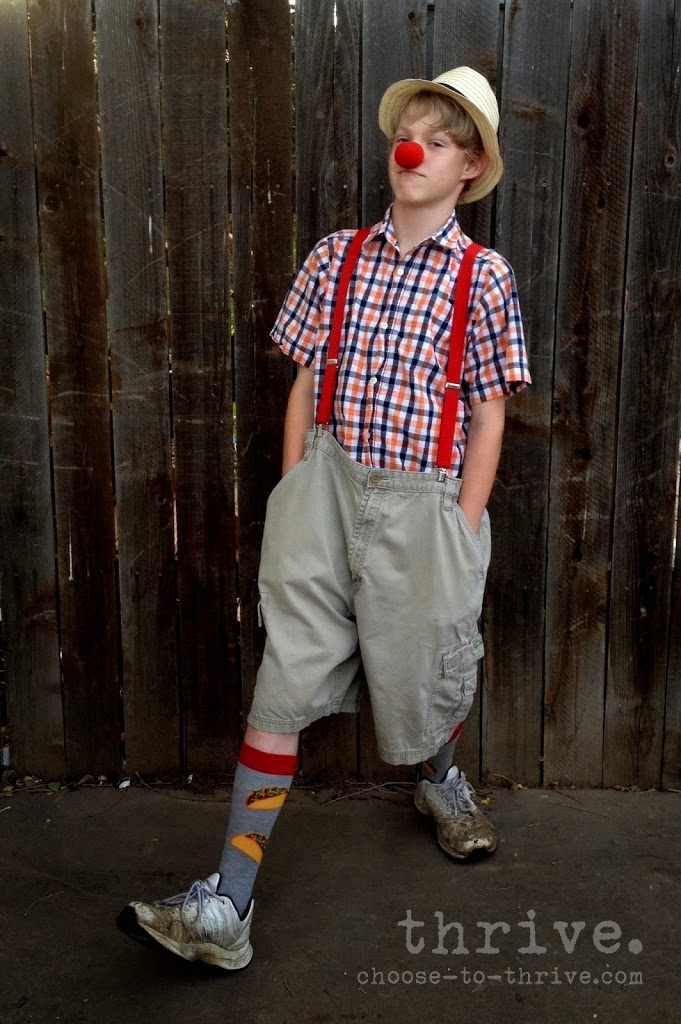
Shop Your Closet: n/a
Shop Your Stuff: dad’s shirt, shorts, socks and shoes
Shop Around/DIY: dollar store clown nose and fedora; suspenders
Surfer
Need more ideas for shorts?
* SWIMMER
* CHARLIE BROWN
Anything else we could use?
Got an old graduation robe?
Harry Potter

Shop Your Closet: white dress shirt, grey vest
Shop Your Stuff: scar made with mom’s eye liner pencil
Shop Around/DIY: scarf is made from scrap t-shirt fabric sewn together; glasses were $1 at Michael’s; wand is a bamboo skewer covered with paint and hot glue; robe is from graduation (or $5 from thrift stores).
Hermione Granger
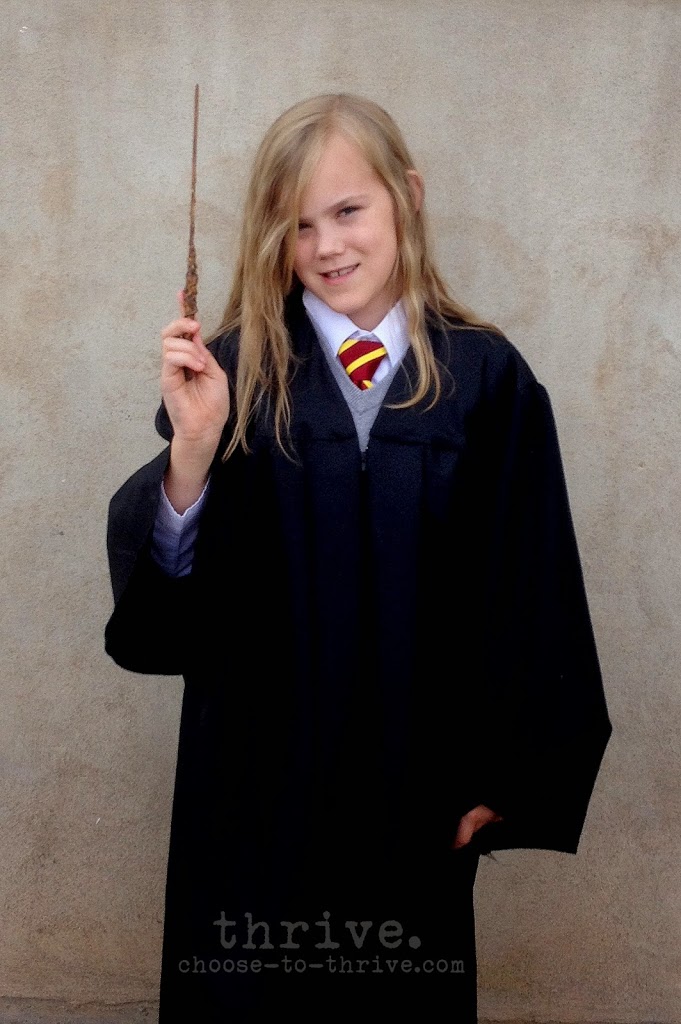
Shop Your Closet: brother’s white dress shirt; grey vest,
Shop Your Stuff: n/a
Shop Around/DIY: add stripes to a red tie with yellow vinyl or tape; robe from graduation or $5 from thrift store; wand is a bamboo skewer covered with hot glue and painted brown.
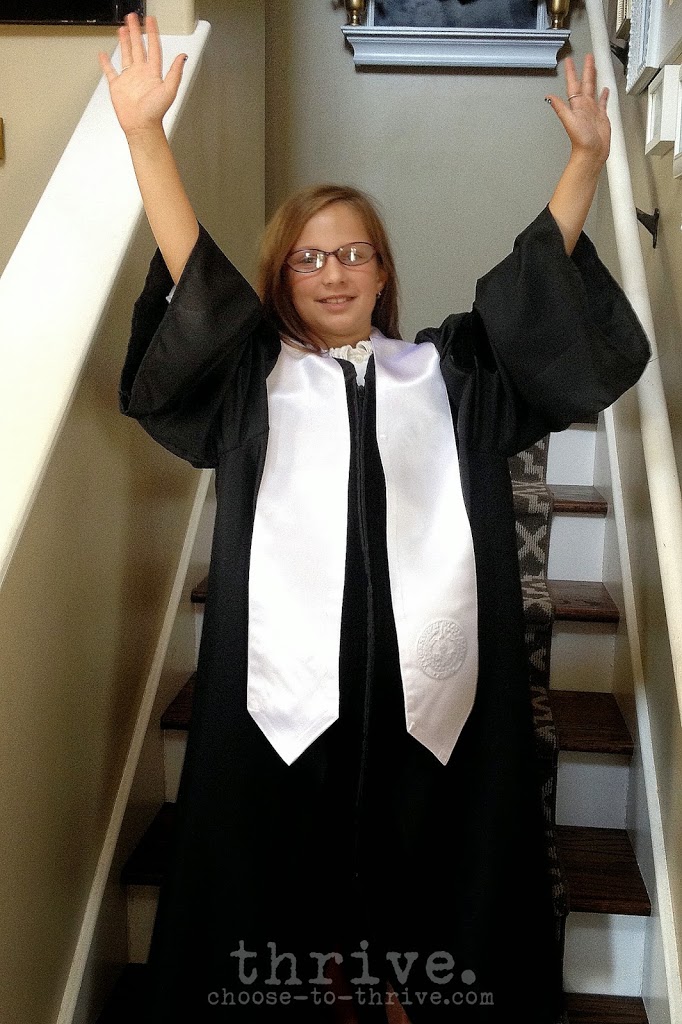
Gospel Singer
Shop Your Closet: n/a
Shop Your Stuff: old graduation robe or …
Shop Around/DIY: … or $5 from thrift store
Graduate

Shop Your Closet: n/a
Shop Your Stuff: old graduation robe or …
Shop Around/DIY: … or $5 at a thrift store
What about a leather or canvas jacket?
Katniss Everdeen
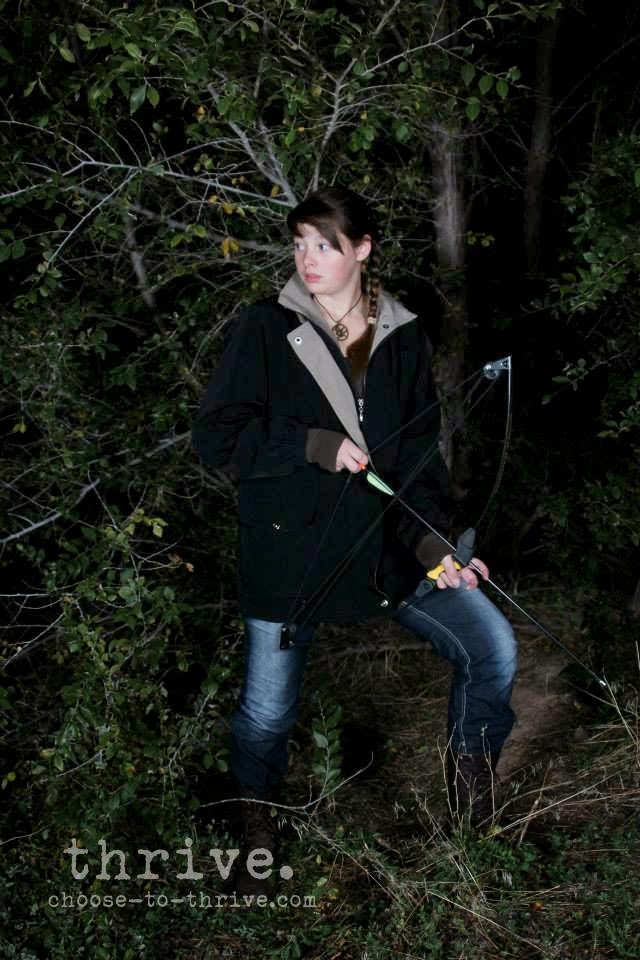
Shop Your Closet: leather or canvas jacket
Shop Your Stuff: Mockingjay necklace or pin
Shop Around/DIY: bow and arrow (or bow and arrow from dollar store); quiver made from cardboard and covered in black duct tape.
Even Cardboard Can Make A Great Costume
Really? Yes, really.
Here’s some cardboard-based costumes we’ve used in years past.
Wall-e

Shop Your Closet: long-sleeve shirt, black sweats
Shop Your Stuff: duct tape
Shop Around/DIY: square box painted yellow and embellished with paint and vinyl; Wall-e’s track is strips of duct tape down the front of the black sweats; hands are grey to-the-elbow dollar store gloves that have fingers taped together with duct tape.
Butterfly
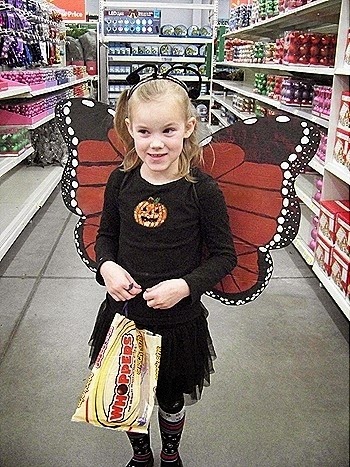
Shop Your Closet: black shirt and skirt
Shop Your Stuff: black head band
Shop Around/DIY: cut wings out of cardboard and paint as desired. Attach to child with old nylons. Make antennae by wrapping black pipe cleaners around black headband.
Thomas The Tank Engine & Friends
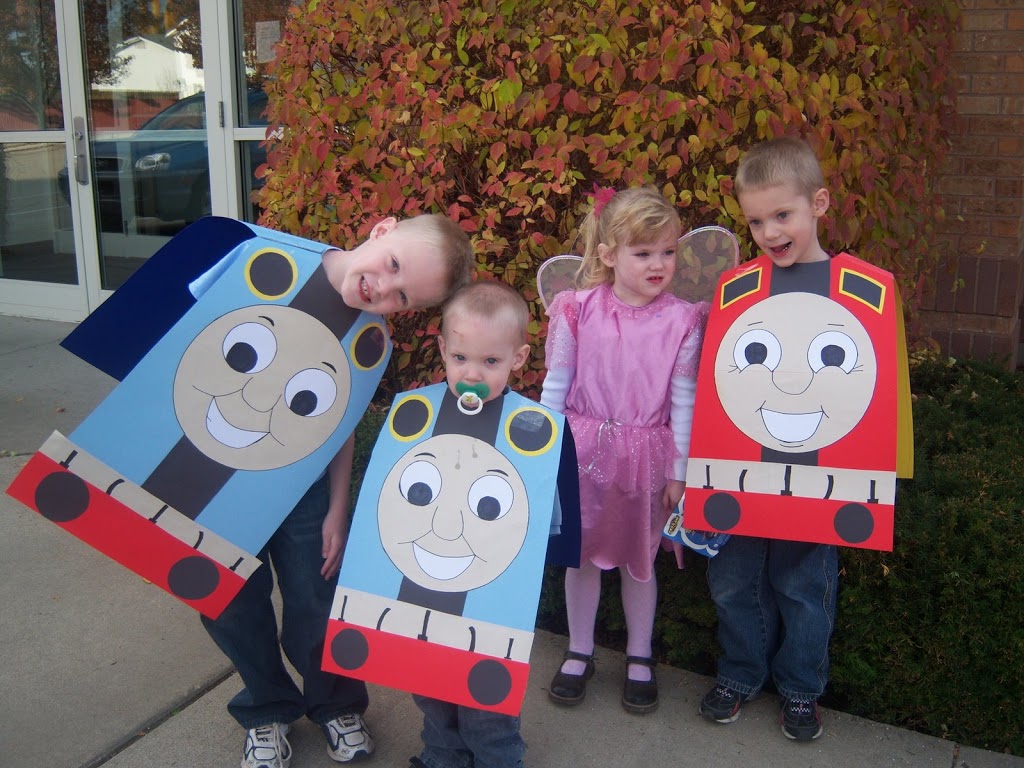
Shop Your Closet: jeans and t-shirts
Shop Your Stuff: sharpie markers, glue and tape
Shop Around/DIY: train costumes are made entirely from different colored poster board taped at the shoulders to fit over top of a child.
How about using an old sheet?
* MUMMY
* GHOST
* STIG (from Top Gear)
* PRINCESS LEIA
* GREEK GODDESS
* CLEOPATRA
Happy Halloween from THRIVE!