Tag

Cardboard

Browsing

As I mentioned in my last post, me and my kiddos are excited to share what we’re going to BAKE, MAKE, DECORATE and also SHOP this holiday season. This week we’re in DECORATE Land and, true to my word, I’m letting the kids call the shots. 

And I gotta admit … it’s tough.

Why?

Is it because I’ve got some awesome ideas on my Pinterest boards?

Sure.

And because I’m pretty crafty and I’ve been planning for months to make stuff?

Yup.

But when I’m really honest I’ll tell you that I want my house to look awesome-wonderful-color coordinated-festive-wow-she’s-amazing-even-though-they’re poor when my friends come over because it helps my self esteem. Letting go of that part of my vanity in favor of letting my kids find their own magic was harder than I thought.

But this ‘kids in charge’ thing has been awesome.


I drug out the Christmas bins over Thanksgiving weekend and sat the kids down to make a plan.

Plan? What’s a plan, mom?

They just wanted to go nuts and start throwing things up. And I almost ruined the whole dang thing by insisting on them planning their spontaneous holiday decorating. When I finally got out of the way and let them welcome Christmas on their own terms, I had the funnest night in a long time.

And so the kids claimed my for-the-entry-way-only mini trees and hauled them down to their rooms. And decorated the heck out of them. And added gobbs and gobbs of extra colored lights. And they were so stinkin’ proud of how they turned out.

See?

2012-11-27

And they insisted on using every ornament – every.single.one —on the tree in the living room. I think some potted poinsettias, candy cane pens, a glitter tree headband and wooden power lines from my son’s model railroad also made it on there, too.

2012-11-20

Even the old-metal-hanger-tinsel-star that Mr. Thrive and I made after we got back from our honeymoon wound up on the tree, too.

SONY DSC

Haven’t seen that thing in forever. Does seem oddly appropriate, though.

And after a solid hour of Christmas music, the kids were in the mood for something a little more upbeat from mom’s playlist. Done. And man did these kids have a blast rocking out and decorating away to 2012’s newest holiday anthem: Gangnam Style.

When they were all done, our Christmas tree looked like this:

Christmas Decorating Gangnam Style - choosetothrive.blogspot.com

A department store “Holiday Dream Tree” this is not.

And my kids’ lovely décor will never, ever make the rounds on Pinterest. As a blogger, that should be a big no-no.

But six kiddos giggled and laughed and rode air horses late into the night while this happy momma snapped pics and finally let go again of that reoccurring feeling of sadness for what I can’t give them. What we can create together as a family is more than enough and I’ve got the pictures and video to remind me when I forget again.

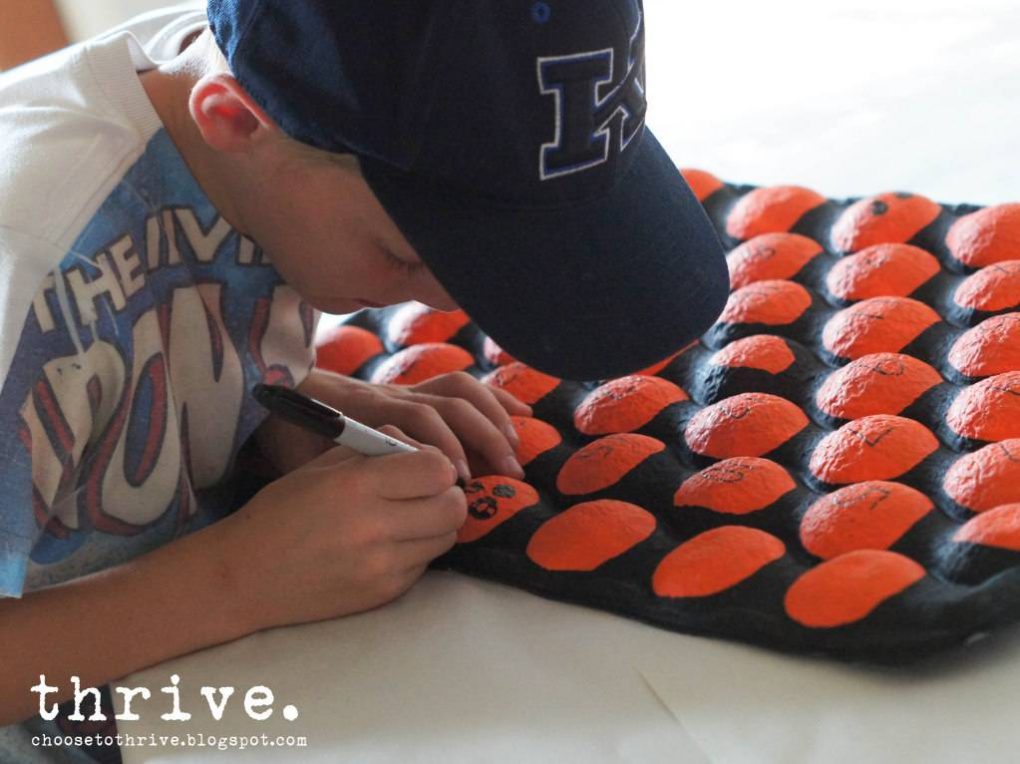
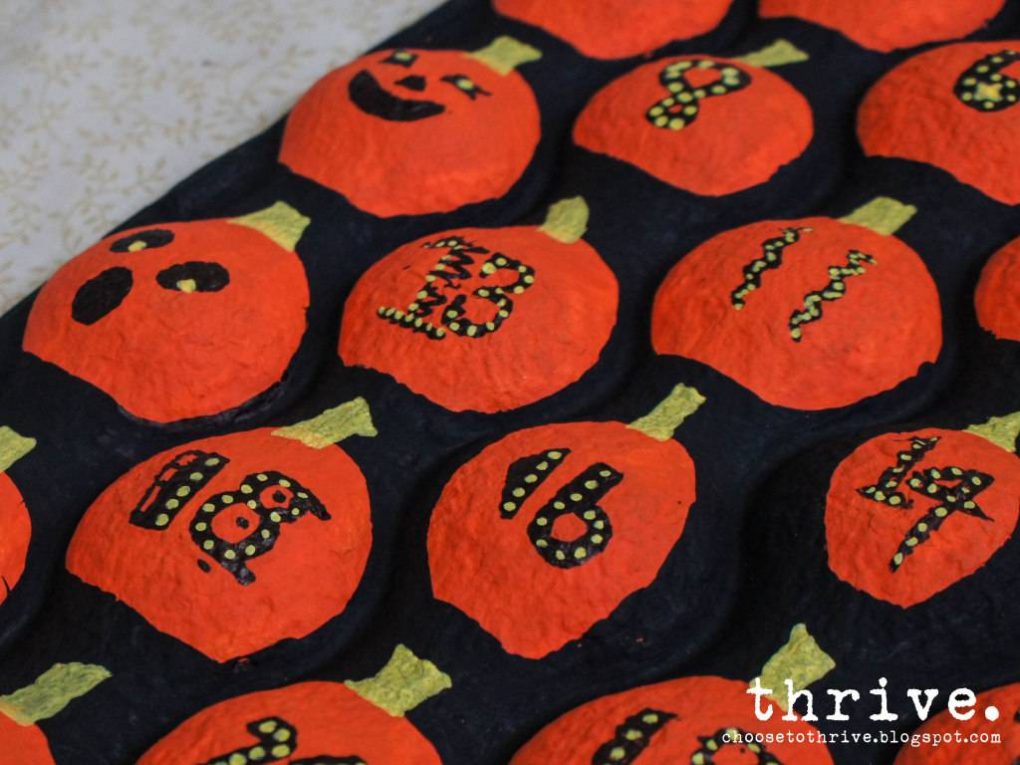
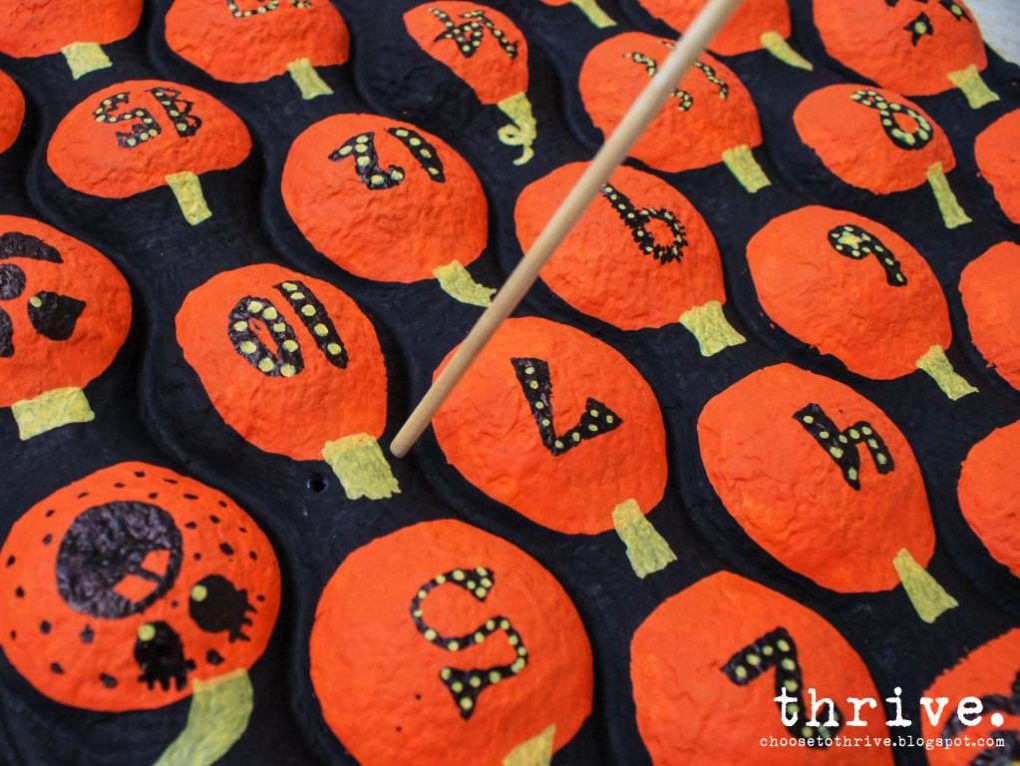
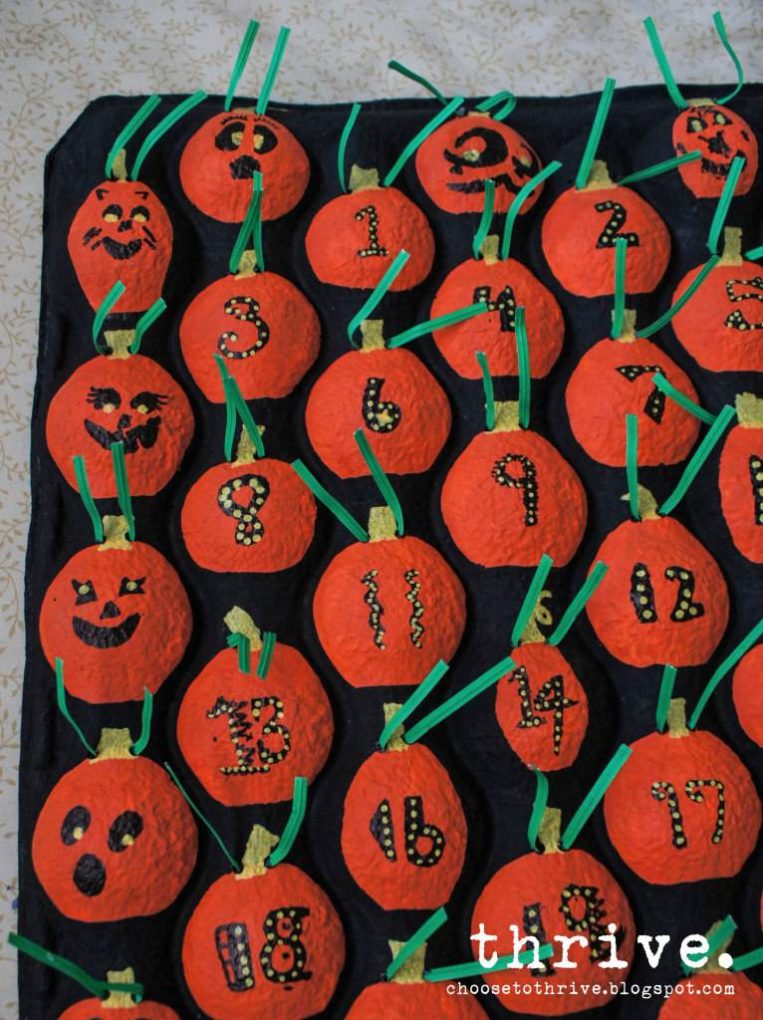
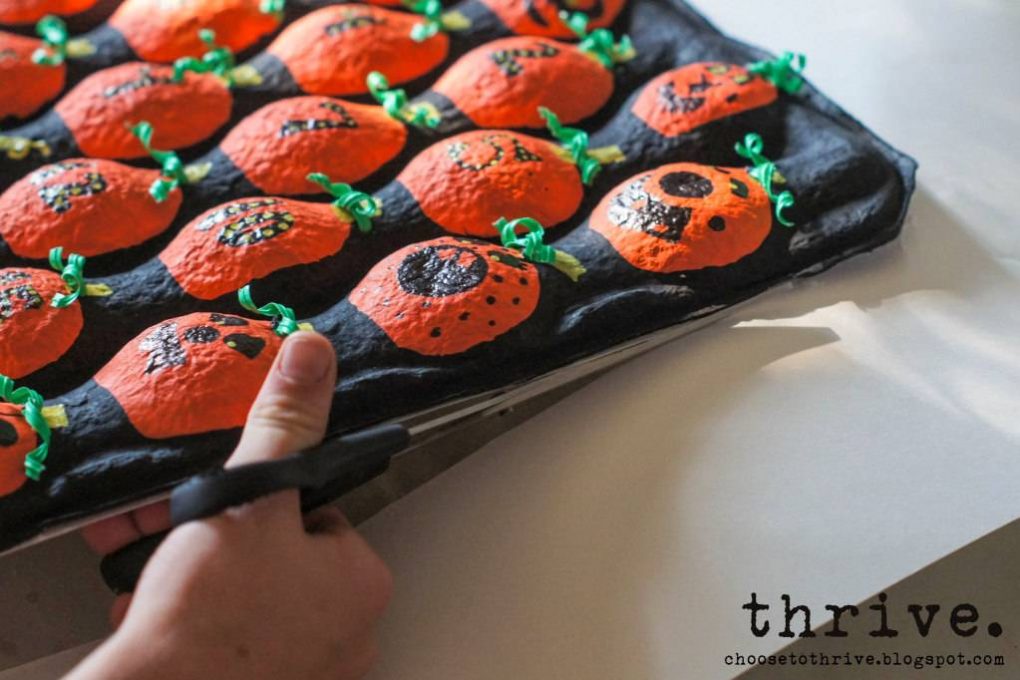
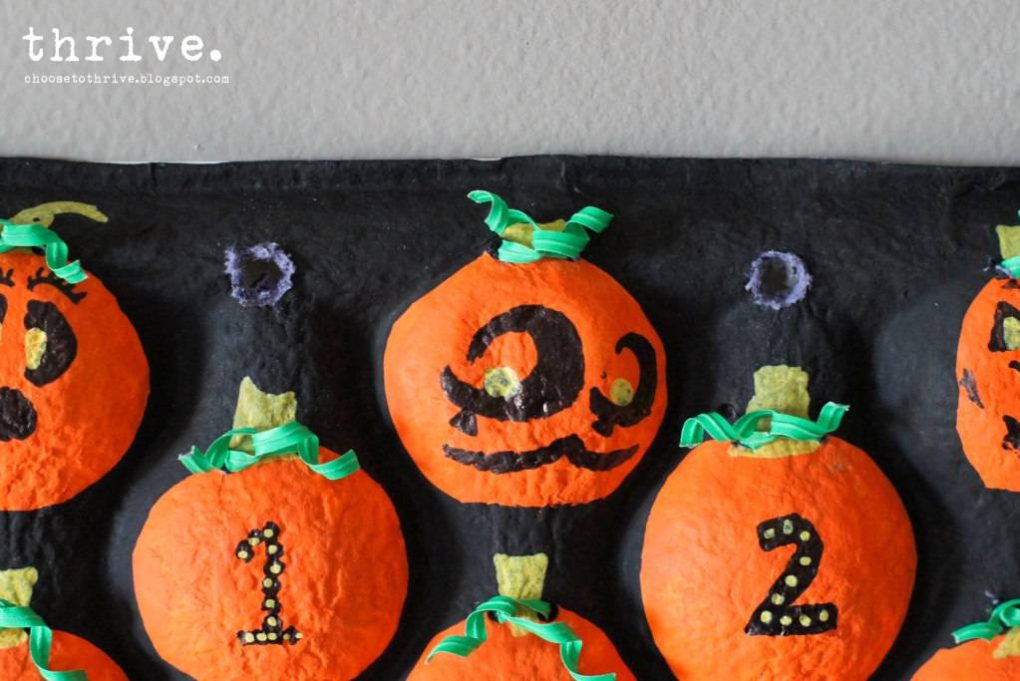
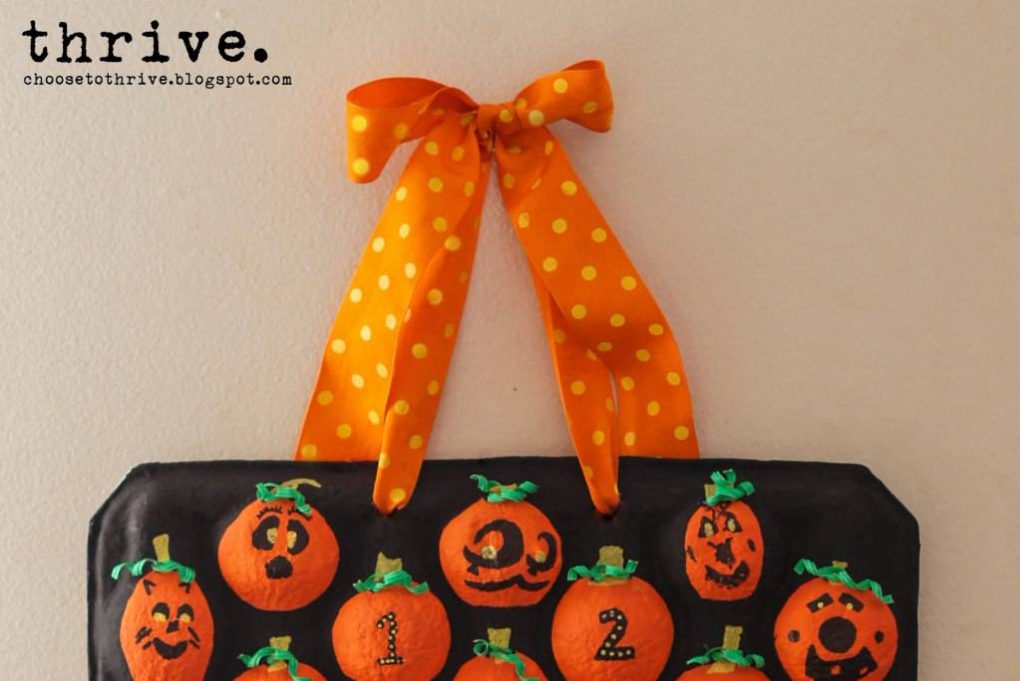
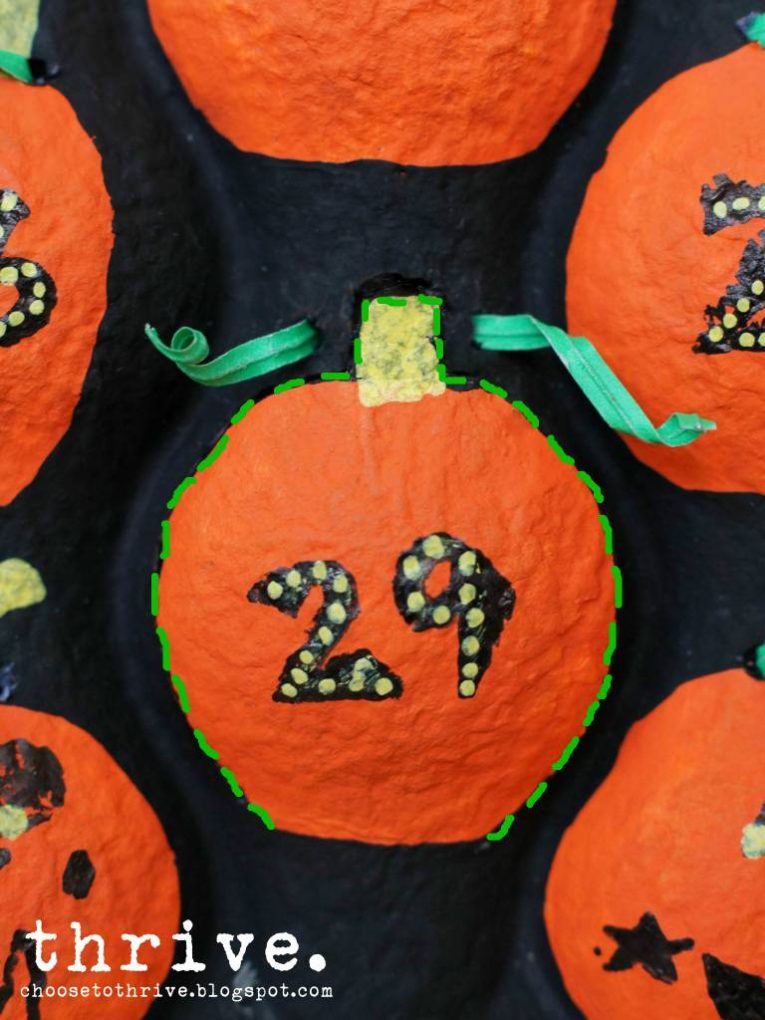
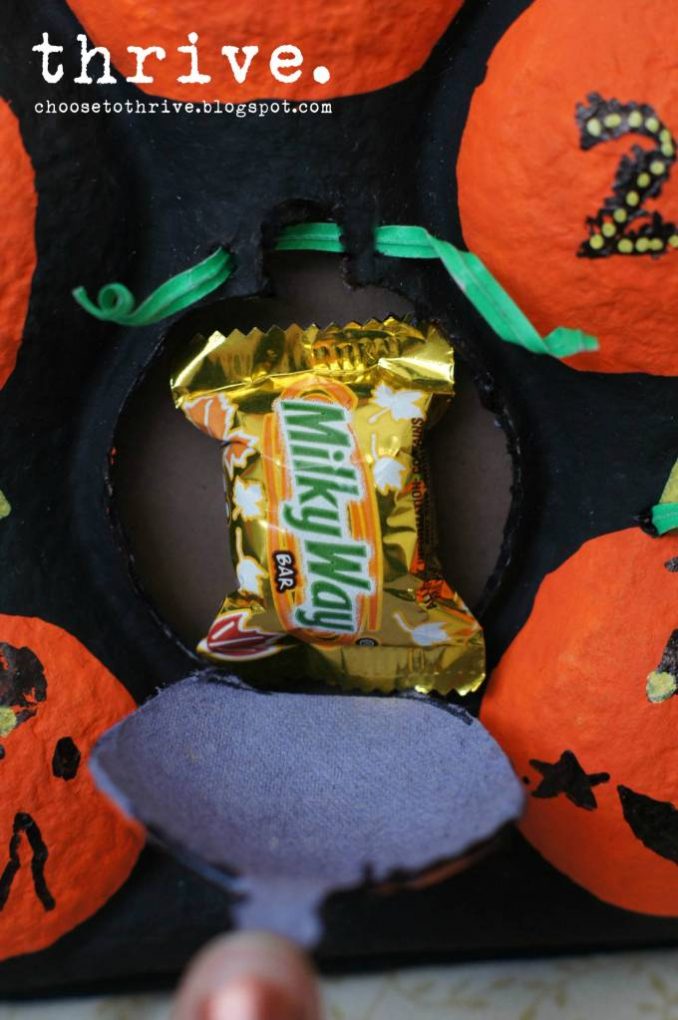
There’s been lots of glue gun action and sewing over the weekend as my kids had fun bossing mom around.

Christmas Decorating Gangnam Style - choosetothrive.blogspot.com

We’ve even got a new holiday playlist on iTunes that we’ve been rocking out to … more Gangnam Style, The Piano Guys, Justin Bieber, the Gummy Bear song and even some Jingle Bell Rock. The rest of this week I’ll be posting the fun projects that we made together to decorate our entryway, faux mantel, tree and walls. Bring on the cardboard, hangers, and repurposed old t-shirt goodness … Gangnam style, of course.

(Originally shared as a guest post on Ucreate Kids here.) Holy cow … Halloween is just around the corner. That means me and my six kiddos have been on the look out for everyday items to repurpose for Halloween. This weekend we hit the mother load … in the produce isle. Turns out with some paint and glue, you can turn an apple tray into something frightfully fun.

Frightfully fun for flat-out free! You can use this at home or in a classroom as just a calendar or filled with little treats to open each day. Want to make one with your kids, too? For this project you’ll need a cardboard apple tray from the produce section +

(Produce trays are usually free from your grocery store – just ask the produce guy to grab you one.) As always I hope you’ll rock-what-ya-got and adapt this project to whatever supplies you have on hand so that you can make this for free or dirt cheap. Prime the tray with a cheapy sponge brush and whatever white paint you have on hand: craft paint, house paint, plain ‘ol primer. Just skip the spray paint – the paper tray is crazy porous and sucks it all up.

Add a coat of orange paint …

… and then carefully paint the edges and creases black with a small paint brush.

Add stems and calendar numbers with a Sharpie and paint marker.

(I marked the numbers first and let my kids do the decorating.)

The remaining pumpkins on the sides can be dressed up with jack-o-lantern faces or left plain.

Have a grown up punch two small holes on each side of the stems with a bamboo skewer …

… and thread twisty ties from behind …

… so that your calendar looks a little something like this:

Tame those unruly twisty ties with a bamboo skewer or paint brush.

Time to add the treats! Flip the tray over and add some small treats, toys or stickers to each pumpkin back. Then carefully add school glue along the ridges (orange dots below) and sides of the tray …

… lay the backing poster board or cardstock over top and gently weight the whole thing down for an hour. When dry, gently turn tray back over and cut away any extra paper or poster board from the back.

Punch two holes in the top with scissors and thread through some snazzy ribbon.

Yup, snazzy.

Your calendar is ready to be displayed! Starting on October 1st, you can “carve” each day’s pumpkin and enjoy a little treat one of two ways: 1) turn the calendar over and carefully remove the candy from behind — OR — 2) gently untie the twisty tie, carefully cut around the pumpkin and stem …

… open each pumpkin like a little clam shell and enjoy your yummy treats.

Retwist to close the pumpkin and you’re ready for the next day. (Of course you could cut all 31 pumpkin shapes ahead of time and just retie the little twisty ties, but I chose not to. I don’t trust my little ones to stay out of the treats. 🙂 So there you go – two ways to “carve” a Halloween Advent!   And if you’re looking for more fun projects like the ones below, check out Thrive’s holiday tutorial page.

100_3957

It dropped another five degrees today which means another chance to use around-the-house items to add some fall lovin’  to our newly painted upstairs (more on that later this week.)

100_3959

The end result was three, texture-licious frames in yummy fall colors straight from the pantry and recycling bin.

100_3944

100_3900

100_3925

Want to make your own?

To make these frames you’ll need:

100_3784

(Edited to add: I’ve gotten a few emails about lentils. You can find them next to the rice or in the bulk food section of your grocery store. They run $0.60 – $1.25 / lb.)

As always I hope you’ll rock what ya got and make this look work for you without a trip to the store.

I made simple, three-layer frames from {unused} pizza boxes and wood glue …

100_3789

… and covered the raw edges with paper scraps for a nice, clean edge.

100_3793

Frames got a quick coat of paint in the closest color I had to my lentils using my nicest fountain drink palette and a foam brush …

100_3802

… just to make sure none of that cardboard showed through.

Craft wire was wrapped around the frames to make a simple hanging loop for the back.

100_3805

Frames were propped up on some cans and a thick coat of white school glue was applied with a cheapie foam brush.  More is more here, people. Don’t skimp. Lentils were gently poured on in a thick layer and pressed carefully in place.  Do NOT shake off the extra until the glue has dried several hours.

100_3821

The sides of the frame were covered the same way after the top had thoroughly dried.  Pictures and mats were taped in place. Easy. Quick. Done.

Love the texture, but not the color?

No biggie.

I loved—LOVED—the orange lentil frame, but hated it with my living room wall color.  Boo. {Maybe I’ll have to make another one for Halloween.}

Sept 2011 BLOG1

So I just painted over it.  A little copper craft paint and the problem was solved.

100_3965

Much better match up against those grey walls.

Love.

100_3967

A few THRIVE tips to save you some headaches:

1. If you’re painting your lentil frame, spray paint is easiest. But if craft paint is all you got, thin it down to make it flow like a glaze. I went with 3 parts paint, 1 part water, 1 part white glue and it worked great.

2.  Don’t touch your frame for several hours while the lentils are drying. Don’t shake off the extra. Don’t move it. Leave the dang thing alone. Seriously. If you move or shake off the extra too soon, you’ll get a really thin, spotty layer.  See?

Sept 2011 BLOG2

3. If you skimped on the glue and/or ignored tip #2 — don’t worry. Mix 2 parts glue + 1 part water and pour it over your frame, spreading gently with a foam brush. Then recoat with a thick coat of lentils and let it dry over night before shaking off the excess.

Happy straight from the pantry fall crafting!

100_3897

Featured on:

featured as-seen-on_150x150pixel top.10.csi

Linking up to:

The CSI Project, Skip To My LouCraft-O-ManiacC.R.A.F.T., The DIY ShowOff *  Stories of AtoZ, Tip JunkieSugar BeeToday’s Creative BlogSassy SitesMy Uncommon Slice of Suburbia * Someday CraftsLil LunaWe Are That FamilyBlue Cricket DesignsThe Thrifty Home, * House of Hepworths, *Remodelaholic FridayTidy MomWhipperberryKojo DesignsChic On A Shoestring, Momma’s Kinda Crafty, *Tatertots & Jello,  Be Different Act NormalFunky Junk Interiors * I Heart NaptimeUnder The Table and Dreaming