Tag

Outdoor

Browsing

We spend a lot of time designing and developing the interiors of our home. Usually, even after we have lived in a place for a while, interior design changes are an ongoing process.

However, a lot of us end up neglecting the outdoor of our homes which is not just an equally important space, but also a place where families can come together and spend genuine quality time with each other.

When we say outdoor spaces, we mean your backyards, front porch, terrace, balconies, any open space around your house that is within your overall property.

So if you are ready to have some fun and want projects that can be enjoyed by your entire family, here are some home outdoor design ideas that you and your loved ones can enjoy for years to come.

Build an Aesthetically Designed Garden

Regular readers of Thrive will know how much I love gardening. However, in this instance I am not talking about building a standard garden with some plants here and there.

I am talking about designing a special garden that speaks to you and your family. Depending upon the space you have, you can create a wonderful garden full of different colours, variety of plants and other additions that brings life to the entire backyard.

You could have a small pond created in the middle. You can have one side of the garden dedicated to birdhouses. You can have herbs and healthy living plants on one side. You can allocate different plants as per the colour of their leaves and flowers they produce.

Your garden does not need to be square or circular. You can have plants arranged in various ways to create patterns. The garden can have paved tiles strategically placed all around so you can take a walk whenever you want with beautiful garden lamps along the path.

Your garden can be anything and can have anything. All you have to do is imagine, plan and execute. It does not matter the size. It could simply be a balcony garden. Creating your dream garden is one of the best outdoor design projects you can take up any time of the year.

Also if you are wondering whether the kids will get involved, well if you share your vision and allow them to be part of the creative process, they will definitely be excited about their new garden.

Create a Plunge Pool

Swimming pools are the absolute best for family times together. They are awesome not just for some fun in the water, but also for spending wonderful evenings around the pool, talking, maybe having a barbecue etc.

However, not everyone has the space or budget to build a proper swimming pool in their backyard. For those with limited space, creating a plunge pool is the next best thing.

You can spend quality time lazing around in a plunge pool. You can spend your evenings around your pool regardless of how small it is. If you have kids, then its simply the best. Kids love to play around in a nice, safe plunge pool.

Best part about these small plunge pools is that you can buy readymade ones that need minimal effort during installation. Of course if you have the skill and patience, by all means go ahead and build one on your own.

Waterfalls and Fish Ponds

You could create a nice, soothing waterfall on one side of your backyard. You get nice, readymade waterfalls of all sizes in the market.

Just pick one that speaks to your design tastes and also matches rest of the décor of your outdoor spaces.

Waterfalls can be a great addition to your garden as well. If you love fishes and know how to take care of them, adding a small fish pond at the base of the waterfall is also a good idea. Just ensure the fishes are safe from the water recycler and pump built inside the waterfall.

Add Lighting Decorations

One of the my preferred activities around the house is to create beautiful lighting decoration.

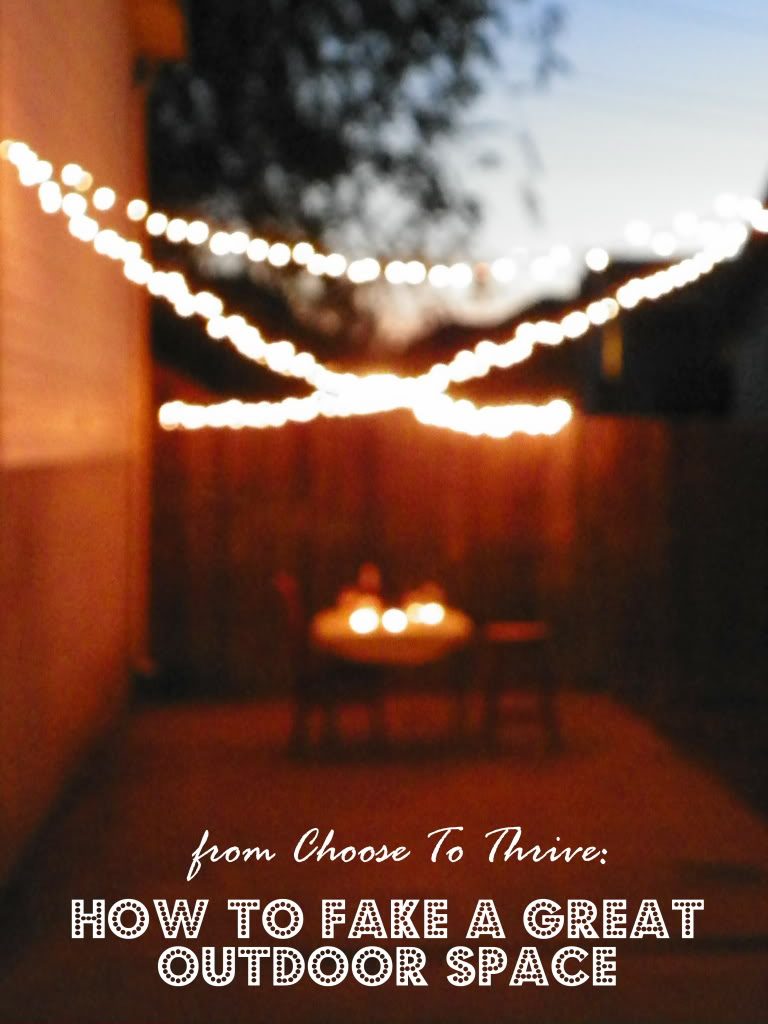
As mentioned above, you can have beautiful garden lamps around your backyard with paved tiling. You can have those amazing chain of LED lights strategically placed around plants and trees in your backyard or even front porch.

You can have lighting for different moods and different times of the year.

Good lighting adds an added dimension to your outdoor space making it much more inviting to spend quality time with the family.

Design or Renovate Your Patio

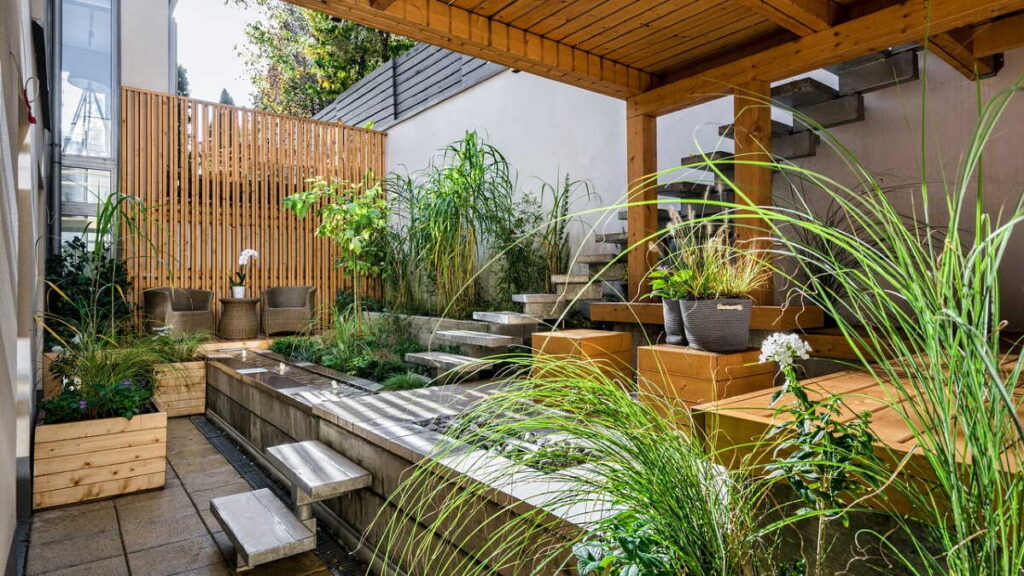
One of the more elaborate projects you can take up in your outdoor space is to design and build a patio as per your tastes and preferences. If you already have a patio, maybe it is time to renovate or add some new furniture to liven up the space.

Patios can be small with enough space for just a few chairs and a table or can be extravagant with special roof linings, lots of woodwork, barbecue facilities, ovens and sofas and tables enough to accommodate large number of guests.

All you need to do is plan properly and ensure you have the budget for the creation or renovation of your patio.

Final thoughts

Outdoor design projects can be a lot of fun for the entire family. It is not just fun during the building process but is absolutely amazing when utilizing those projects to spend quality time with your loved ones.

So do not waste any more time and get started with your latest family project. Remember, size does not matter, it is what you create with your space that matters.

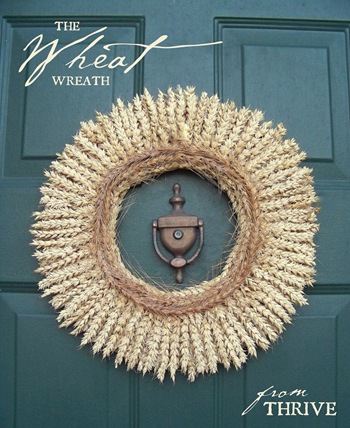
My first fall project of the year just went up on the front door.

wheat.1b

All that gleaning has sure paid off.

And this came together in a single naptime using a cardboard box for a wreath frame and wrapping it with scrap fabric like I did here.

(And do yourself a favor here and wrap some wire around your frame and make a hanging loop on the back before you start gluing on your wheat. I didn’t and it was a pain to do it after the fact.)

Wheat was attached using generous beads of hot glue for a first layer…

wheat.7

… and then second layer.  The ends where trimmed along the inside edge for a nice, clean look.

100_3499

Then extra wheat was glue along the inside edge so that none of the fabric showed through.

And just for fun, I added a double ring of red wheat near the inside edge. I love the rust color and extra contrast.

wheat.9b

I’m so excited to have this beauty up on the door, even if it is 97 degrees outside.

wheat.14

And if you want this look for your door without spending a grundle at the craft store, it’s not too late to glean! I found another field yesterday and grabbed two more bucketfuls. Good luck!

wheat.8

Featured on:

as-seen-on_150x150pixel featured

Linking up to:

The CSI ProjectSkip To My LouCraft-O-ManiacC.R.A.F.T., The DIY ShowOff *  Stories of AtoZ, Tip JunkieSugar BeeToday’s Creative BlogSassy SitesMy Uncommon Slice of Suburbia * Someday CraftsLil LunaWe Are That FamilyBlue Cricket DesignsThe Thrifty Home, * House of Hepworths, *Remodelaholic FridayTidy MomWhipperberryKojo DesignsChic On A Shoestring, Momma’s Kinda Crafty, *Tatertots & Jello,  Be Different Act NormalFunky Junk Interiors * I Heart NaptimeUnder The Table and Dreaming

One more day of high temps and I swear I’m gonna melt.

100_5487

It’s supposed to be Fall!

Even though there’s still warm/mild temperatures for most of us, now is the time to start watching for those inviting, organic accessories for your fall decor: corn stalks, grape vines, wheat bundles, and changing leaves.

88894034_sMxpdFkM_c

So how do you get those things for zero out of pocket if it’s not growing in your own yard?

Gleaning.

Do you know what it is? Have you ever done it?

Gleaning is basically collecting left over materials that the owner doesn’t want or need. For fall that means lots of opportunities to score left over wheat, corn stalks, grape vine, etc. after the main crop has been harvested.

If you’ve never tried it, you need to!

But before you start tromping through fields with scissors in hands, consider the following:

1. First and foremost, always always always ask before you take anything. Gleaning without permission is the love child of stealing and trespassing. Knock on the door or call the property owner and make sure it’s okay to glean.

2. If you don’t know who the owner is or how to get a hold of them, call the city or county recorder’s office and get the owner’s contact information.

3. Make sure you have an exact (or very close) address when you stop by or call a city/county clerk. The more information you provide, the quicker and easier it will be for them to help you.

BAD: “I’m looking for the property owner of that big field over by the freeway.”

GOOD: “I’m looking for the property owner of the field on the northeast corner of John Street and 80th Avenue.”

4. When you go to glean, be quick, be respectful, stay out of their way, bring your own equipment (scissors, garbage bags, etc.) and don’t ask for special accommodations. Remember: they’re doing you a favor.

5. Send a thank you note to anyone who helped you: the city clerk, the property owner, whatever. It only takes a few minutes and will make it much more likely that you’ll be welcomed back next year.

What and Where To Glean

My all-time fav:

1. WHEAT

Remember this project from the THRIVE archives?

100_0031

I made this project using gleaned wheat from my neighbor’s garden after she picked what she wanted. This would have run $20+ at a craft store after the coupon discount.

This year my neighbor didn’t plant wheat so I called the city recorder of the town where I saw a huge field that had just been harvested.

100_3102

Turns out the city owns that field and they gave me permission right then. Score!

100_3103

That tiny row of left over wheat right along the dirt patch yielded a bucketful. For wheat, oats or any other cereal grain, put the cut stems in a bucket—using a garbage bag for collection makes a huge mess and often breaks the stems.

2. CORN STALKS

corn.stalks

I use them every year on my front door and will this year, too (even though I’m planning some fun, big changes).

Talk to your to friends and neighbors with garden patches now about gleaning their left over stalks. Commercially harvested fields may now have a lot of stalks left over, but small patches that are harvested by hand are great places to look. Bring twine and hedge clippers to lop through and bundle your stalks. Green stalks will need a few weeks to dry completely and acquire that wonderful parchment color.

3. GRAPE VINE

pumpkin

Love, love, love.

But those shapes can get pricey, even with the wonderful 40% off coupons. Making your own shapes is easier than you may think so look around. Ask neighbors, friends, etc. if you can help trim back vines when their grapes have been harvested.  They get some help and you get the raw materials to make wreaths, swags, frames, pumpkins, whatever. Win, win.

4. LEAVES

SANY1296

They’re pretty much everywhere which makes this easy. Picking up leaves at a park or along a public walk way is usually no big deal. If you’re worried, it never hurts to call the local city public works department and double check.  If you see great leaves on private property, again–always ask before collecting! I’ve seen great leaves on lawns while I’m out running errands, pulled over and gone and knocked on doors before.

My favorite way to use leaves is to string them together on twine or fishing line for a simple, pretty bunting.

I usually store leaves in between the pages of large books while they dry out. The flattened, leathery leaves are easier to use for projects than the more brittle, curled shape you usually get with regular air drying.

5. CORN HUSKS

husk.pics Images: 1. Growing Corn 2. Amazon.com

Sure, you could go guy these at the grocery store, but you can also just save those husks after your next bbq. Trim off the thick, curved bottom end and press the individual husks in between book pages (just like leaves) so they dry smooth and flat. Husks are so under appreciated and versatile. Seriously, make sure you save some.

So go put some scissors, gloves and a bucket in your car and try your hand at gleaning!

Happy

please-for-the-love-let-it-cool-down-soon

Fall!

100_3175

 photo csi34.jpg

(Originally posted on The CSI Project)

My mission to live and craft without spending a dime carried over into my yard this week as me and my kids geared up for the holiday weekend. Because who wouldn’t love to enjoy the 4th in an amazing outdoor space?

But as it turns out, I’m fresh out of amazing outdoor spaces.

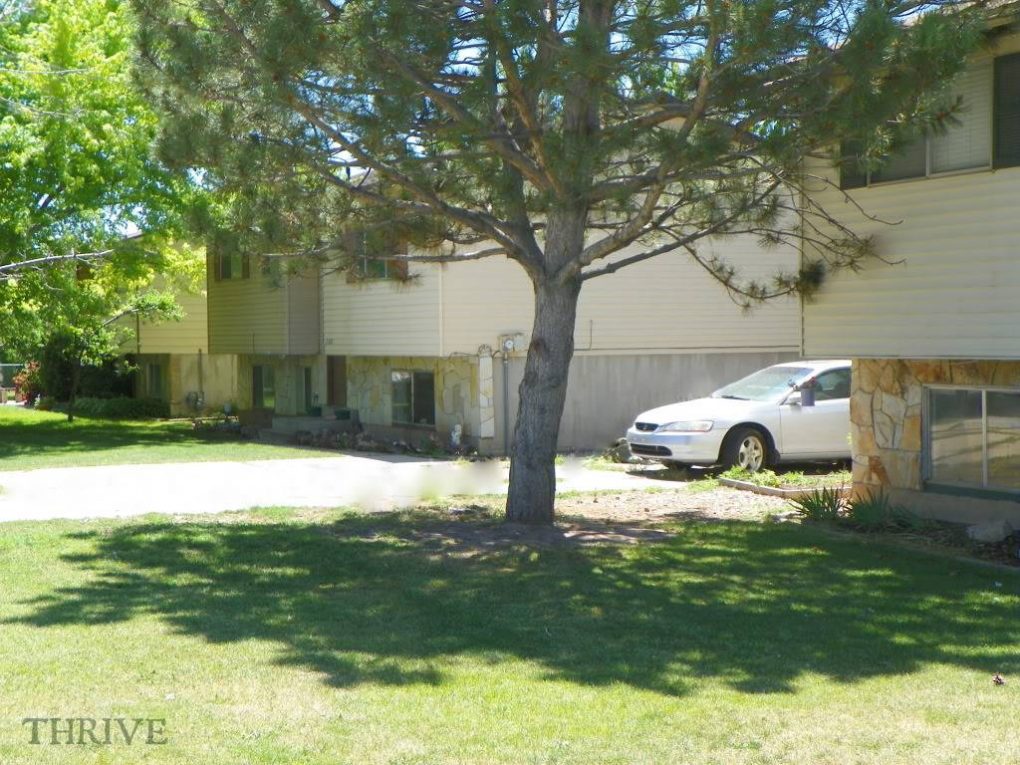
The back yard is being reseeded, spending any money on decorating is a no-no right now and my front yard looks like this:

 photo csi3.jpg

average 1970’s split-level, average landscaping, average trees, average grass.

Yawn, right?

I thought so, too, until I started rummaging around the kitchen and junk drawer.

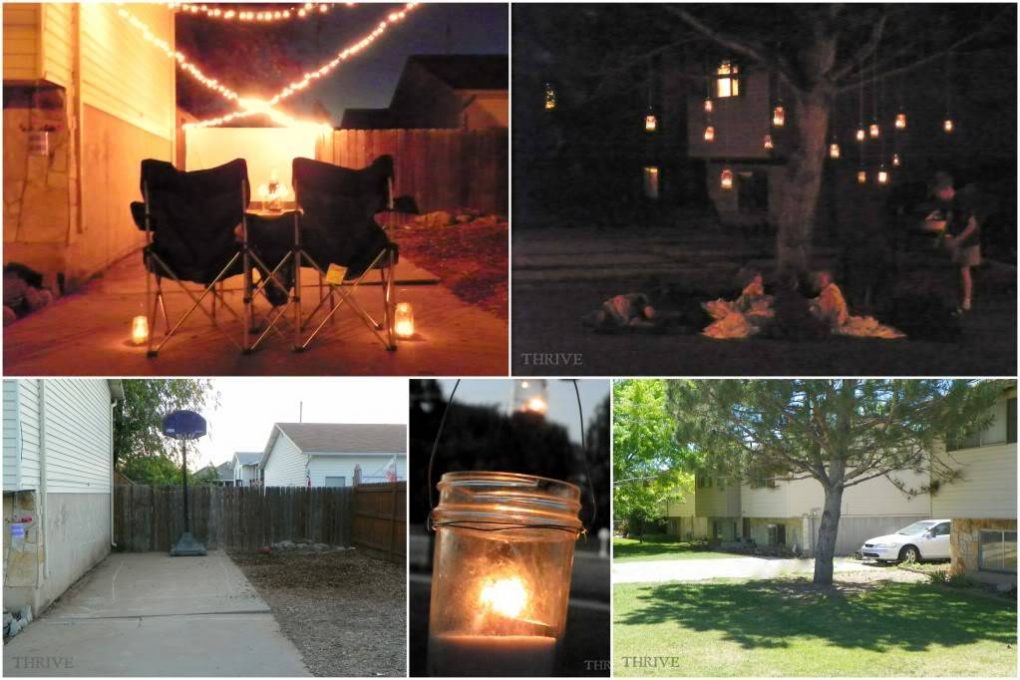
So in true rock what ya got style, I’m here to show you how I used items from around the house to FAKE two great outdoor spaces (and how you can, too!)

Space No. 1: Date Night In The Driveway

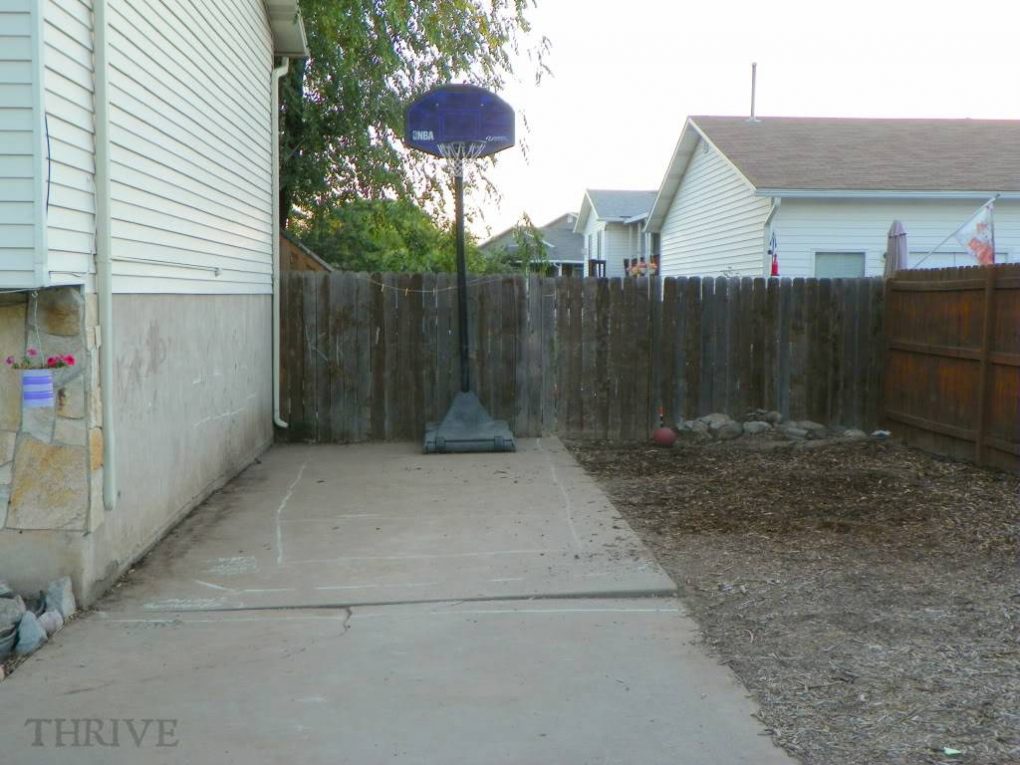
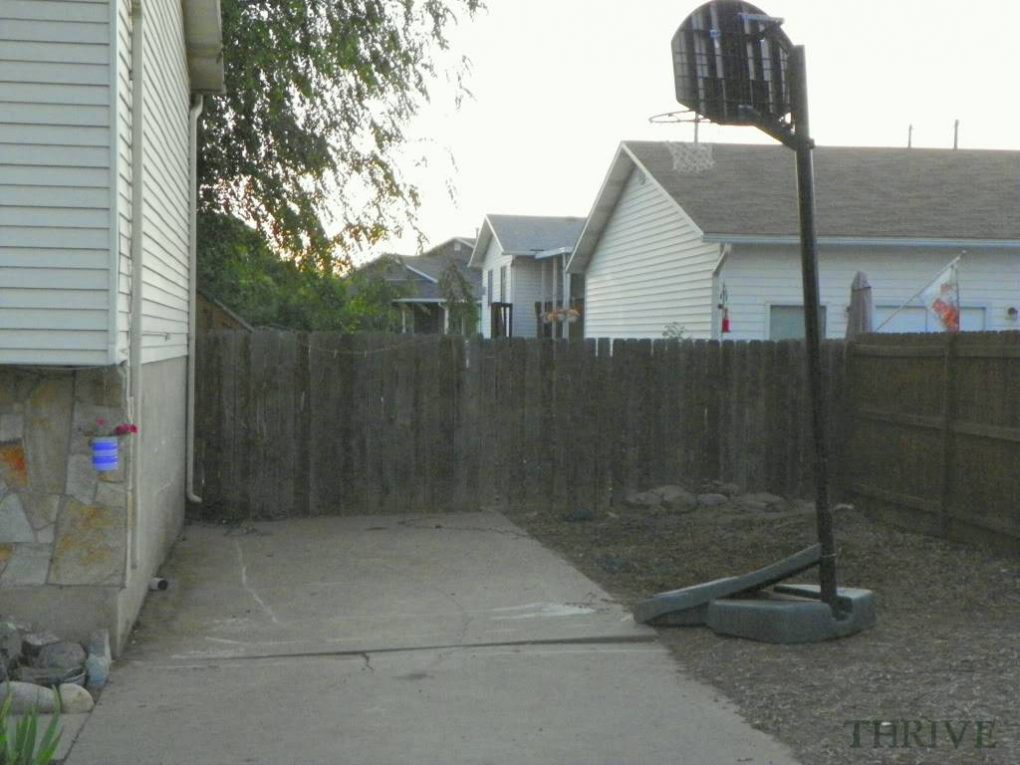
Here’s a look at my boring suburban driveway.

 photo csi5.jpg

But with a little imagination … and some rearranging …

 photo csi6.jpg

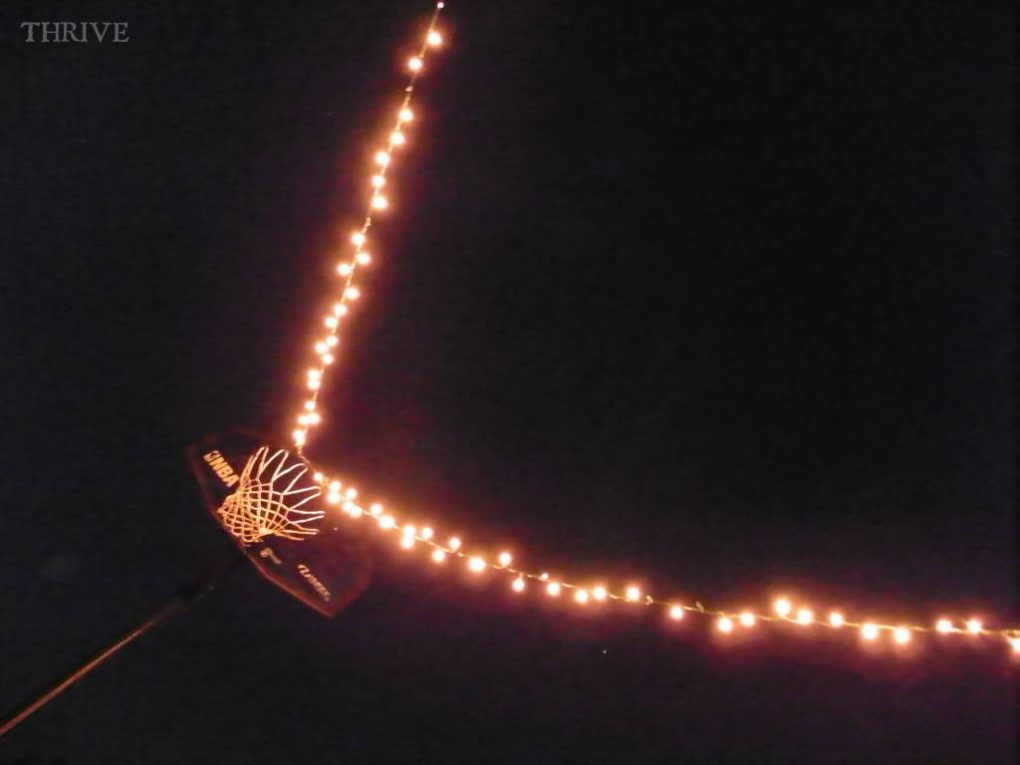
… and some Christmas lights and twisty ties …

 photo csi38.jpg

that driveway becomes something else entirely:

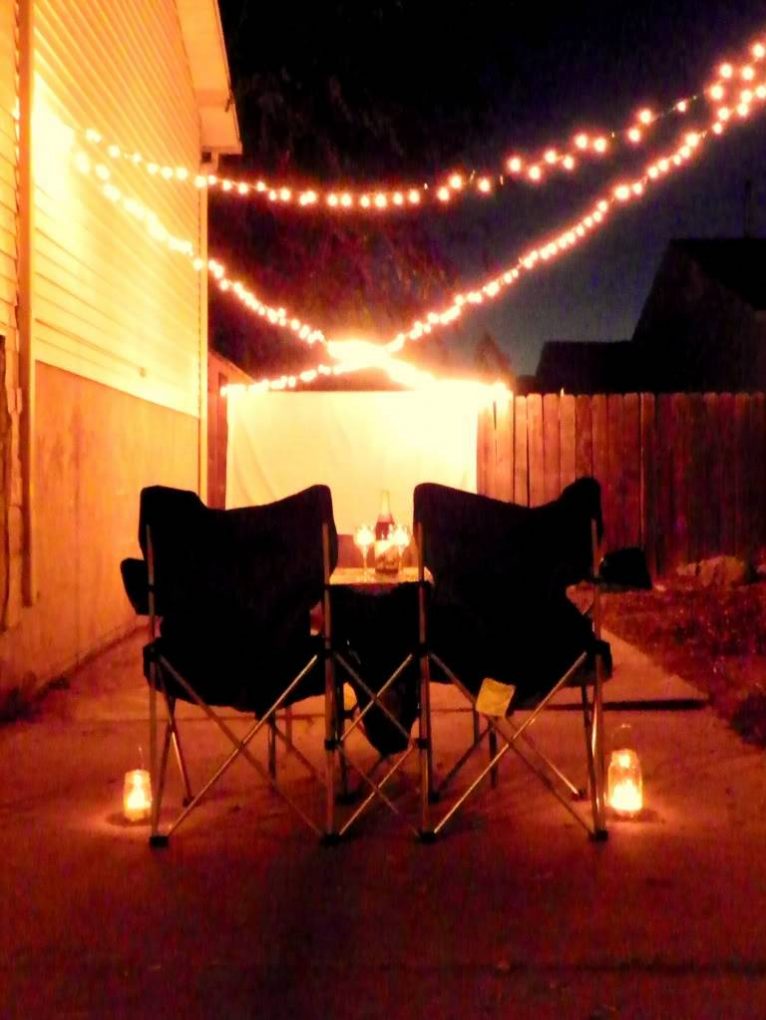
 photo csi2.jpg

a driveway bistro get-away perfect for a stay-at-home date night dinner.

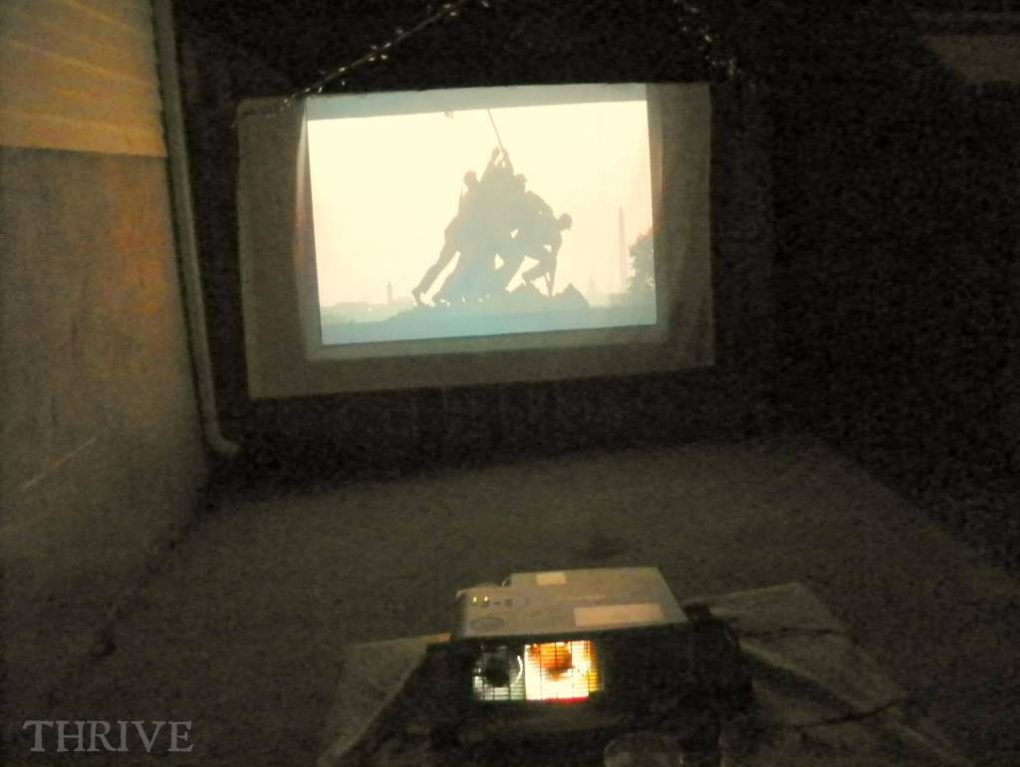
And as soon as dinner’s done, the drive-in theatre comes to you with movie night on the fence. All it takes is a queen size white sheet, a borrowed projector and a $0.99 movie rental.

 photo csi16.jpg

And you can bet that my driveway is going to look just like this again tonight as Mr. Thrive and I remember when we met 15 years ago at a 4th of July display … and how we went and saw Independence Day the next day for our first date … and shared popcorn and Hot Tamales … and how 1 house, 2 layoffs and 6 kids later we wouldn’t change a thing.

Space  No. 2: Under The Tree

Here’s another look at my front yard:

 photo csi3.jpg

Again, nothing to write home about.

But with a little digging around the kitchen and craft room …

 photo csi21.jpg

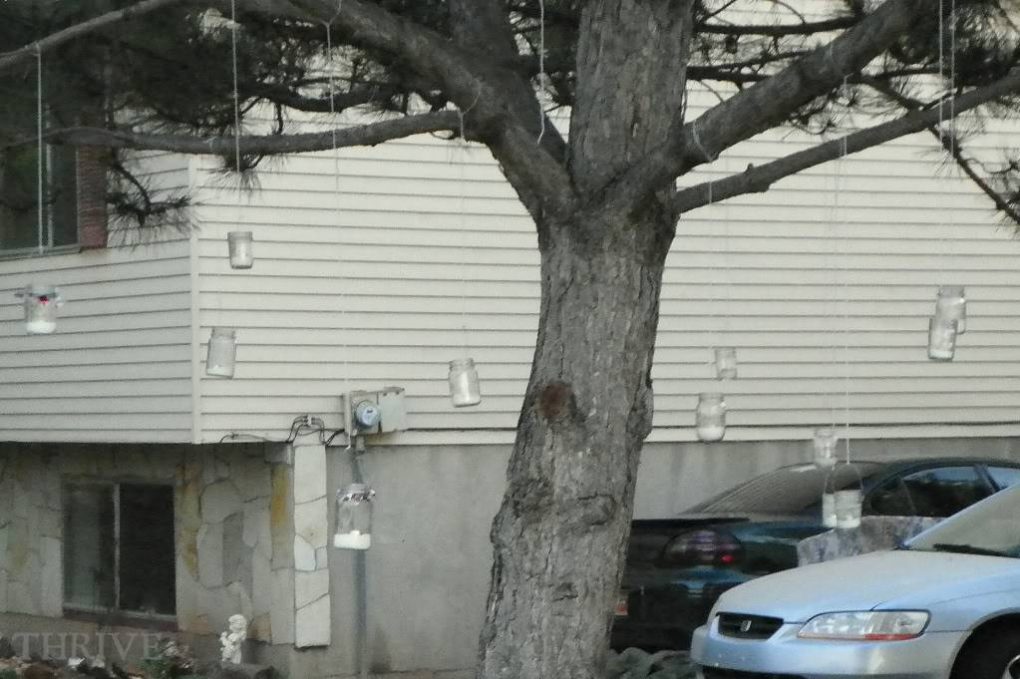
… I figured some make-shift floating lanterns could help that boring tree and spotty grass become something magic.

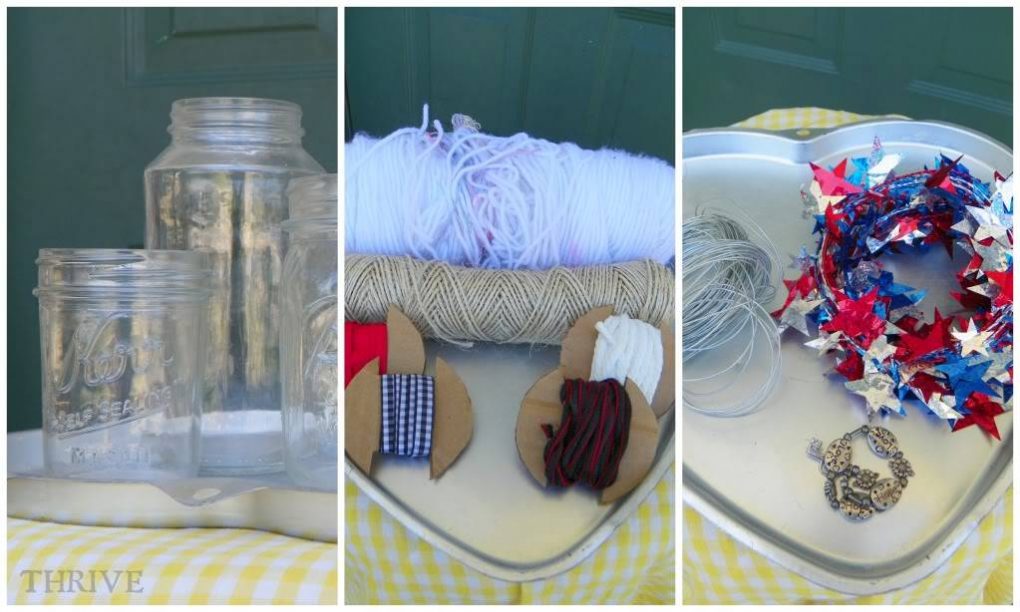
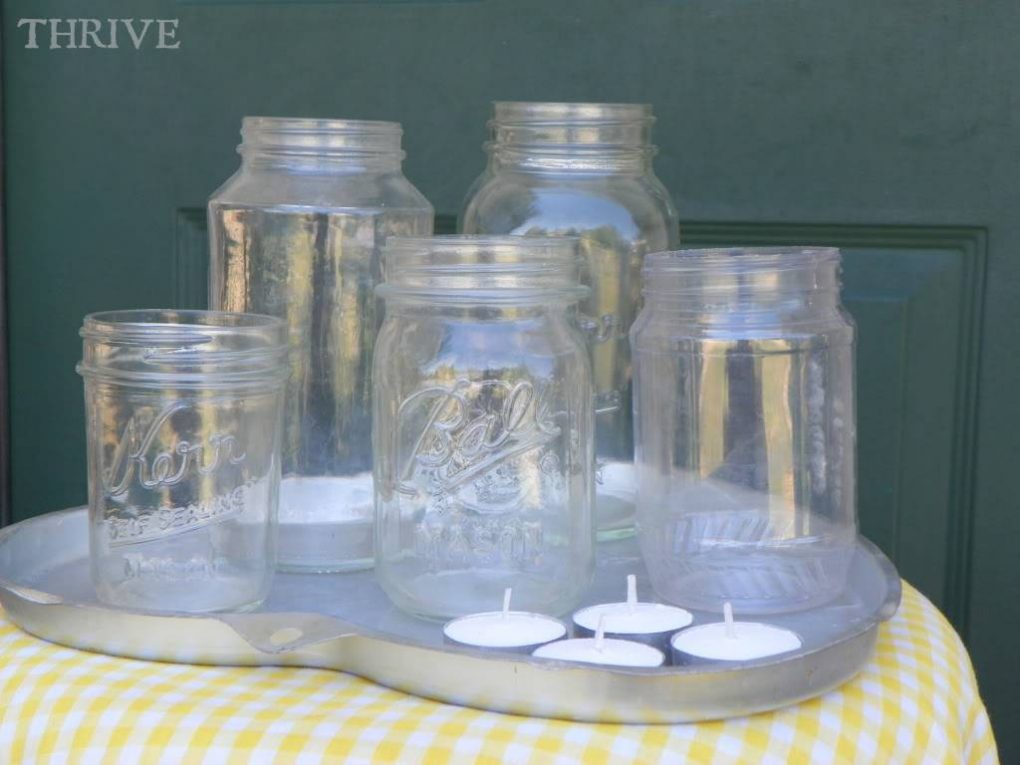
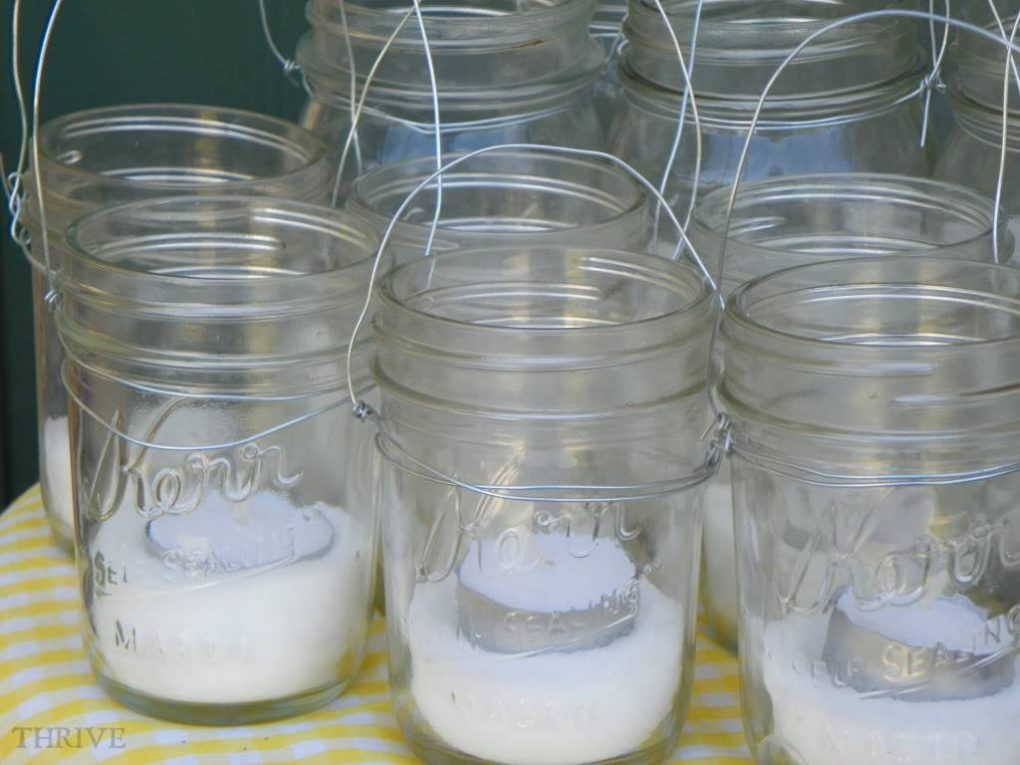
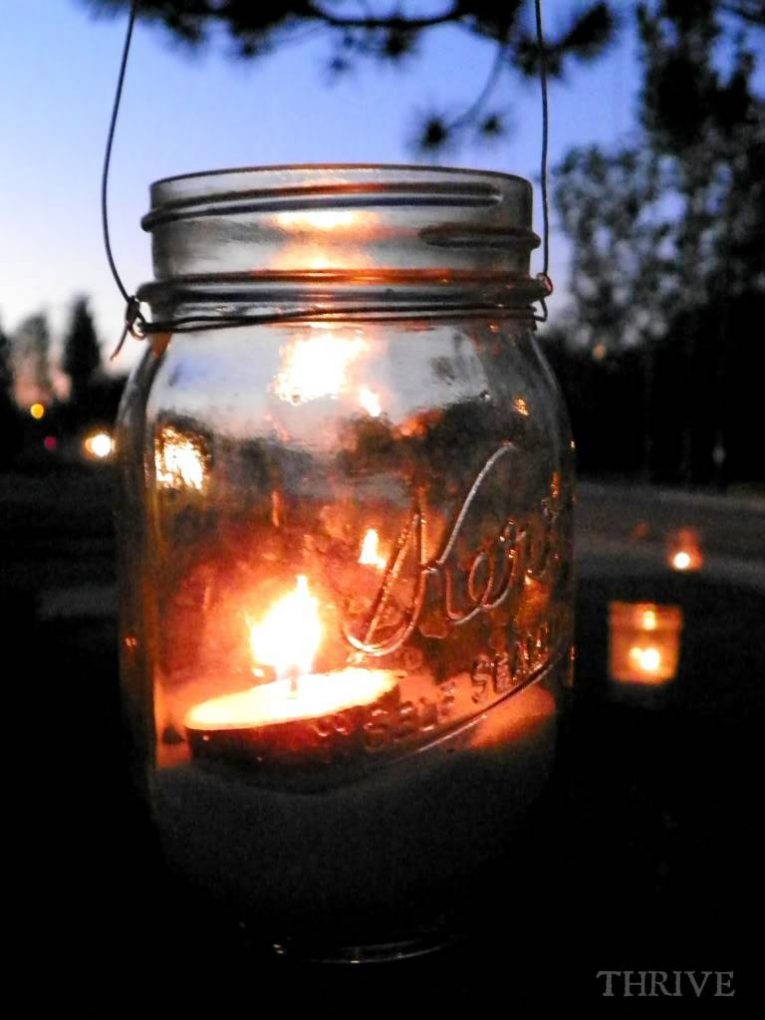
Lanterns can be made from anything: canning jars, empty peanut butter jars, whatever.

 photo csi1.jpg

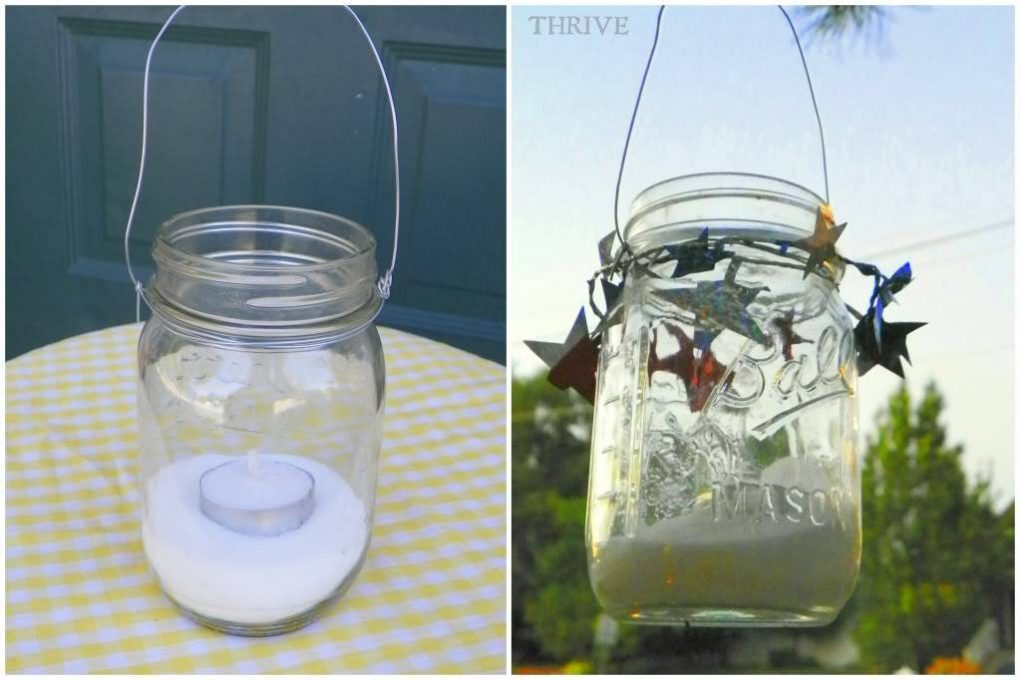
Lantern handles come together by wrapping wire around the lip of each jar a few times and then back over the top.

 photo csi4.jpg

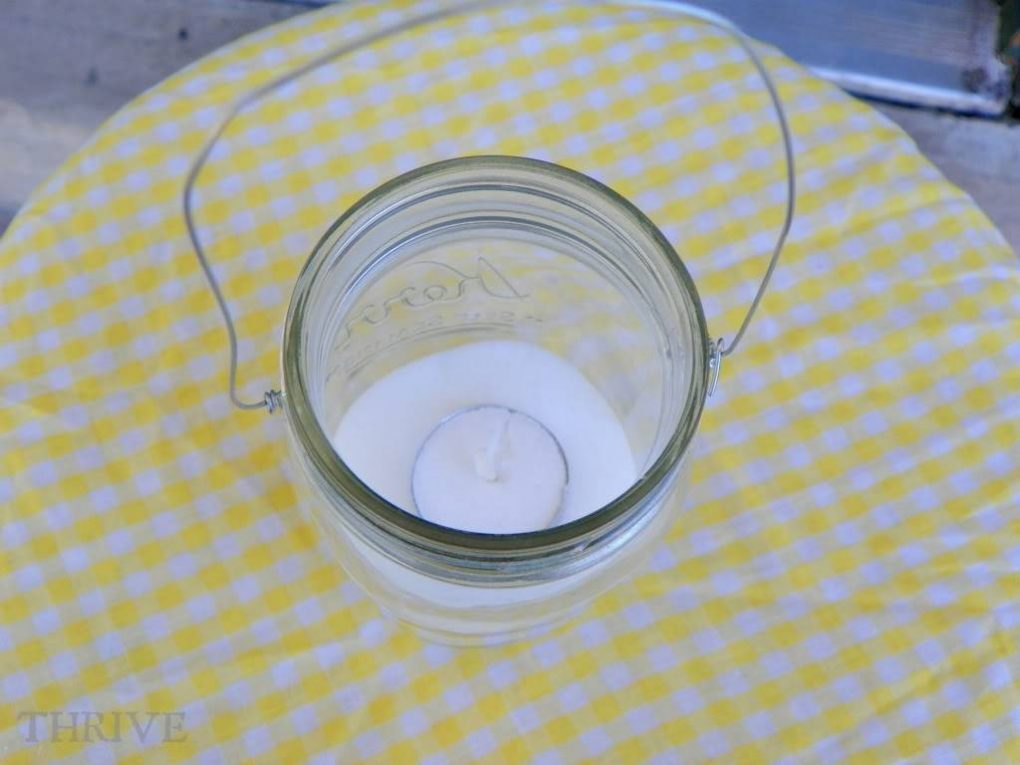
Tea lights (battery or open-flame) work best if they’re set in a little bit of sand.

 photo csi13.jpg

No sand on hand? Me neither. Salt works just fine and can even be tinted with a few drops of food coloring for the looked of colored sand.

You can leave the lanterns plain or dress them up with some beads, ribbon or garland.

 photo csi35.jpg

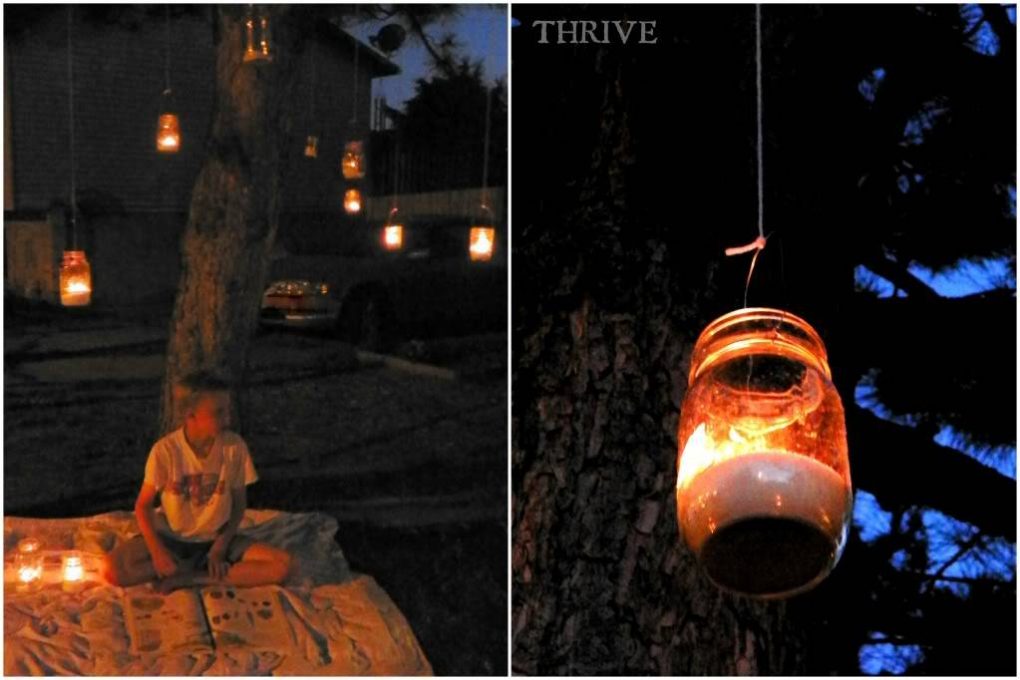
Hanging is a snap using whatever you have on hand—yarn, twine, ribbon, shoe laces, whatever. Rock what ya got.

 photo csi9.jpg

And as the sun starts to set, those lanterns get tied in place …

 photo csi14.jpg

… and candles lit …

 photo csi23.jpg

… and little bodies in jammies with story books find their way outside to lay under the stars …

 photo csi36.jpg

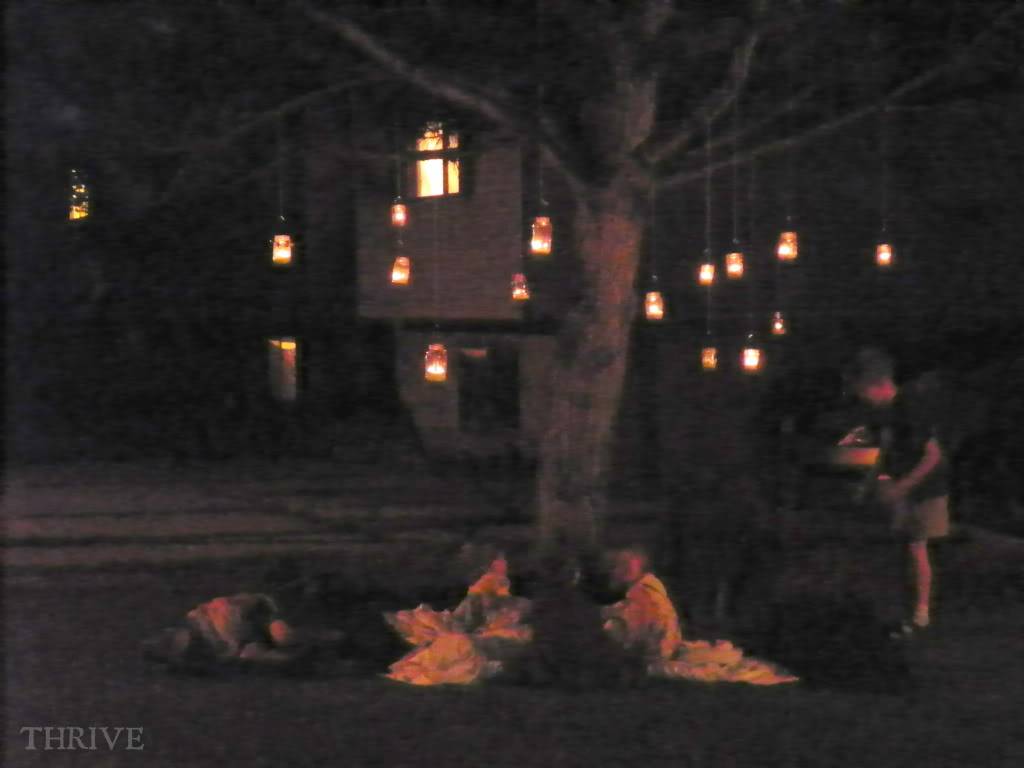
… and curl up with their favorite blankets under a canopy of lights …

 photo csi20.jpg

… telling ghost stories way, way past their bedtime.

 photo csi18.jpg

And seeing my ho-hum front yard transformed with some jars and string, and hearing the laughter and excitement of my kiddos waft through the warm summer night reminded me of my favorite children’s poem ever:

 photo csi31.jpg

So go take another look at those outdoor spaces around your house or apartment and see what kind of magic you can make yourself.

 photo csi37.jpg

 photo basket6.jpg

Quick—someone knock on wood—but it looks like we might get a break from the rain, hail and snow that refuses to leave Utah.

Heck, it’s a balmy 54 degrees outside right now.

That means that the rest of my sad clearance flowers from my cake dome planter project that have completely taken over my kitchen table can finally move outside.

 photo basket22.jpg

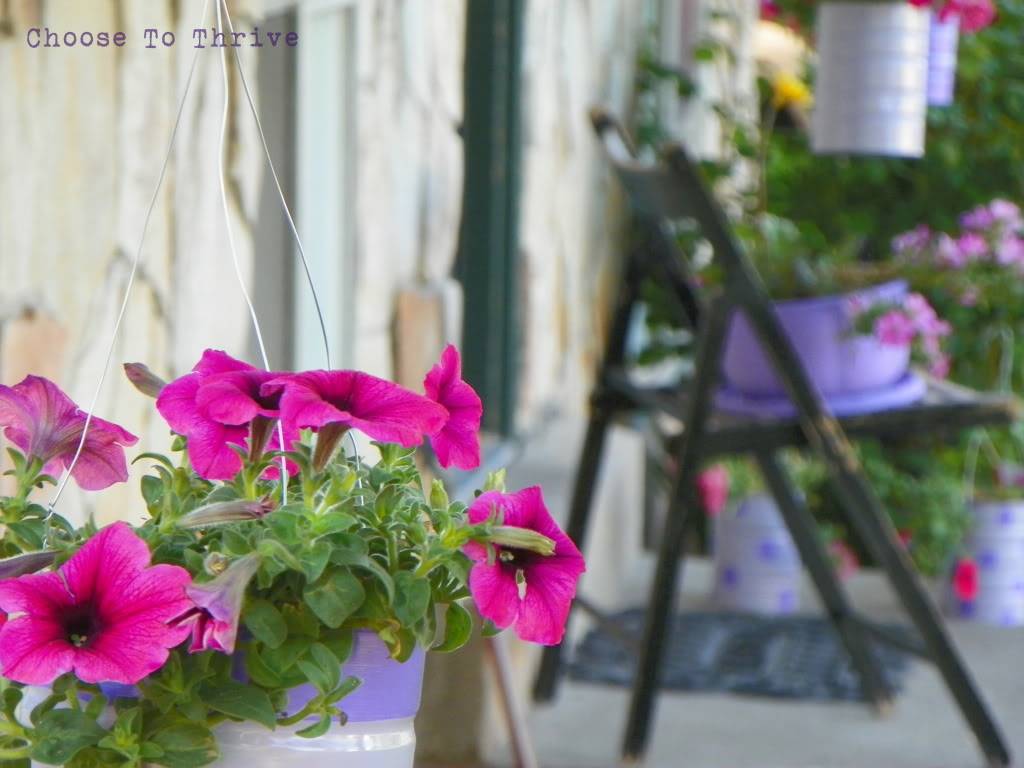
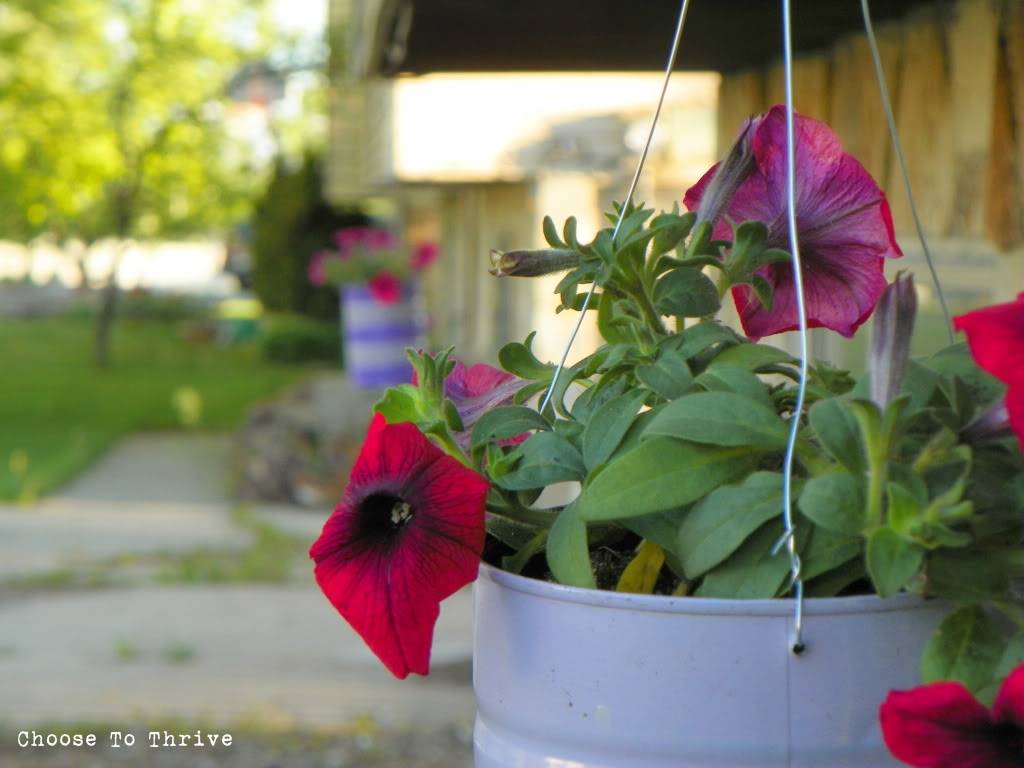
I’ve been wanting some more color to go with my cake dome planter along the front porch and love the look of hanging baskets.

 But as it turns out, I was fresh out of hanging baskets.

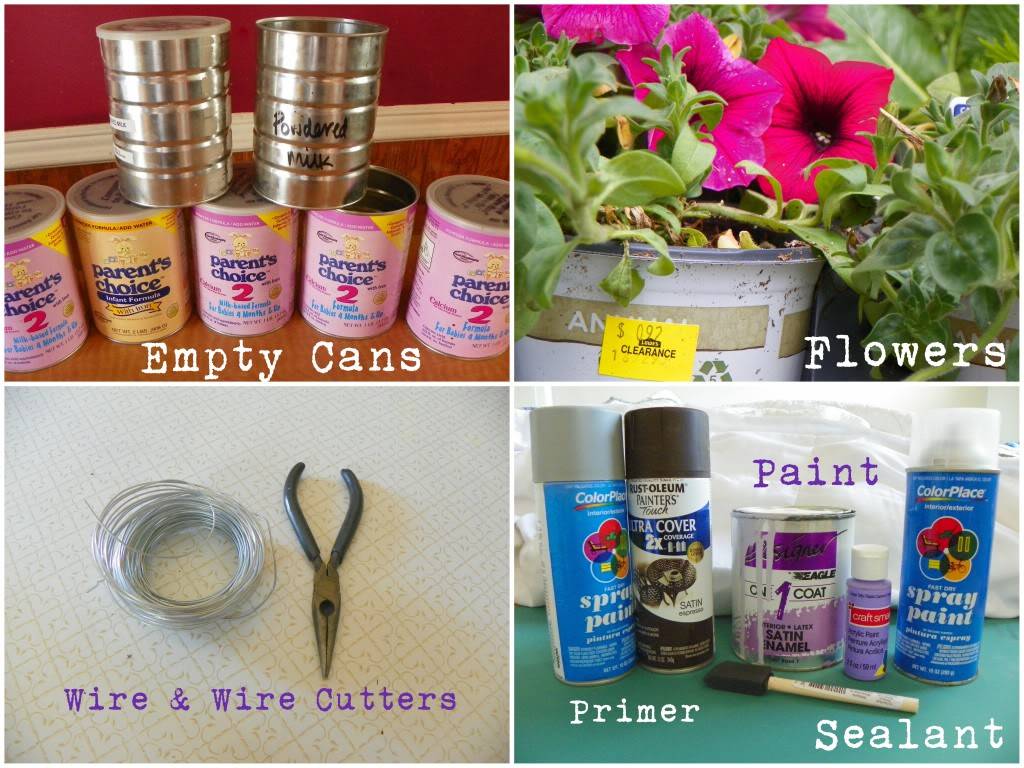
So the only thing left to do was grab some empty formula cans and get to work!

For this project you’ll need:

 photo basket20.jpg

{As always I hope you’ll rock what ya got an use whatever you have on hand to make this without an extra trip to the store.}

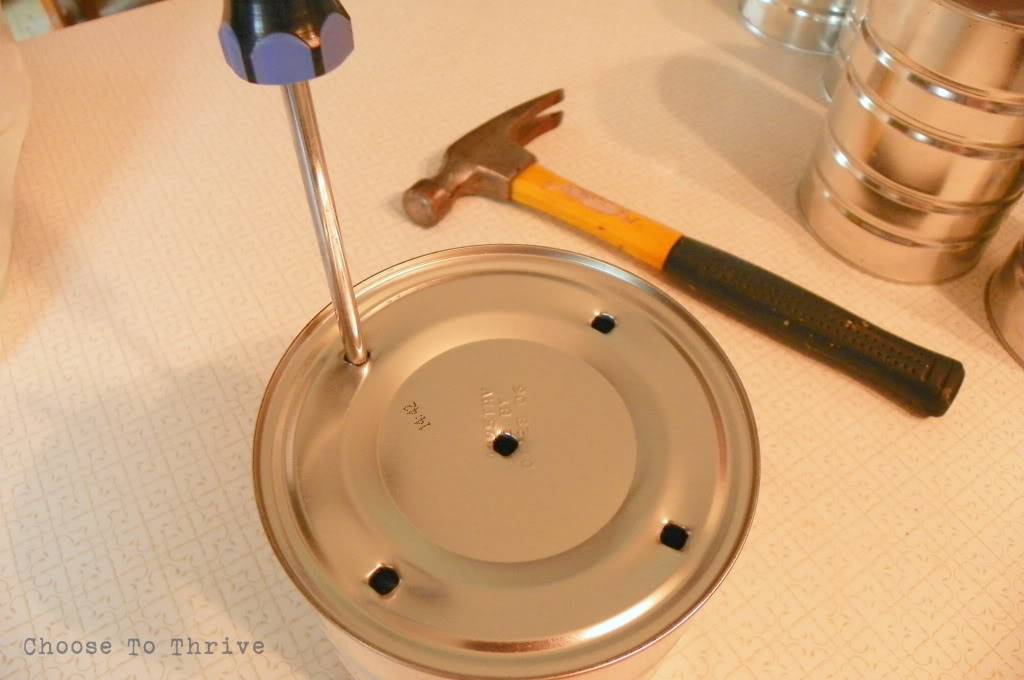
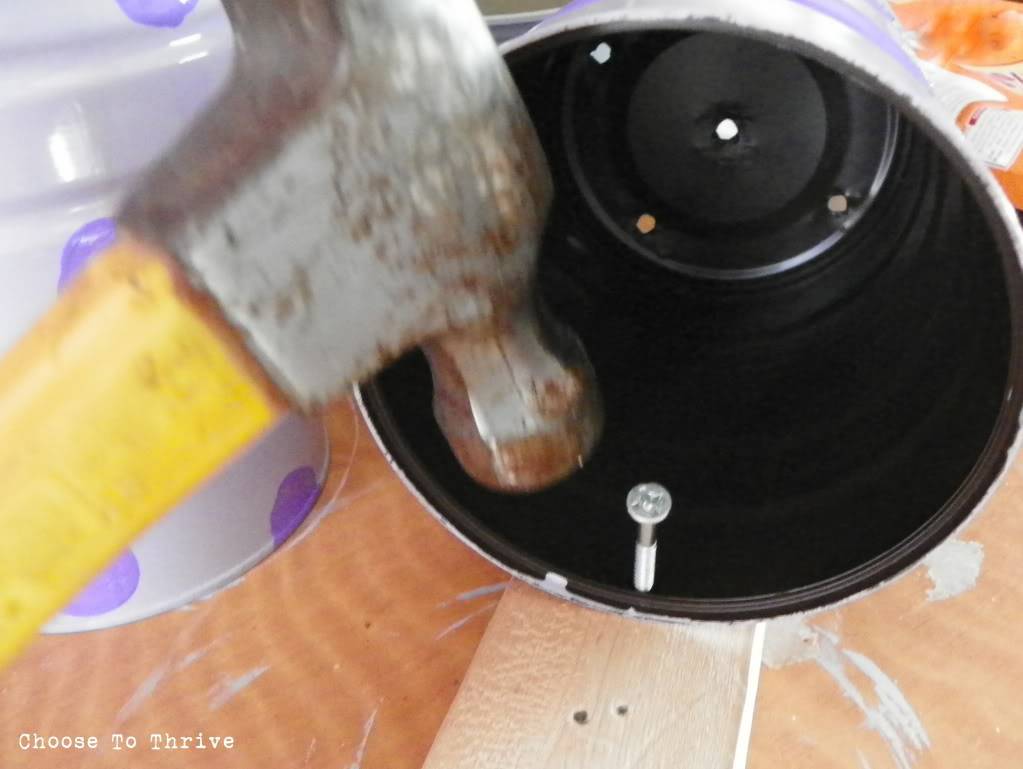
Punch drainage holes in the bottom with a screw driver and hammer.

 photo basket15.jpg

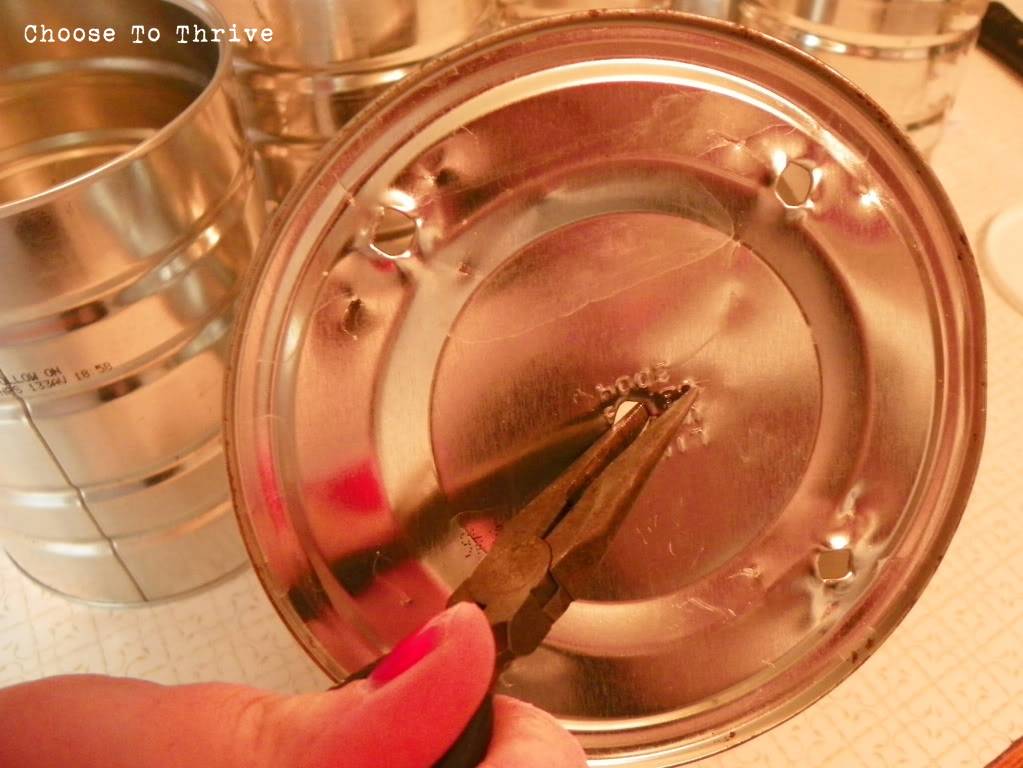
Flatten rough edges with a pair of needle nose pliers.

 photo basket16.jpg

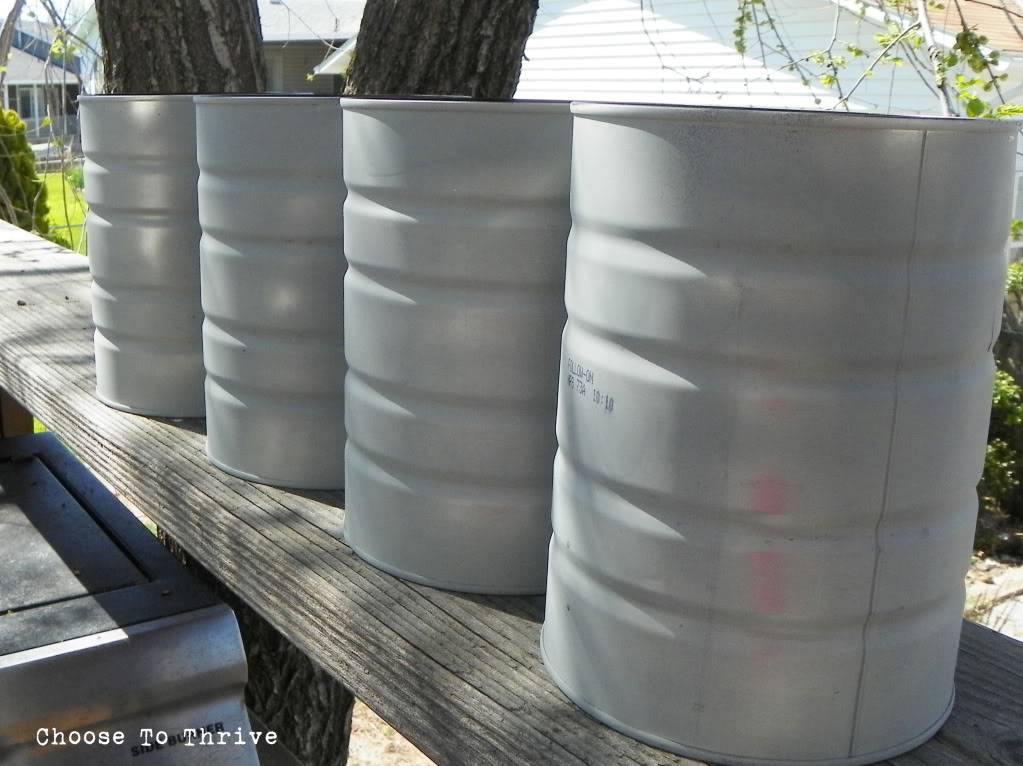
Coat cans with a quick coat of primer on the inside and out …

 photo basket18.jpg

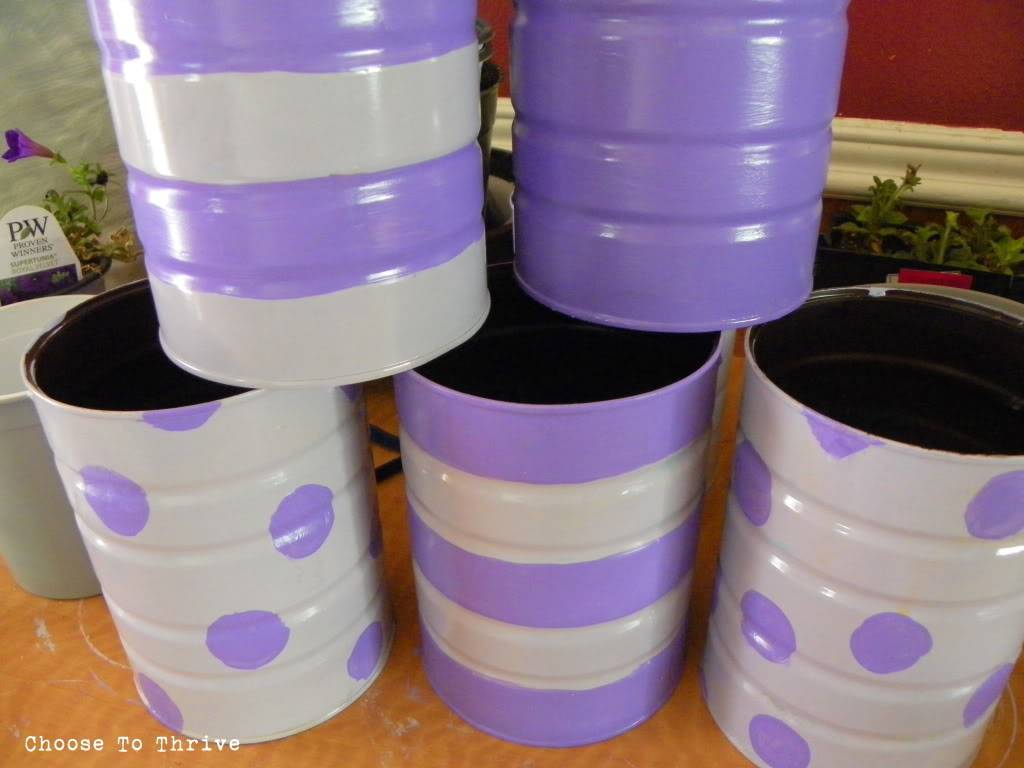
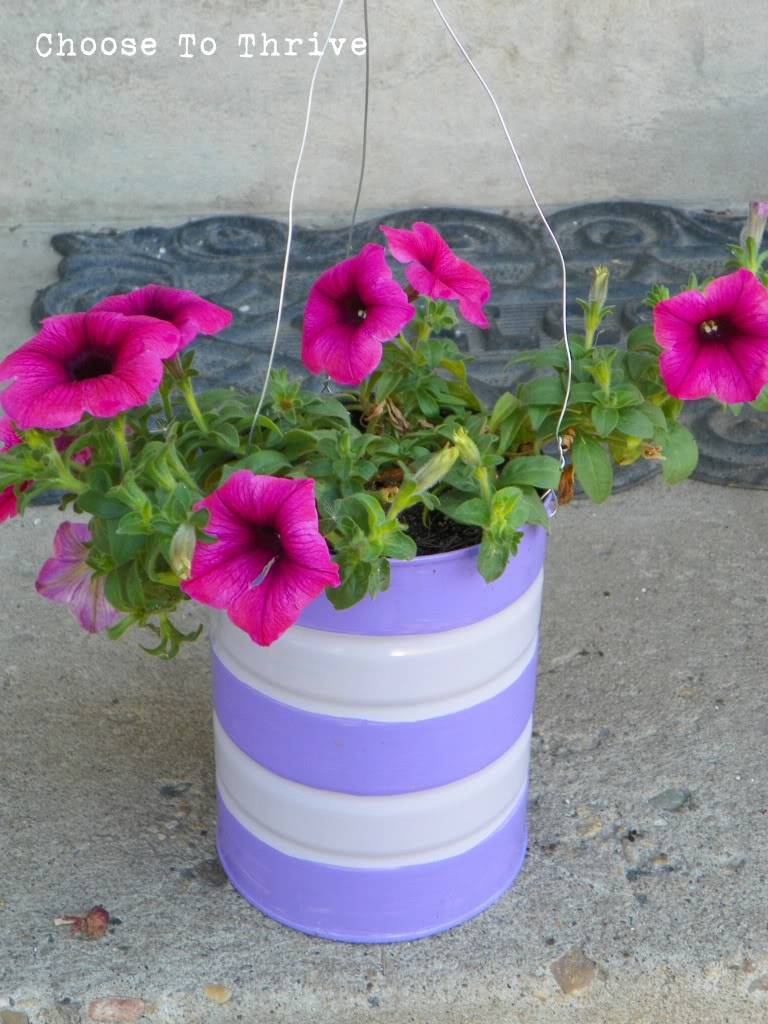
… and cover with your choice of paint. I used a coat of left over house paint for the base and craft paint for the stripes and spots.

 photo basket2b.jpg

A coat a clear spray paint sealed everything.

Hanging holes were made using a left over nail/screw. I placed a piece of scrap wood beneath my cans and hammered away.

 photo basket1.jpg

I filled the bottom quarter of each can with packing peanuts to keep the weight down and save on soil …

basket.3

… and then added my plants.

 photo basket19.jpg

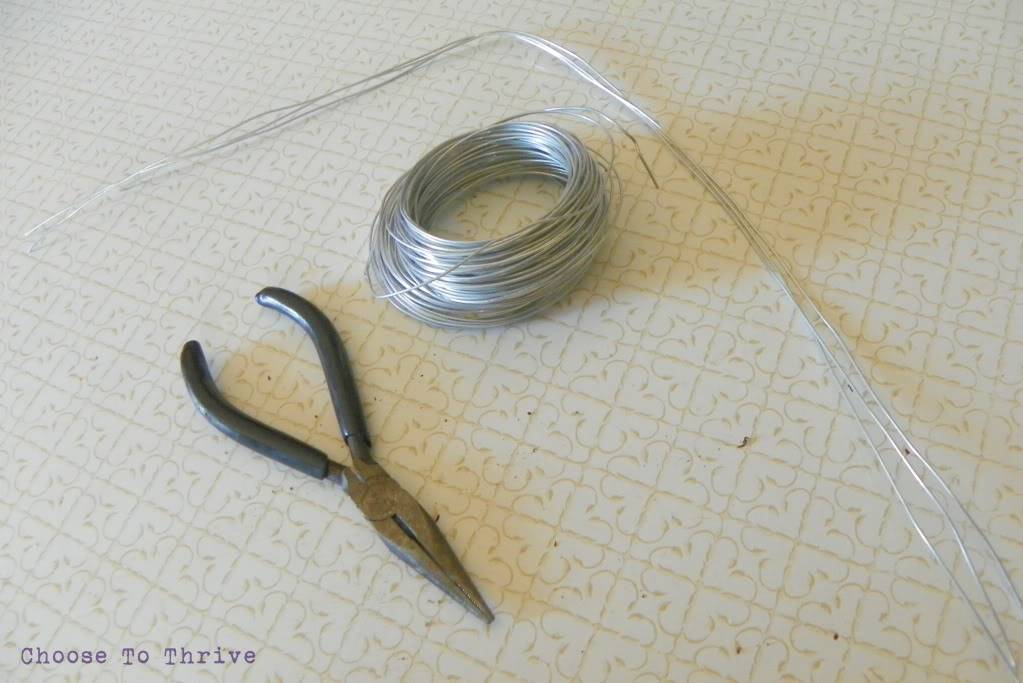
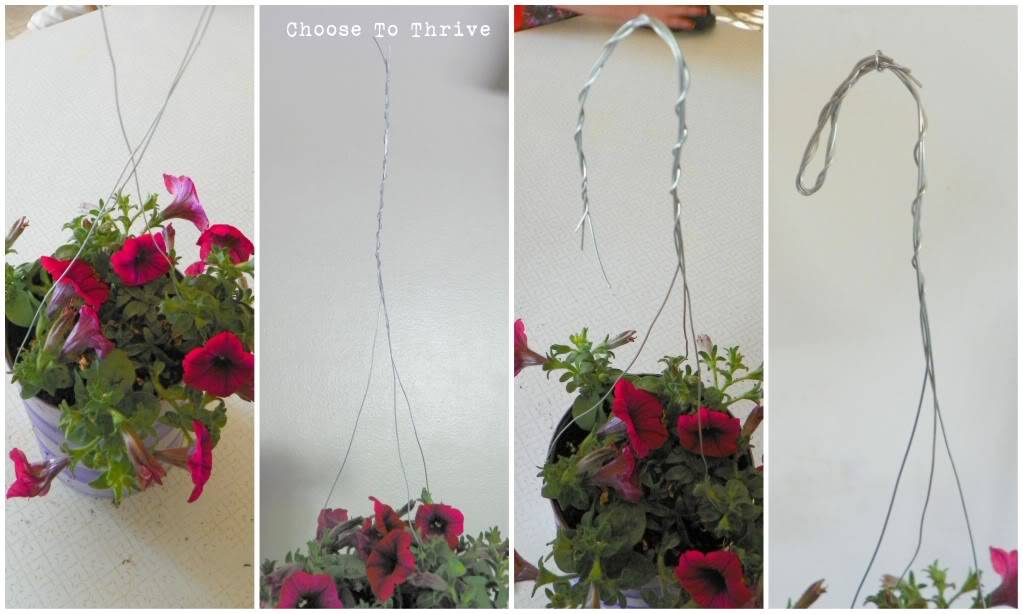
To make the hanging wires, I cut 3 –  18” lengths of wire per can …

 photo basket21.jpg

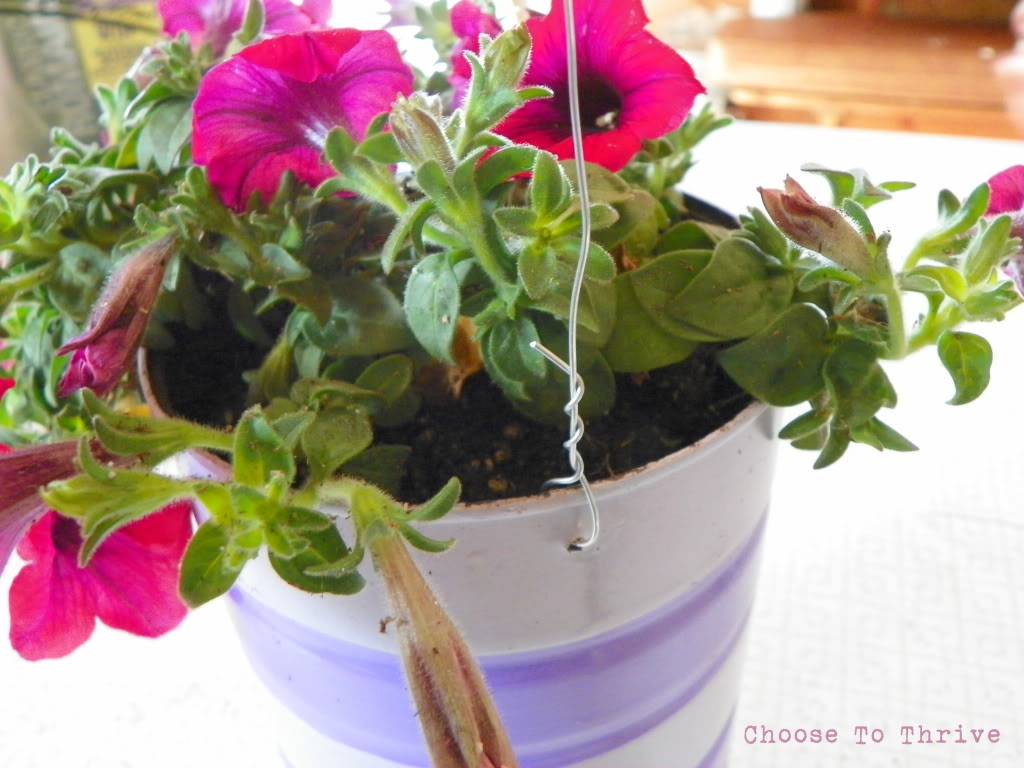
… and threaded them from the outside, twisting them into place.

 photo basket4.jpg

I twisted all three wires together above the flowers and bent the end over to make a hook.

 photo basket5.jpg

Left over wire was trimmed away.

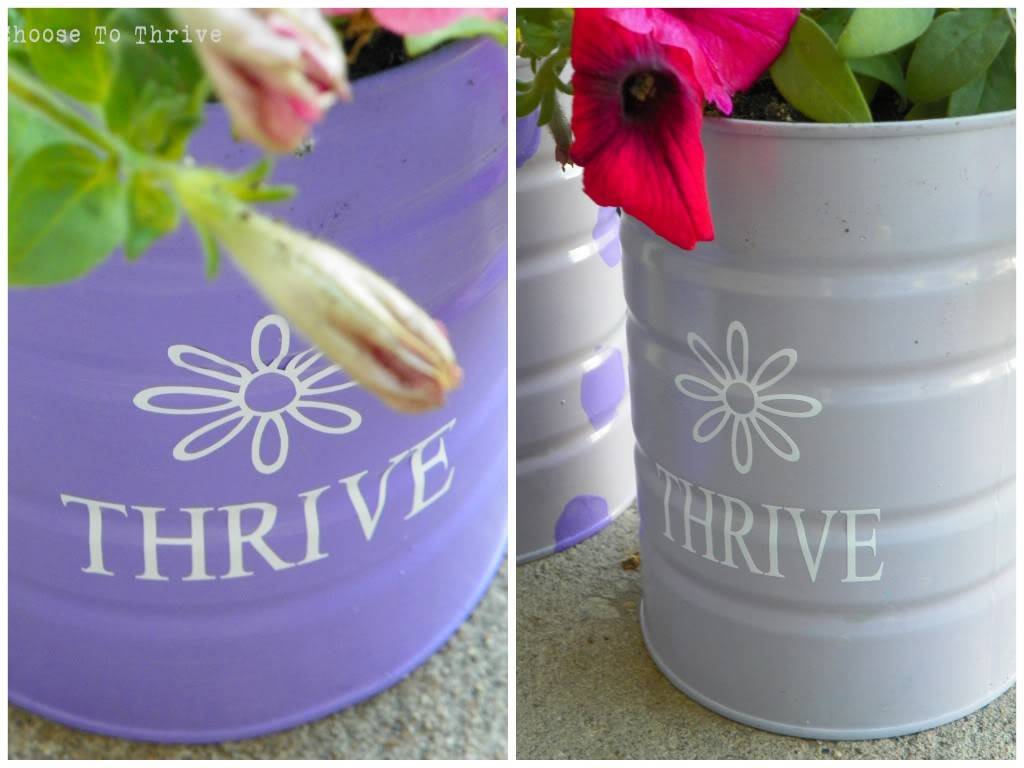
And just for fun, I added some vinyl to the outsides of a couple can planters.
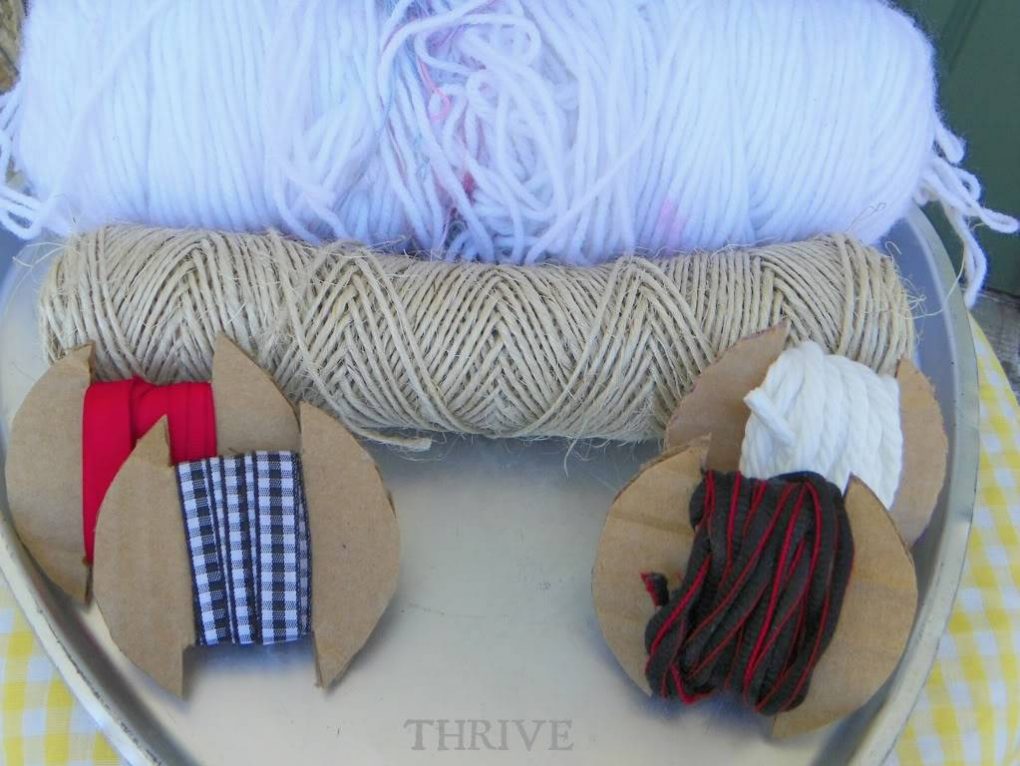
 photo basket14.jpg

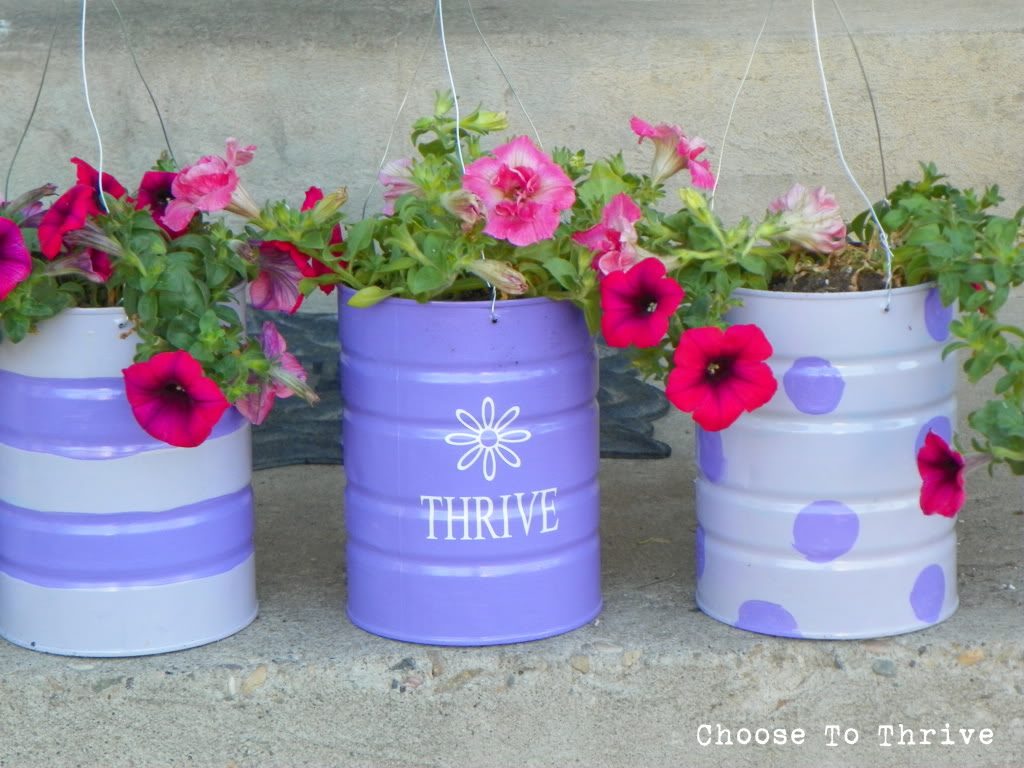
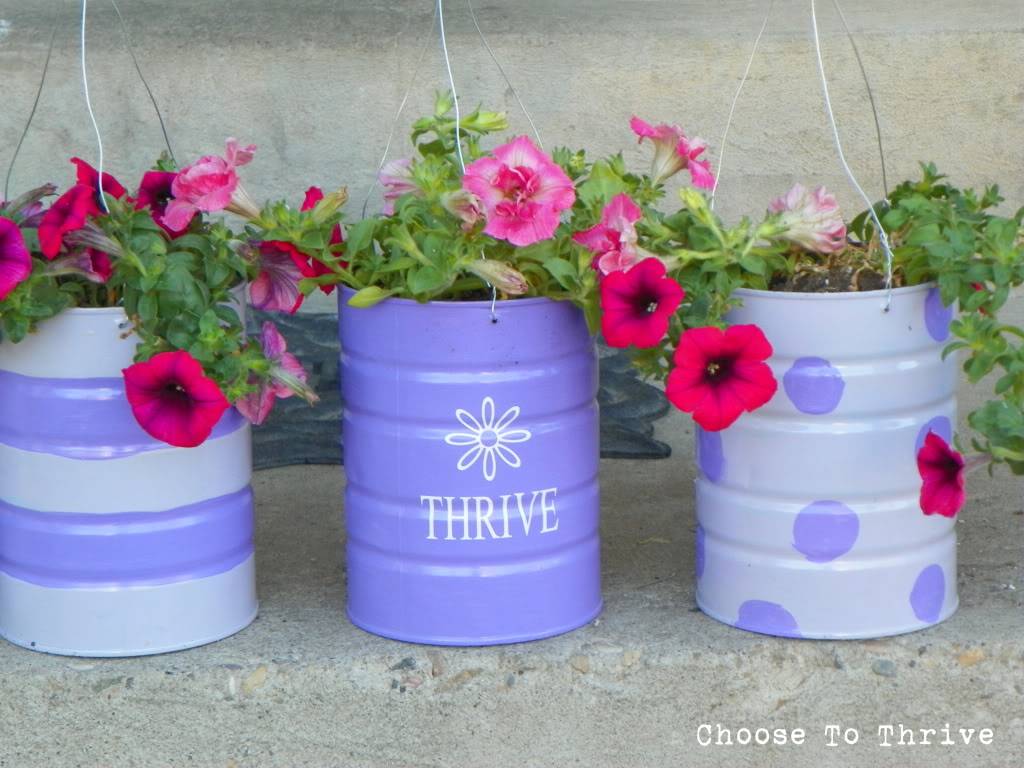
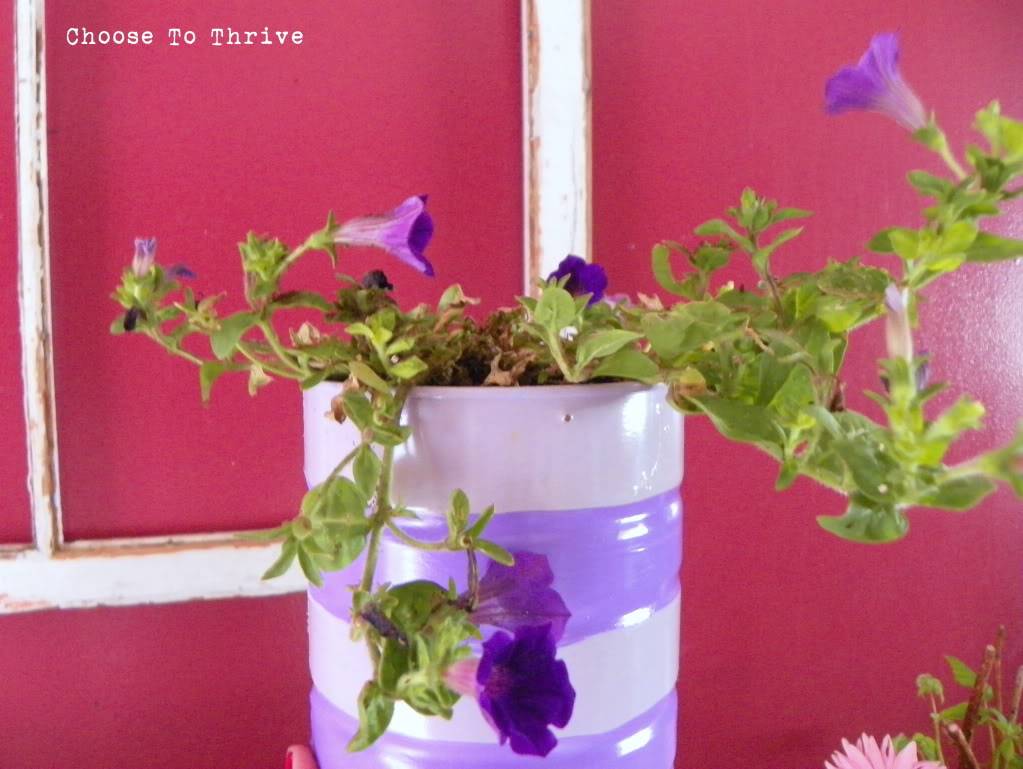
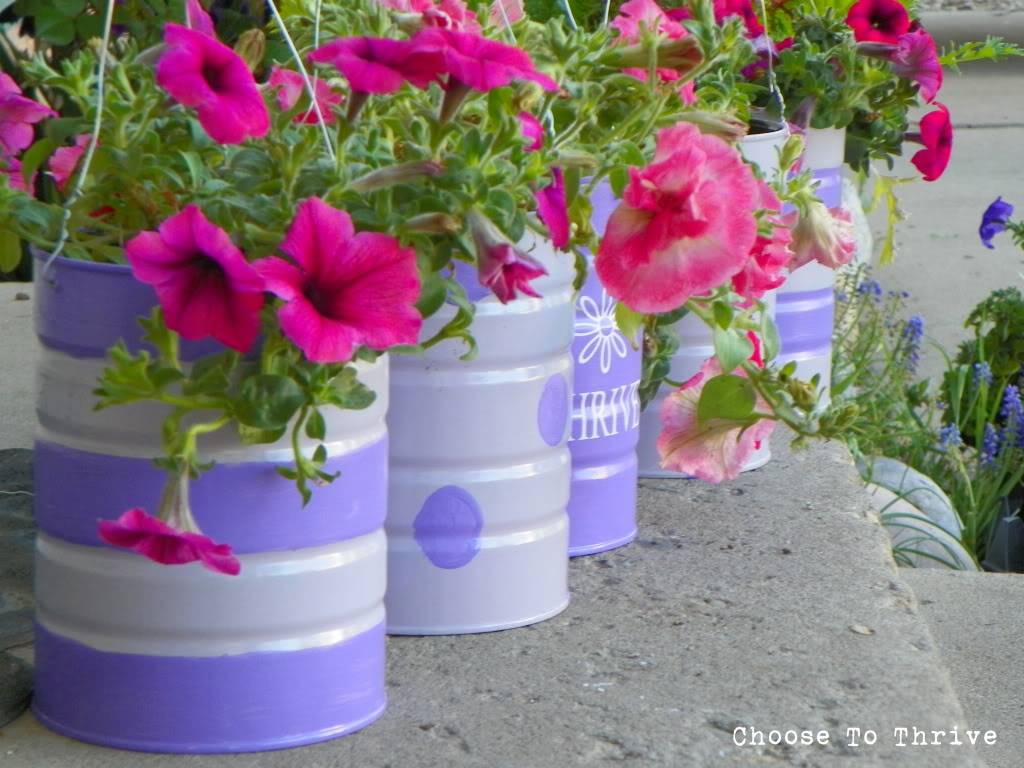
And just like that, six colorful baskets were waiting for a break in the weather to make their debut along the front porch.
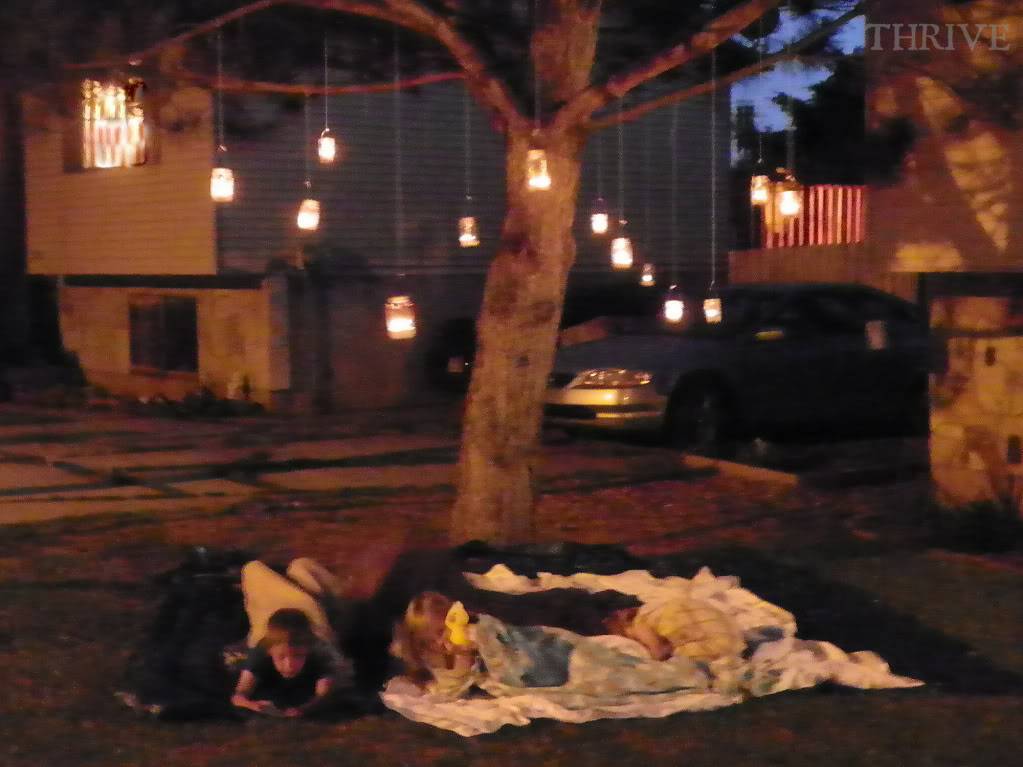
 photo basket9.jpg

And I love how they turned out …

 photo basket7.jpg

… and how bright and cheerful they make the front of my house look!

 photo basket23.jpg

Finally … finally … welcome to Utah Spring! Glad you made it in time for summer.

 photo basket24b.jpg

Signature 

Featured on (thank you!):

top 10 sunday.showcase.feature