Rainbow Easter Eggs, Naturally Dyed and Easy for Kids to Help With
8 min read · Published
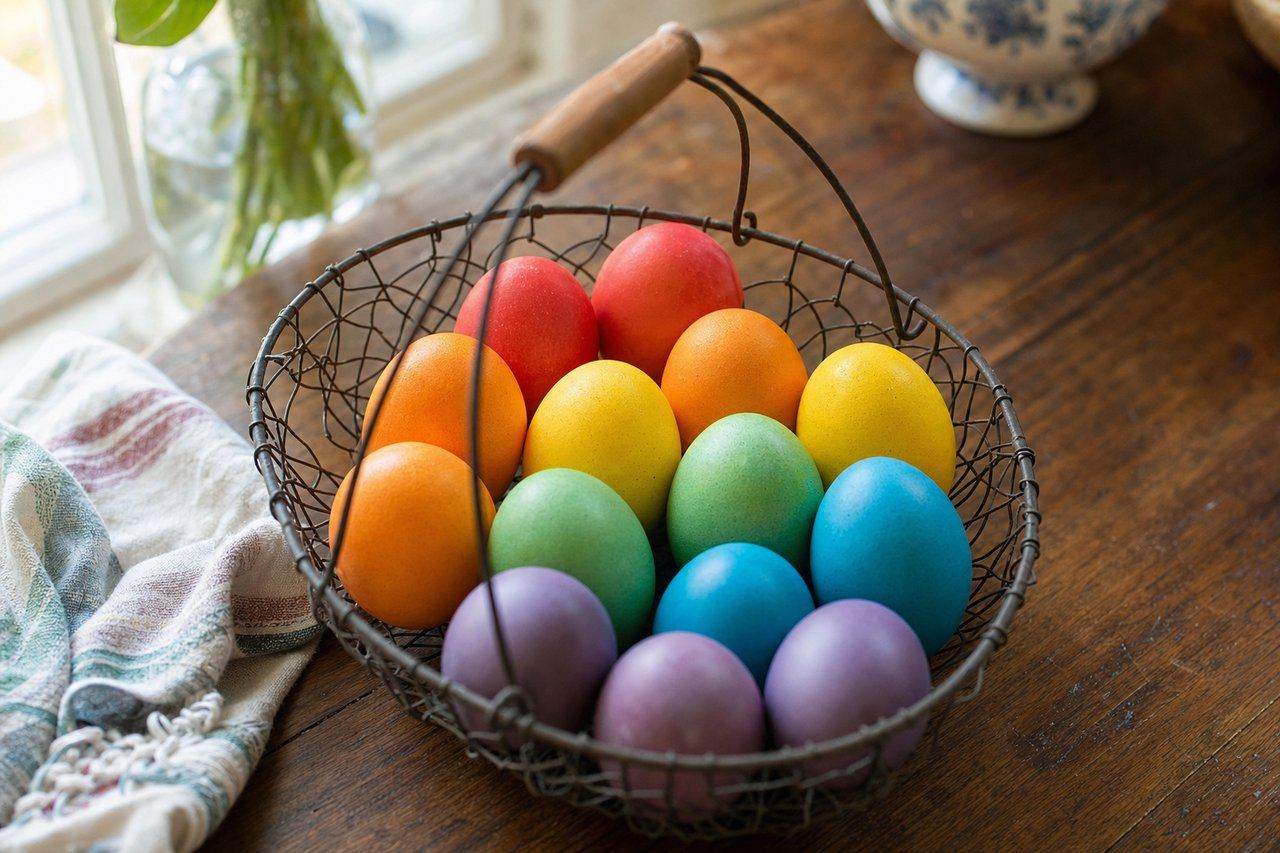
Rainbow Easter eggs are one of those projects that looks a lot more impressive than it actually is to pull off. The whole process comes down to hard-boiled eggs sitting in cups of colored liquid for a few minutes. The "hard part" is really just having enough cups and enough patience to let the colors build. This walks through the classic vinegar-dye method, a natural, food-coloring-free version using things already in the kitchen, and a completely different jello-egg variant that isn't dyed at all. It's one of the easy easter egg decorating ideas that needs no special skill, just patience.
What You'll Need for Easy Rainbow Easter Eggs
Keeping the setup easy makes the difference between a fun afternoon and a stressful one. For the classic method you'll want:
- A dozen hard-boiled eggs, cooled to room temperature
- White vinegar (about 1 tablespoon per dye cup)
- Food coloring: liquid drops or gel both work, gel gives more saturated color per drop
- Hot water, roughly 3/4 cup per dye cup
- Heat-safe cups or small bowls, one per color
- A spoon or wire egg dipper for lowering eggs in and out without cracking them
- Old towels or newspaper, because drips happen
None of this requires a special trip to a craft store. It's genuinely an easy rainbow Easter eggs setup you can put together from a normal kitchen in about ten minutes.
The Classic Vinegar-Dye Method, Step by Step
This is the method most people picture when they think of dyeing Easter eggs, and it's the fastest path to a full rainbow:
- Mix each dye cup: 3/4 cup hot water, 1 tablespoon vinegar, and 10-20 drops of food coloring depending on how deep you want the color.
- Lower a cooled, hard-boiled egg into the cup using a spoon or egg dipper.
- Leave it for 3-5 minutes for a pastel shade, or up to 10-15 minutes for something bold and saturated.
- Lift the egg out and set it on a towel or an egg carton (with the pointed end down) to dry completely before handling it again.
- Repeat with as many colors as you want. Dipping half an egg in one color and the other half in a second color is an easy way to get a two-tone effect without extra equipment.
The vinegar isn't just tradition. It lightly etches the eggshell so the dye actually bonds to it instead of sliding off, which is why skipping it usually means paler, patchier color.
Natural Dye Rainbow Easter Eggs (No Food Coloring Needed)
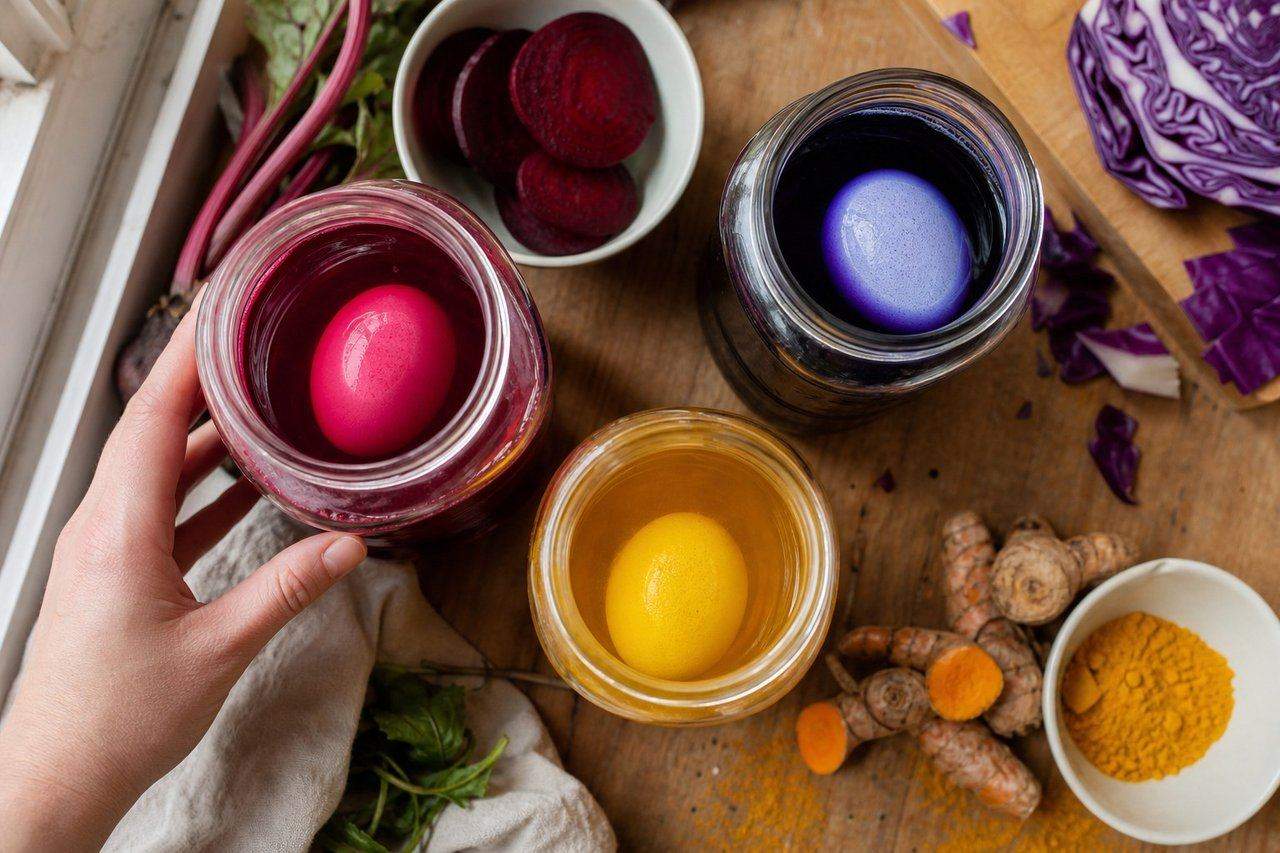
If you'd rather skip food coloring entirely, natural dye easter eggs use the same soaking method with kitchen scraps and pantry staples instead:
- Pink to red: chopped beets simmered in water for 15-20 minutes, strained
- Yellow to gold: a few tablespoons of ground turmeric simmered in water
- Blue to lavender: chopped red cabbage simmered for about 15 minutes, strained (the color shifts toward blue in more alkaline water and toward pink in more acidic water)
- Orange: yellow onion skins simmered in water
Strain out the solids, add a tablespoon of vinegar to each strained dye, let it cool to warm and soak the eggs the same way as the classic method. Natural dyes are gentler and usually need a longer soak (20 minutes to a few hours, or even overnight in the fridge) to reach a color as bold as food coloring gives in a few minutes.
Getting Kids Involved Safely
This is a genuinely good kids' project because most of the actual work, like mixing colors, lowering eggs in, and deciding how long to leave them, is easy enough for a child to do with a bit of supervision. A few things make it go smoother with kids involved:
- Use the egg dipper or a spoon, not fingers, for lowering eggs into hot dye, since the water starts out hot even after the vinegar and coloring are added.
- Set out an egg carton with each cup lined up next to its matching color so kids can track which egg is doing what.
- Let the natural dye batch cool to warm before kids handle it directly; it's a friendlier temperature for smaller hands than the classic method's hot-water start.
- Expect at least one dropped egg. Boiled eggs still crack; keeping a couple of spares on hand saves a meltdown.
Kids also tend to enjoy natural dye easter eggs specifically, since watching cabbage water turn from purple to blue (or beet juice go from red to deep pink) reads more like a science experiment than a craft.
A Different Technique: Jello Egg Variant
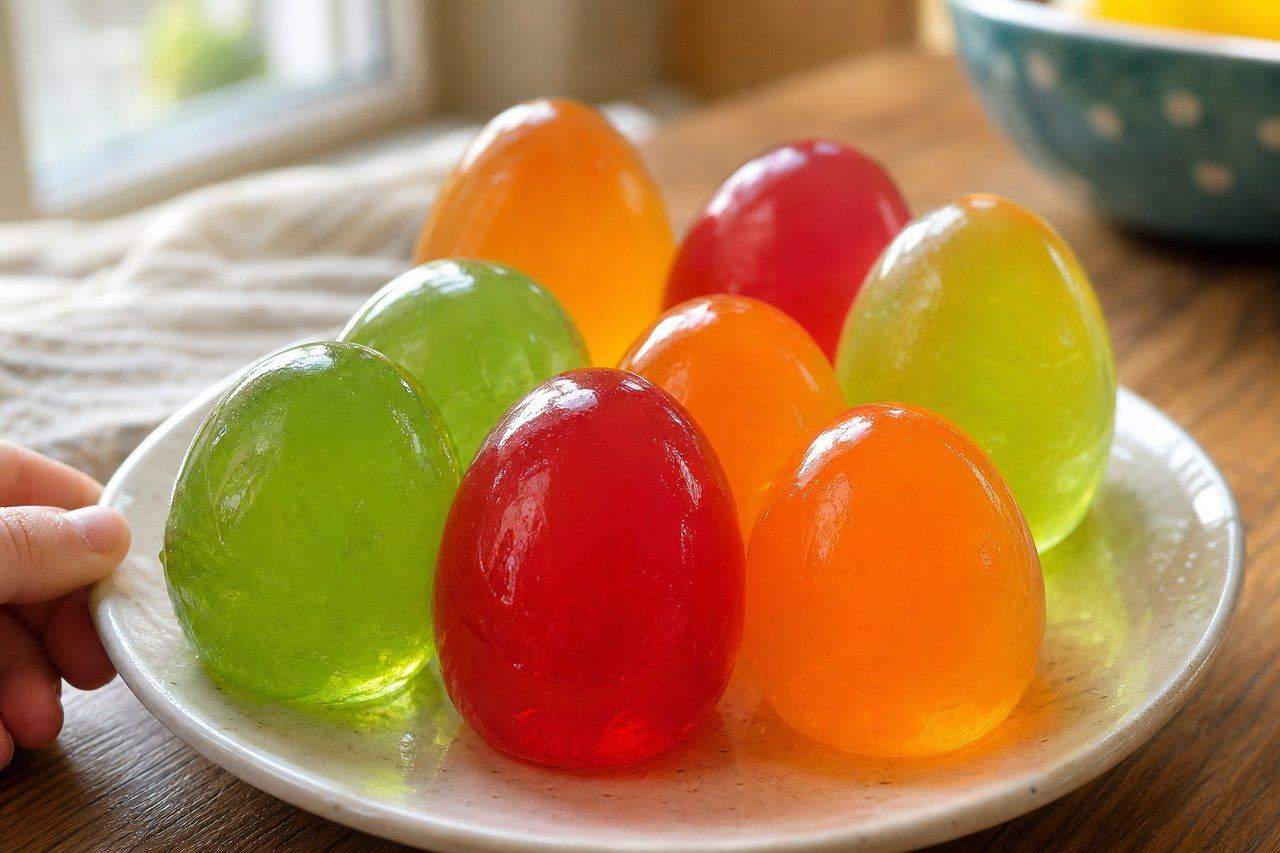
This one isn't dyed at all. It's an edible egg made entirely from flavored gelatin, and it's a genuinely different technique from everything above:
- Carefully poke a small hole in the top of a raw egg with a needle or pin, then a slightly larger hole in the bottom.
- Blow through the top hole to push the raw egg out through the bottom into a bowl (save it for cooking, it's still good), leaving an empty, rinsed-out shell.
- Rinse the empty shells and let them dry fully, then tape over the bottom hole.
- Make flavored gelatin (a boxed mix or your own recipe) slightly stronger than the package directs, so it sets firm enough to hold its shape once unmolded.
- Pour the liquid gelatin into the shells through the top hole using a small funnel or a squeeze bottle, then refrigerate upright in an egg carton for at least 4 hours, or until fully set.
- To serve, gently crack and peel away the shell just like a hard-boiled egg. What's left is a smooth, jiggly, egg-shaped gelatin treat in whatever color the flavor was.
Because these use real eggshells as molds instead of dye, you can get several different jello colors from the same dozen eggs simply by using a different gelatin flavor in each one. It pairs well with the dyed eggs above if you want a table with both.
Wax-Resist Patterns for a Third Look
Beyond dyeing solid colors and the jello variant, wax-resist and scratch-etch are two more easy easter egg decorating ideas worth trying, giving a completely different result: patterned eggs instead of solid ones. Before dyeing, draw directly on a plain egg with a white candle or the flat edge of a white or light-colored crayon, pressing firmly enough that a thin layer of wax sits on the shell. Dots, stripes, initials, or simple flowers all work: anything a steady hand can draw. Once the wax is on, dye the egg as usual in any of the colors above. The dye won't take where the wax sits, so when the egg comes out, the design shows up in the original white shell color against the dyed background.
For a bolder version, dye the egg once in a light color first, let it dry completely, add a wax pattern on top of that first color, then dip it again in a darker second color. The first color shows through the wax-protected areas while the second color fills in everywhere else, giving a genuine two-color pattern, not a single-color silhouette. A cotton ball dipped in a little vegetable oil, rubbed gently over the finished egg, melts off the wax residue and brings out a slight shine.
A related option for anyone comfortable with a sharper tool is scratch-etching. Dye an egg one solid color as usual, let it dry fully, then use the tip of a pin, a toothpick, or a paperclip to lightly scratch a design into the dyed shell. The scratched lines reveal the white shell underneath, similar to scratch-art paper. This works best on darker dye colors, where the contrast between the dyed surface and the scratched-through white is most visible.
Dyeing Rainbow Easter Eggs for a Crowd
An Easter egg hunt or a classroom party usually means dyeing a lot more than a dozen eggs at once, and a few adjustments make that manageable. Set up an assembly line instead of doing everything at one station: one area for lowering eggs into dye, a separate drying area with a few egg cartons standing open, and a "finished" bin once eggs are fully dry. Mixing dye in taller, narrower containers (a mason jar works well) instead of shallow bowls means each cup needs less liquid to fully submerge an egg, which stretches the food coloring further across a bigger batch. If several people are dyeing at once, assigning one color per person, so nobody moves between all the cups, keeps the dye cups from muddying together as fast.
Troubleshooting Common Dyeing Problems
A few things come up often enough to plan for ahead of time:
- Splotchy or uneven color: usually means the egg had a spot of oil, fingerprint grease, or a wet patch that resisted the dye. Wipe eggs dry with a bit of vinegar on a paper towel before dyeing.
- Color washes off after drying: the egg likely didn't sit in the dye long enough for the vinegar to properly etch the shell. A longer soak fixes this more reliably than more food coloring.
- Natural dyes look too pale: natural dyes are simply weaker than food coloring. A longer soak (hours, not minutes) or a stronger simmered dye liquid gets you further than rushing it.
- Eggs cracking during dyeing: let hard-boiled eggs cool fully to room temperature first. A sudden temperature change between a warm egg and a cooler dye bath is a common cause of hairline cracks.
Storing and Displaying Your Rainbow Easter Eggs
Dyed hard-boiled eggs are still hard-boiled eggs, so treat them like any other cooked egg. Keep them refrigerated once dyeing is done, and don't leave them sitting out at room temperature for more than about two hours if you plan to eat them later. If they're purely decorative, they'll hold their color for a few days refrigerated; for a display piece that lasts longer, blown-out eggshells (dyed the same way, empty and not hard-boiled) will keep well past Easter since there's no food inside them to spoil.
For a table display, as opposed to an egg hunt, nest finished eggs in a shallow bowl lined with real or paper grass, or stand a few upright in individual egg cups so the color reads from across the room. Wax-resist and scratch-etched eggs in particular are worth keeping out somewhere visible, not straight into the fridge, since the pattern is easiest to appreciate at eye level in good light, and a quick photo before anyone starts peeling one for a snack is worth taking.
Choosing Eggs Before You Start
Plain white eggs show dye color the truest, since there's no underlying shell tint to alter the outcome. Brown eggs still take dye, but every color ends up a shade darker and warmer than the same dye would produce on white: reds lean toward maroon, yellows lean toward olive. Neither is wrong, but it's worth knowing ahead of time if a specific bright shade is the goal. For the jello variant specifically, white eggshells are the better choice regardless, since the shell itself isn't part of the final color (only the gelatin inside is), but a lighter shell is easier to see through when checking whether the gelatin has fully set.