Cute, Simple, and Trendy Pretty Nail Designs to Try Right Now
11 min read ·
Good nail art starts before any polish goes on. Push back cuticles gently after a warm-water soak, shape the free edge with a fine-grit file (always in one direction, not a back-and-forth sawing motion, which weakens the tip), and wipe the nail plate with a little rubbing alcohol to strip away oil so polish actually grips. A thin ridge-filling base coat, two thin coats of color, and a glossy or matte topcoat is the whole foundation underneath every pretty nail design below; the pattern work is just decoration on top of that.
Two habits separate a design that looks store-bought from one that looks rushed. First, thin coats: a heavy, single coat of polish takes far longer to dry all the way through and is much more likely to dent or smear before it sets, even if the surface looks dry within a few minutes. Second, patience between layers: waiting two to three minutes between coats instead of one lets each layer firm up enough to support the next without dragging color underneath it. Cheaper polish isn't necessarily worse for a simple one-color manicure, but for detail work a slightly thicker, more pigmented formula tends to hold a clean line better than a very thin, sheer one that needs several passes to look opaque.
The ideas here are grouped by who they suit best: short-nail-friendly designs, simple looks for anyone still building confidence with a detail brush, and trendier spring and summer patterns for when you want something a little bolder. Pick whichever section matches your nails and your patience level today. There's no rule that says you have to start with the hardest one.
Nail Design Tools Worth Having
None of the designs below need a professional kit, but a small set of inexpensive tools makes the difference between fighting a pattern and actually enjoying doing it. A dotting tool (or in a pinch, the rounded end of a bobby pin) is the single most useful add-on for anything with circles or florals. Thin nail art brushes, sold in small multi-packs, handle stripes and fine lines that a regular polish brush is too wide for. Striping tape gives a perfectly straight edge for color-blocked looks without any freehand steadiness required, and a small piece of makeup sponge is enough to create a soft gradient by dabbing. Everything else (base coat, color, topcoat) most people already have on hand.
Prepping the Skin Around Your Nails
The polish gets most of the attention, but the skin around each nail affects how any design actually looks once it's on. Dry, overgrown cuticles catch on the edge of a fresh coat of polish and make even a careful application look uneven at the border. A short soak in warm water softens them enough to push back gently with a cuticle stick. Cutting live cuticle tissue isn't necessary for most people and raises the chance of a small nick that stings for days. A little hand cream worked in afterward, left to absorb for a minute before starting any polish, keeps the surrounding skin from looking dry against whatever color goes on next.
Cute Nail Designs for Short Nails
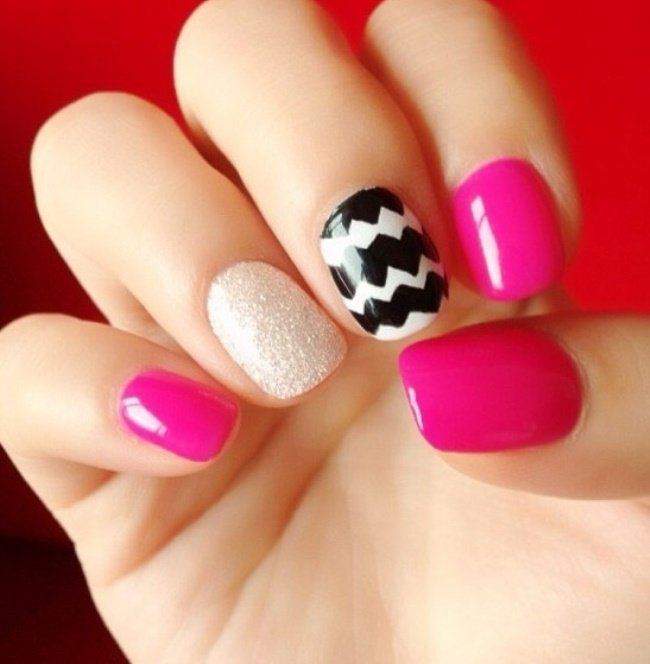
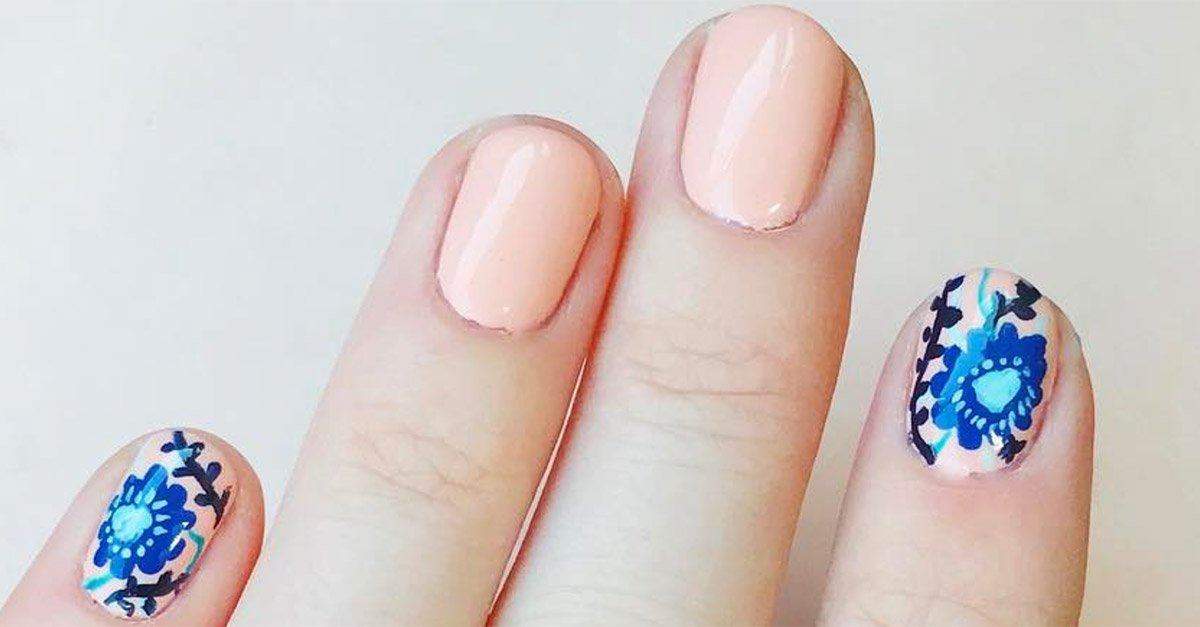
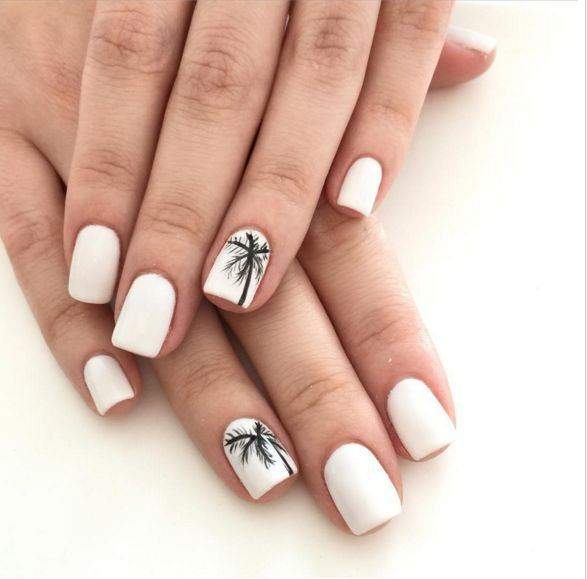
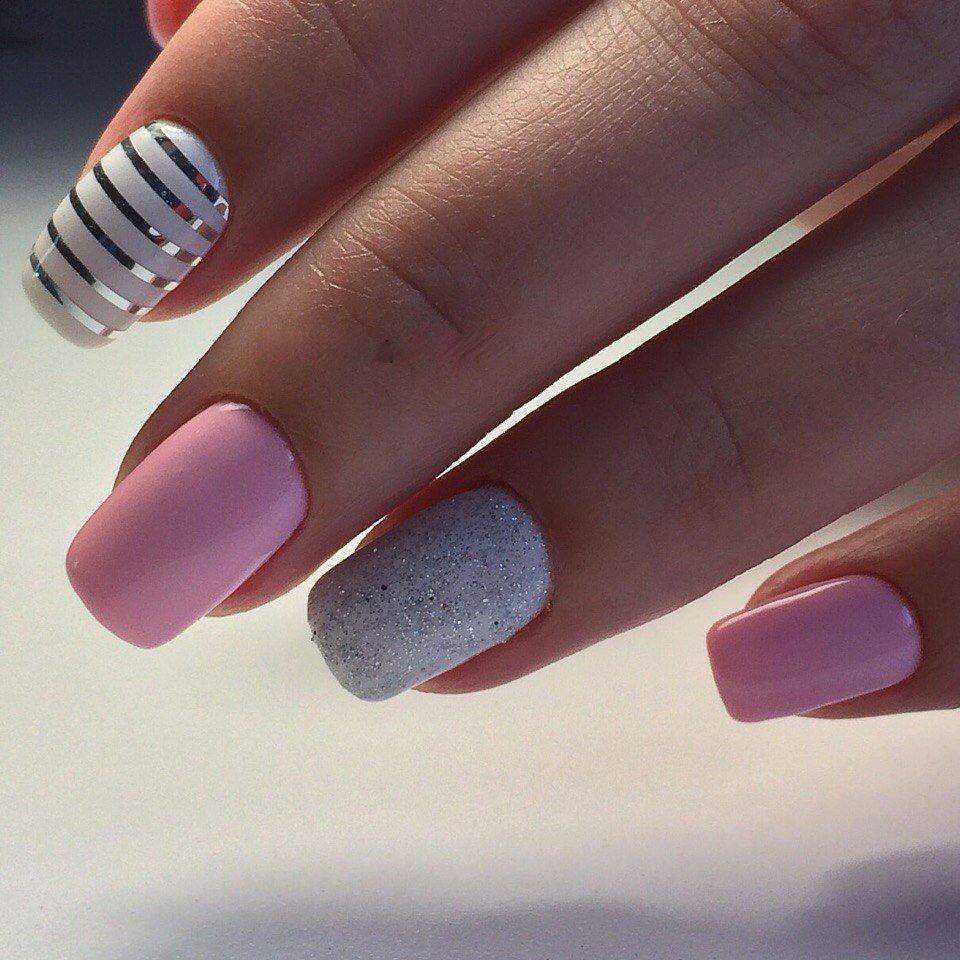
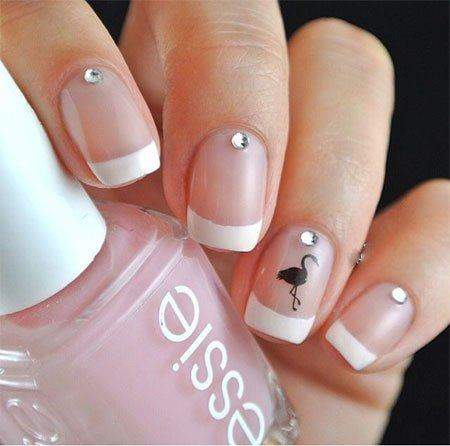
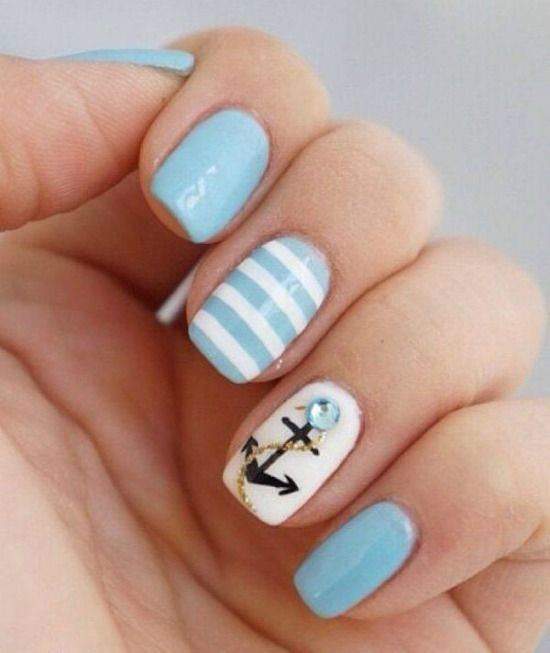
Short nails don't have much surface area to work with, so the cutest results usually come from picking one simple focal point and leaving the rest of the nail plain. A single accent nail, a clean line near the tip, or one small motif reads as intentional on a short nail in a way that a busy, all-over pattern doesn't. Short nails are also more practical day to day, less prone to snagging on clothing or breaking at the corner, so a cute short nail design is often the more durable choice even before you factor in how much easier it is to keep clean. These pretty nail designs for short nails all lean on one simple focal point instead of covering the whole nail in detail.
Simple Nail Designs Anyone Can Try at Home
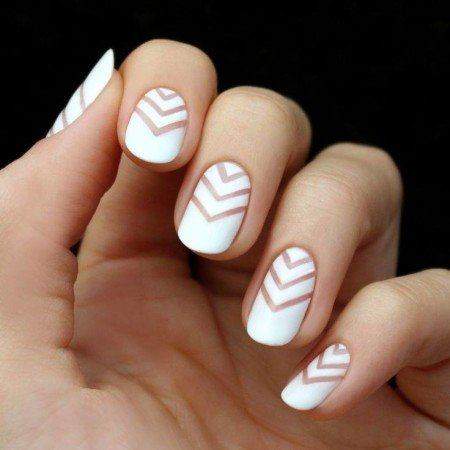
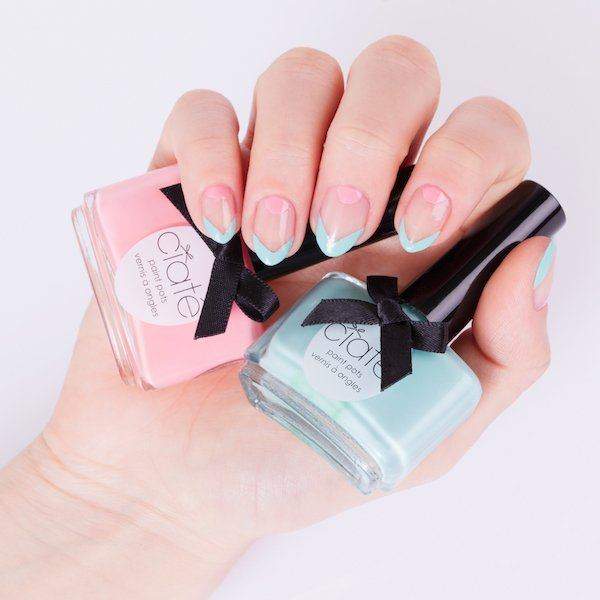
"Simple" doesn't have to mean plain. A soft gradient, a single clean stripe, or a two-tone French variation all count as simple nail designs because they only ask for one skill at a time: steady color placement, not layered detail work. These are the designs worth practicing first, since the technique underneath them shows up again in almost every fancier look later. If you're hunting for simple pretty nail ideas, not anything with layered detail work, this section is exactly the place to start. If a design in this section still feels fiddly, try it on a practice nail wheel or a scrap piece of card first. The muscle memory for a straight line or an even gradient comes from repetition, not from finding a special brush.
Trendy Spring Nail Designs to Try First
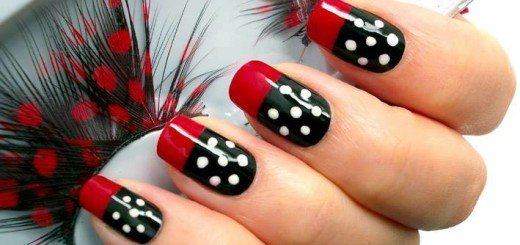
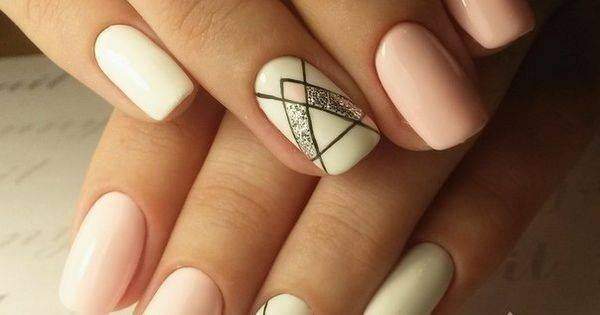
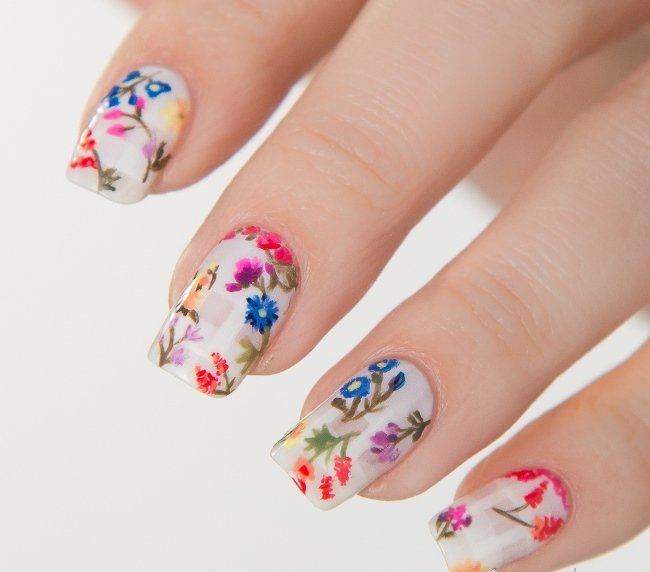
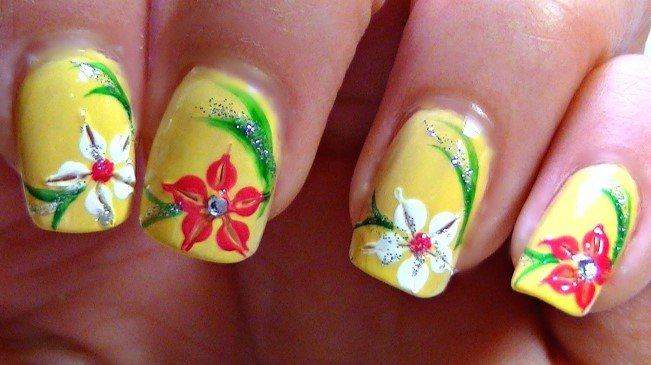
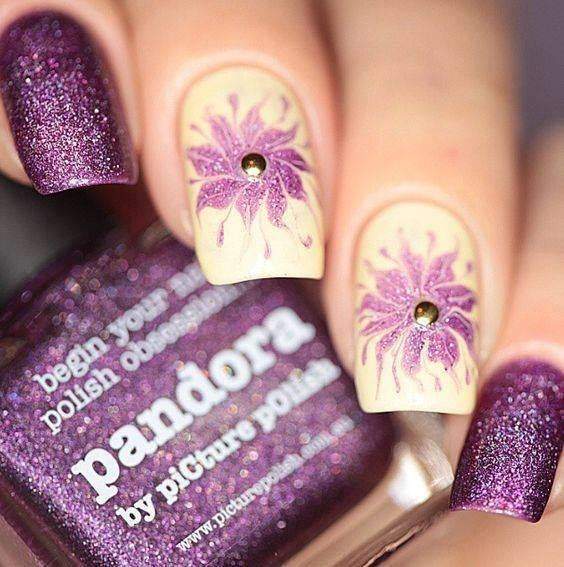
Spring nail designs tend to lean toward pastels and soft florals, but a trendy spring look doesn't have to be delicate. A brighter accent color against a muted base reads just as seasonal and holds up better day to day than an intricate hand-painted flower. Pastels in particular chip more visibly than darker colors, since there's less contrast to hide a small edge wearing away, so a slightly thicker topcoat is worth the extra thirty seconds if you're planning to wear one of these for more than a couple of days.
Trendy Summer and Beach Nail Designs
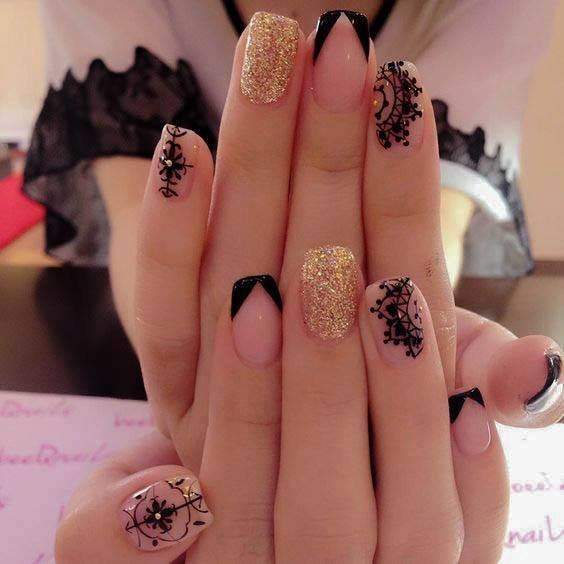
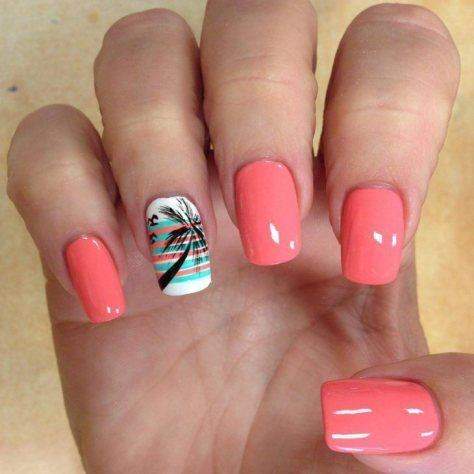
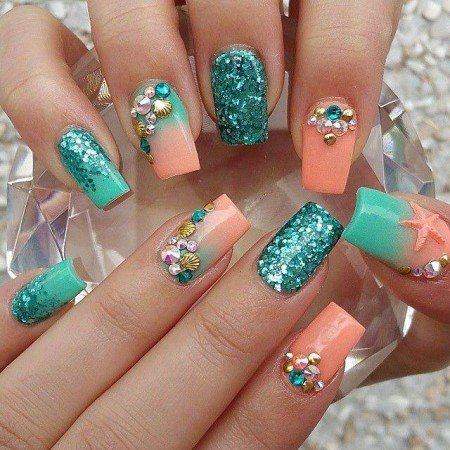
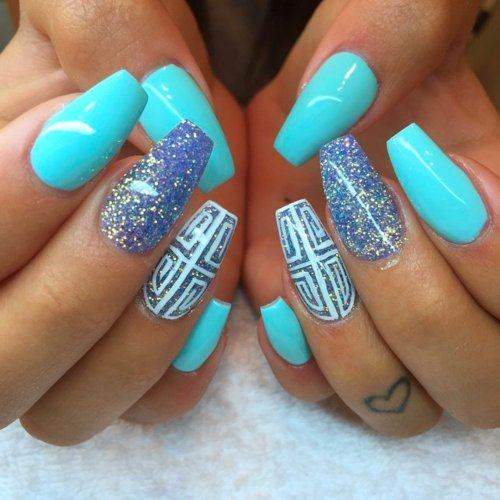
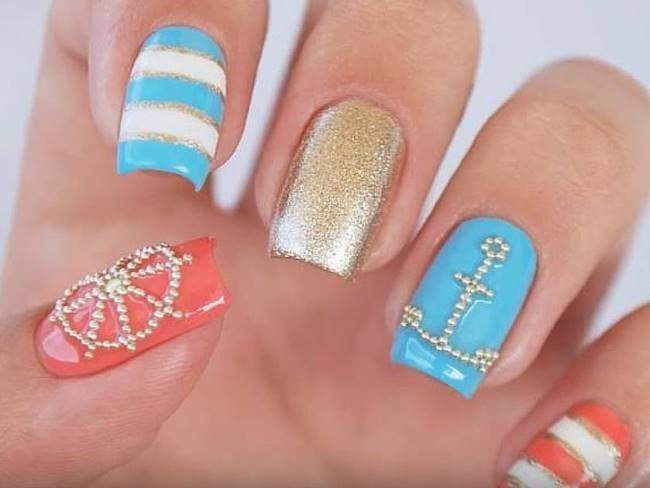
Summer is where the trendiest nail design ideas usually show up, mostly because brighter color and higher shine both photograph and wear well in warm weather. Beach-inspired designs lean toward blues, corals, and sandy neutrals; the rest of this group is just confident, saturated summer color without needing a beach theme at all. Summer is also the season where polish is tested the hardest: pool water, sunscreen, and sand all speed up chipping, so this is where a genuinely thin, well-cured topcoat earns its keep more than in any other season.
Cute Nail Designs for Any Occasion
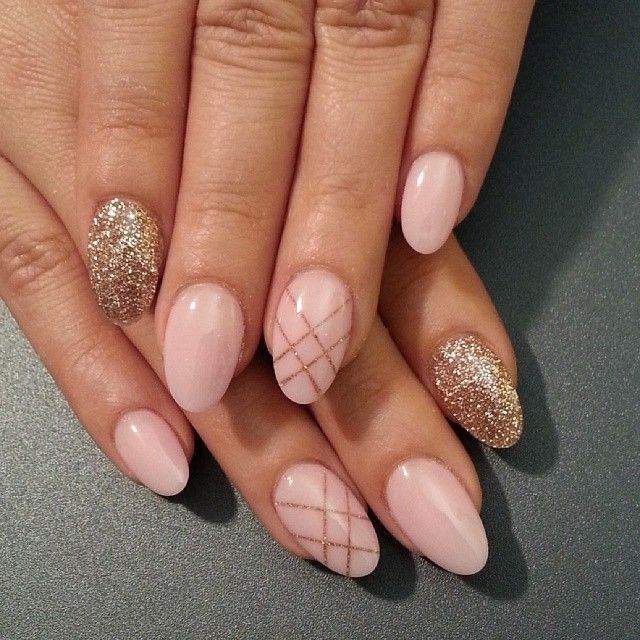
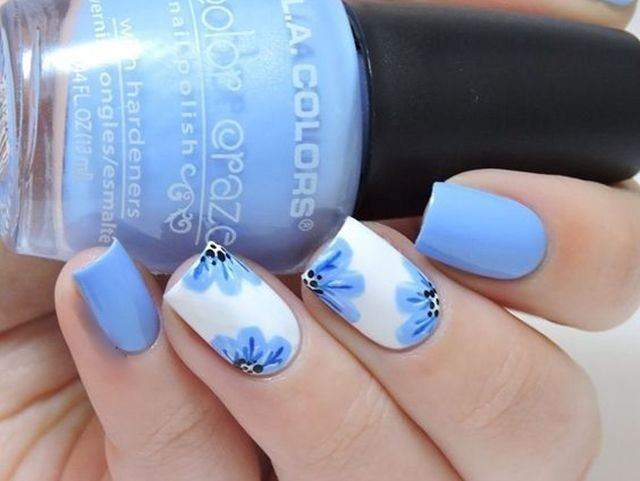
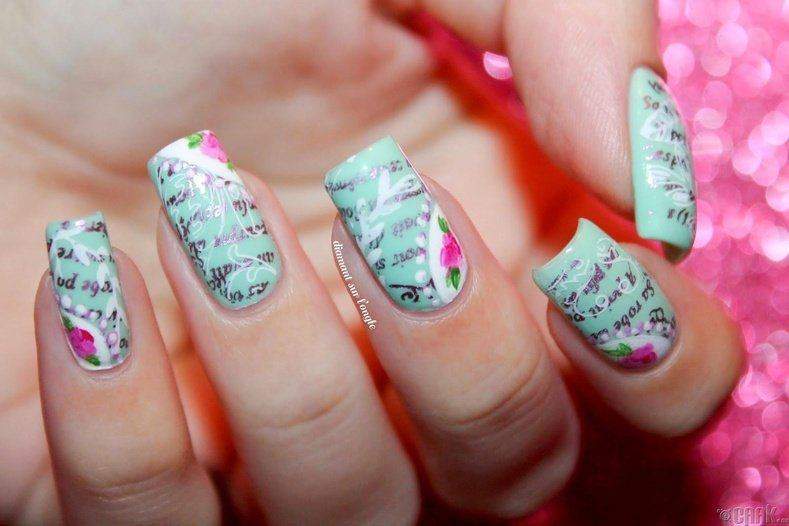
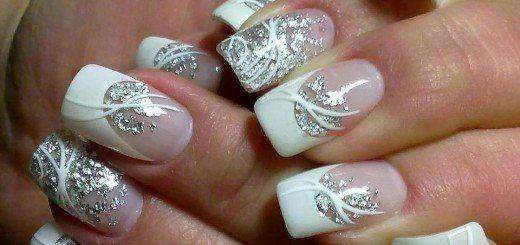
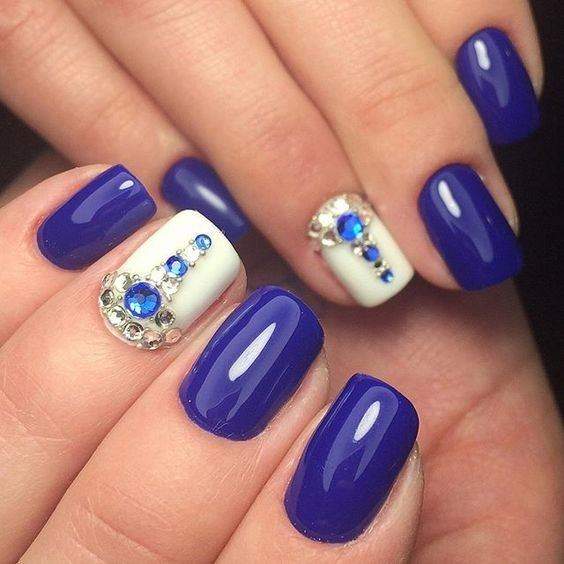
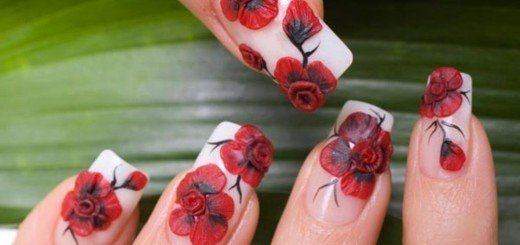
This last group covers the ideas that didn't fit neatly into a season: a French-tip variation for something dressier, a couple of color-forward looks, and one more textured 3D design for anyone who wants to push past basic polish work. Each one still traces back to the same base technique from the top of this article; only the finishing detail changes. If you're deciding between two of these for an actual event, the general rule of thumb is that glossier, higher- contrast looks read better in photos, while a matte or tonal look tends to age better across a long day of an event where your hands are visible for hours, not a single photo.
Choosing Colors That Work With Your Skin Tone
Any color can work on any skin tone; undertone matters more than depth of color. Warmer undertones (skin that leans golden or peachy) tend to make coral, warm red, and golden-toned nudes look especially rich, while cooler undertones (skin that leans pink or has visible blue veins at the wrist) pair well with berry, true blue-based reds, and icy pastels. If in doubt, a mid-tone rose or a soft berry is close to universally flattering, which is part of why those two shades show up so often across the designs above. The fastest way to test a new color without committing to a full set is to try it on just one nail first and live with it for a day.
How to Make Nail Designs Last Longer
Most chipping starts at the tip, not the surface, so running the topcoat over the very edge of the nail, not just across the top, seals the spot that takes the most contact through the day. Rubber gloves for dishes and cleaning protect a manicure more than any topcoat can, since hot water and detergent soften polish from underneath. Cuticle oil applied every night keeps the surrounding skin from drying out and pulling at the edge of the polish, which is one of the more common ways a clean manicure starts to look worn after only a few days. A fresh single coat of topcoat around day three or four, without redoing the whole design, is usually enough to carry a set through to the end of the week.
Which Pretty Nail Design Should You Try First?
If you're only trying one thing from this whole list, pick based on how much time you actually have this week, not which photo you like best. A single-color set with one accent nail takes under twenty minutes start to finish and still counts as a real, finished nail design. A gradient or a French-tip variation is closer to thirty to forty minutes once you include drying time between coats. Anything with fine detail work (the 3D acrylic look or a multi-color pattern) is worth setting aside closer to an hour, mostly for drying time, not actual painting time, so it isn't wasted if a phone call or a kid interrupts halfway through. None of that changes which look is "best." It just changes which one fits into today.