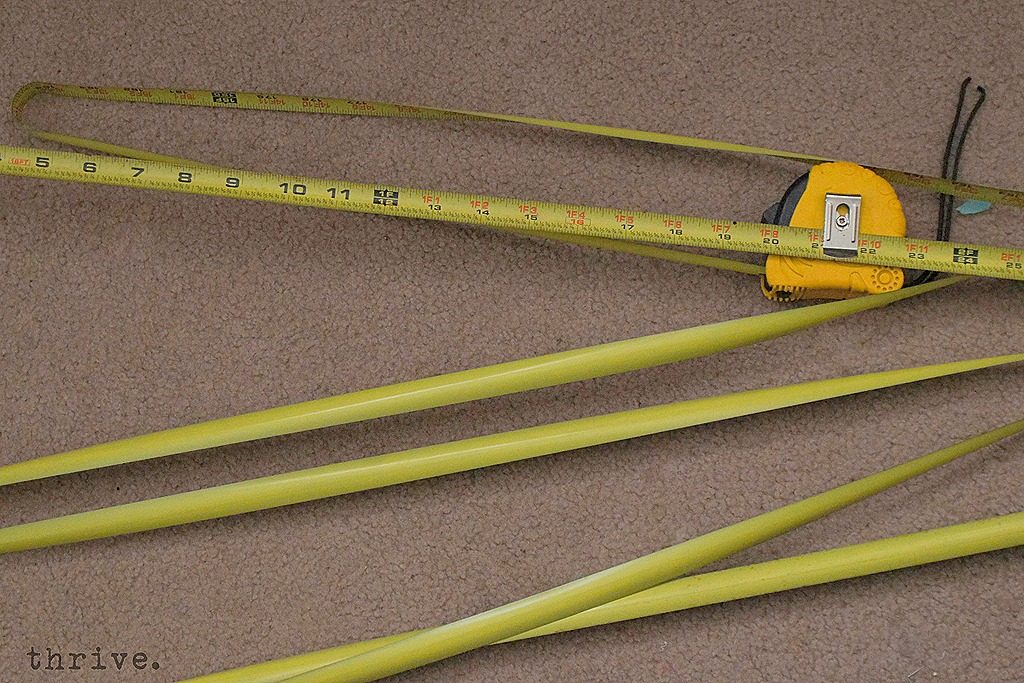
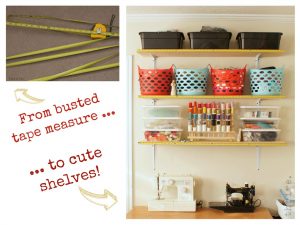
Ever have this happen?
I have.
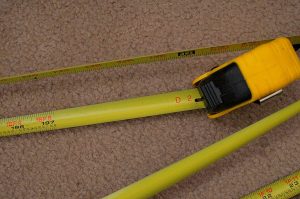
My kids have killed three tape measures in the past year and it’s getting old. Really, really old.
Oh well. Time to bundle up yet another pile of measuring mess and haul it out to the trash, right?
Wait! Don’t toss that!
Tape measure metal is a cinch to cut with regular scissors and is loaded with all the organizery-measury goodness that’s all over blog land right now.
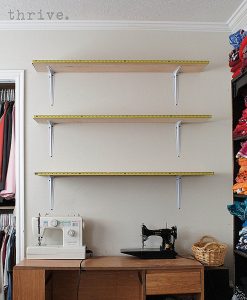
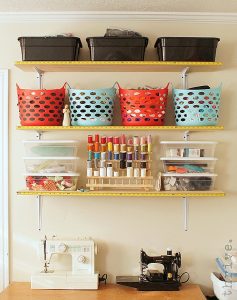
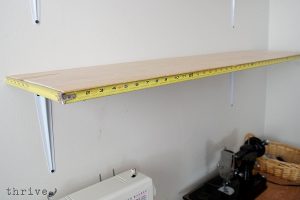
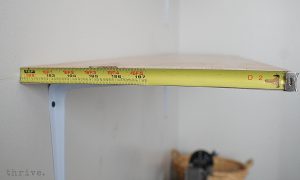
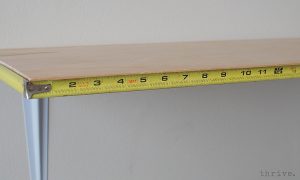
I used mine to dress up the fronts of some temporary shelves I have in my bedroom-turned-impromptu-sewing-station.
See?
I didn’t want to mess with painting these shelves with the whole ‘they’re temporary’ thing. But some extra color helps a lot.
Here’s the finished product:
Oh, and did I mention how handy it is to be able to measure fabric and ribbon on the fly?
I just hold up my yardage for a quick and accurate measurement.
Love that.
Here’s a few tips for anyone wanting to dress up their own shelves:
1. Be careful! The metal cuts easily with scissors, but the edges are sharp. Go slow, wear gloves and you’ll be fine.
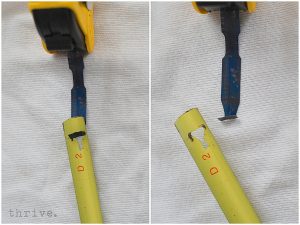
2. Remove the measuring tape from the container by either unclipping the yellow portion from the blue tab or cutting it away using regular scissors.
3. Use a strong adhesive like E-6000. Craft glue, hot glue and the likes won’t cut it. And don’t fight the natural curve in the metal. You’re not going to flatten it out so don’t try.
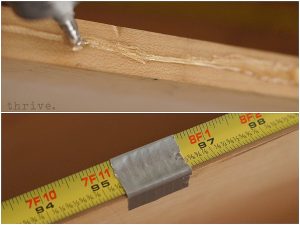
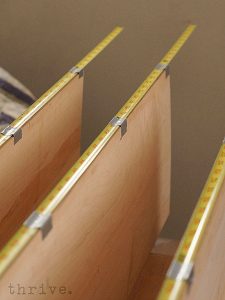
4. The easiest way to glue these is to remove the shelves from the the wall (if possible). I ran a generous bead of E-6000 down the board and used duct tape to keep the tape measure from shifting while it dried. Again, don’t try and flatten the metal—just keep it from moving.
4. For the first shelf, I cut a piece from the very end of the measuring tape and glued it to the left side.
The next morning I started at the beginning of the tape measure and glued it along the front and right side.
For the remaining shelves, I measured the sides and front of each one and cut a single piece of metal tape. I glued the fronts of the shelves first and allowed them to dry overnight.
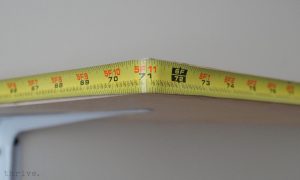
Then I carefully bent the tape measure around the corner and glued it to the sides of the shelves. Again, duct tape kept everything in place while it dried.
Super easy and cheap.
So …
Busted tape measure?
It’s What-Not-To-Toss this weekend!

