Quick—someone knock on wood—but it looks like we might get a break from the rain, hail and snow that refuses to leave Utah.
Heck, it’s a balmy 54 degrees outside right now.
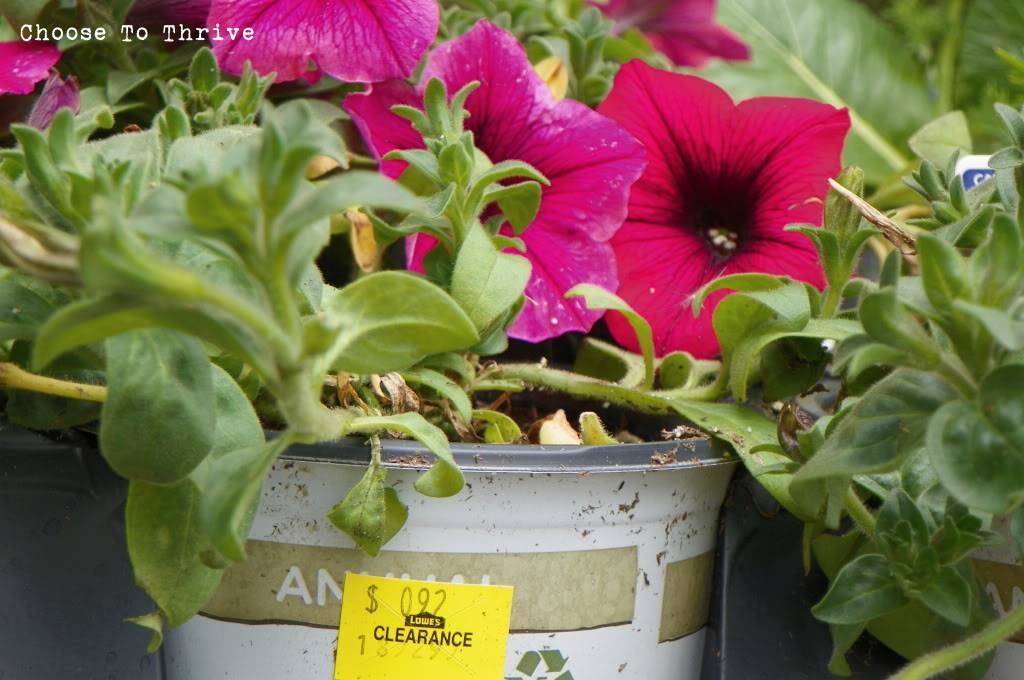
That means that the rest of my sad clearance flowers from my cake dome planter project that have completely taken over my kitchen table can finally move outside.
I’ve been wanting some more color to go with my cake dome planter along the front porch and love the look of hanging baskets.
But as it turns out, I was fresh out of hanging baskets.
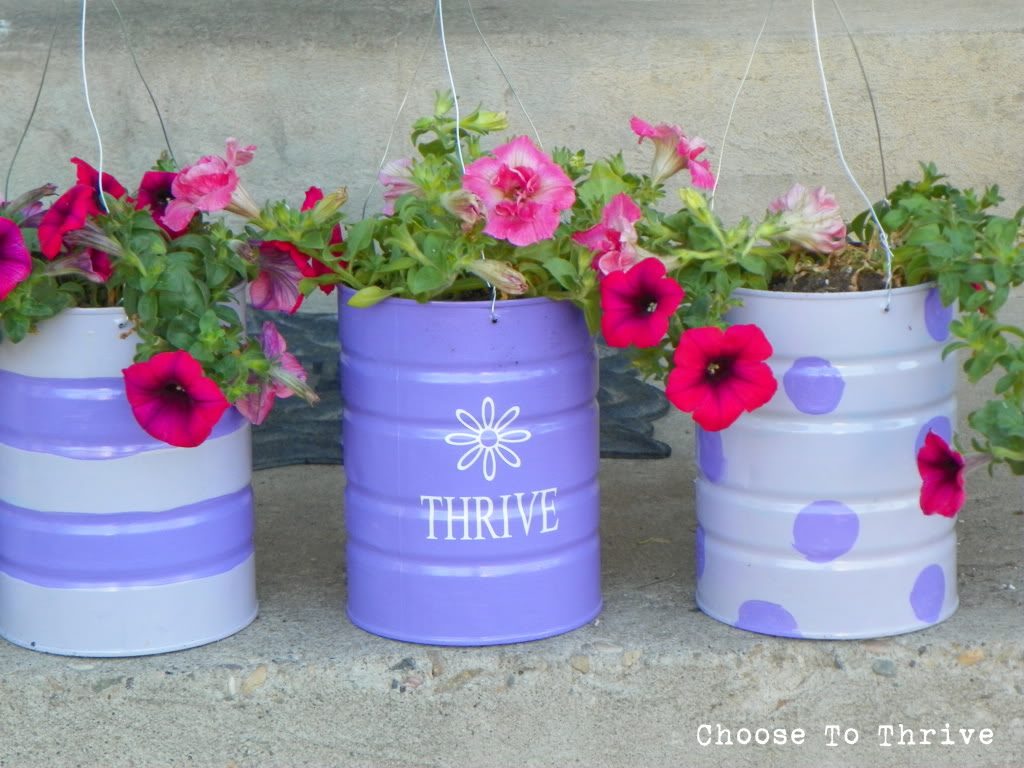
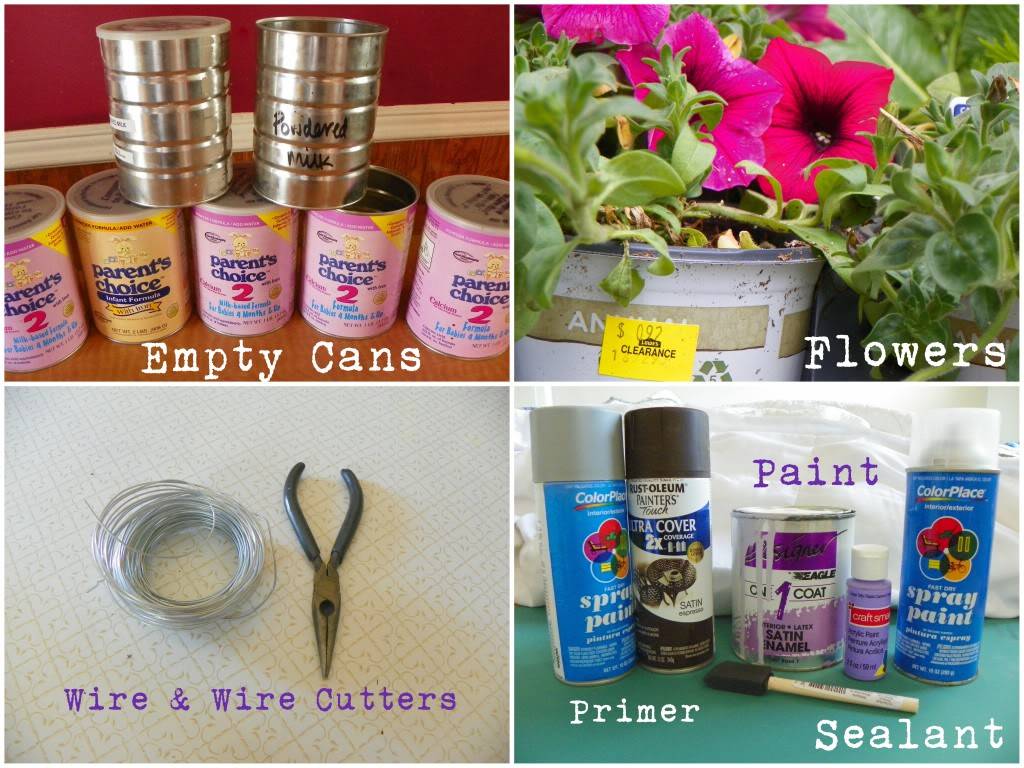
So the only thing left to do was grab some empty formula cans and get to work!
For this project you’ll need:
{As always I hope you’ll rock what ya got an use whatever you have on hand to make this without an extra trip to the store.}
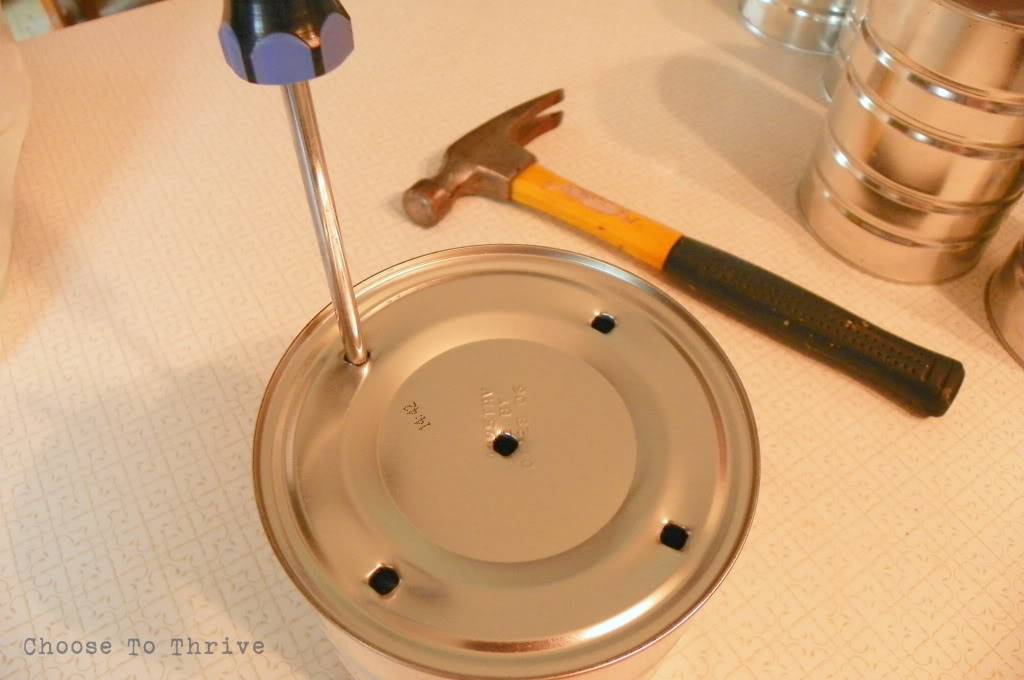
Punch drainage holes in the bottom with a screw driver and hammer.
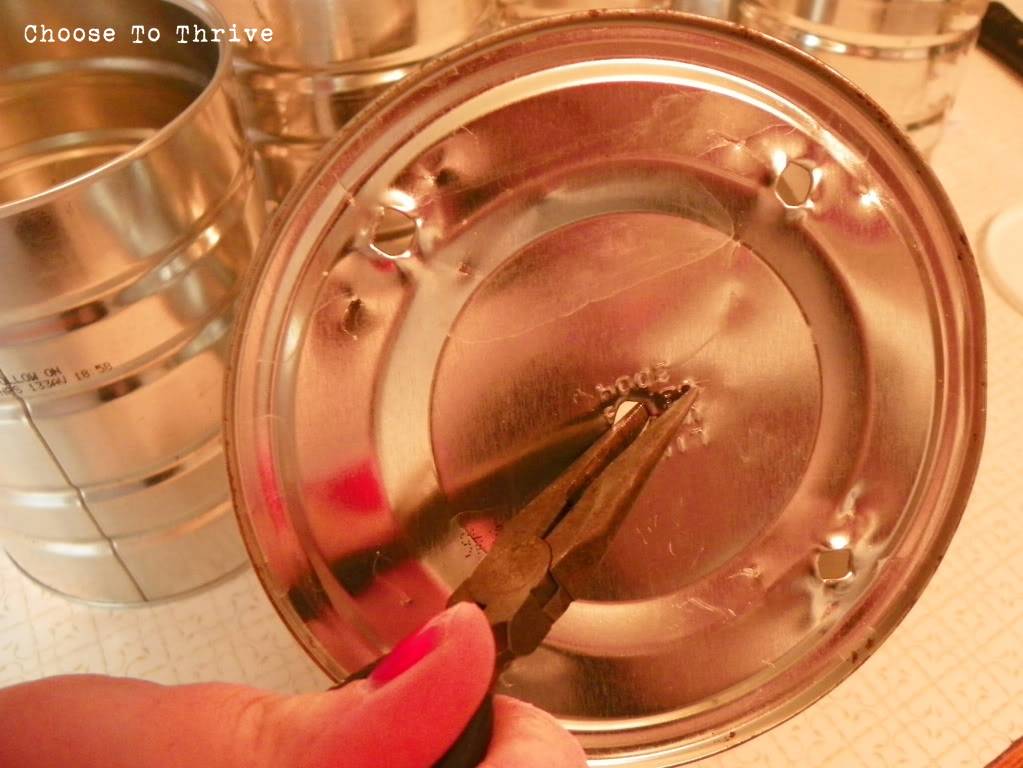
Flatten rough edges with a pair of needle nose pliers.
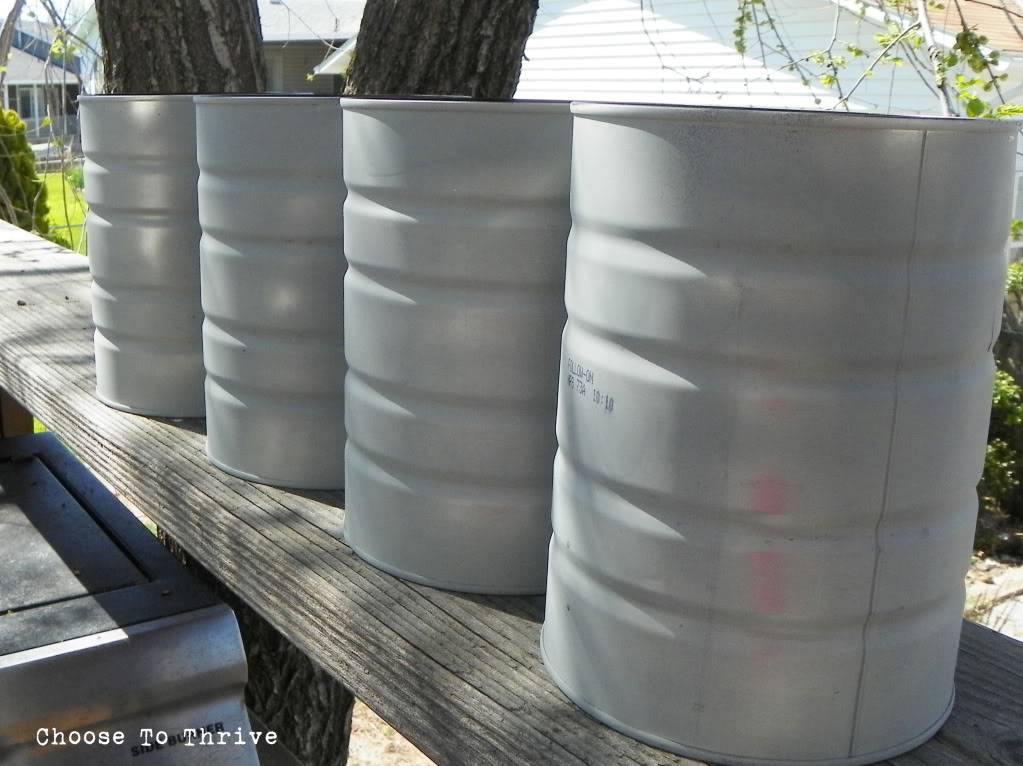
Coat cans with a quick coat of primer on the inside and out …
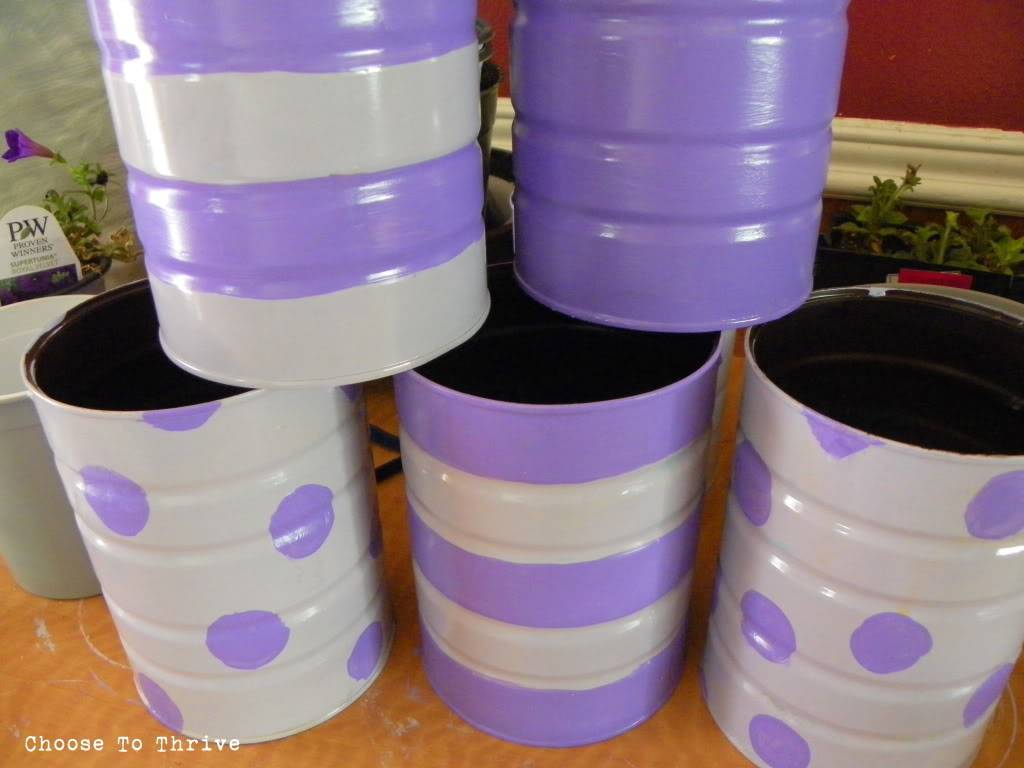
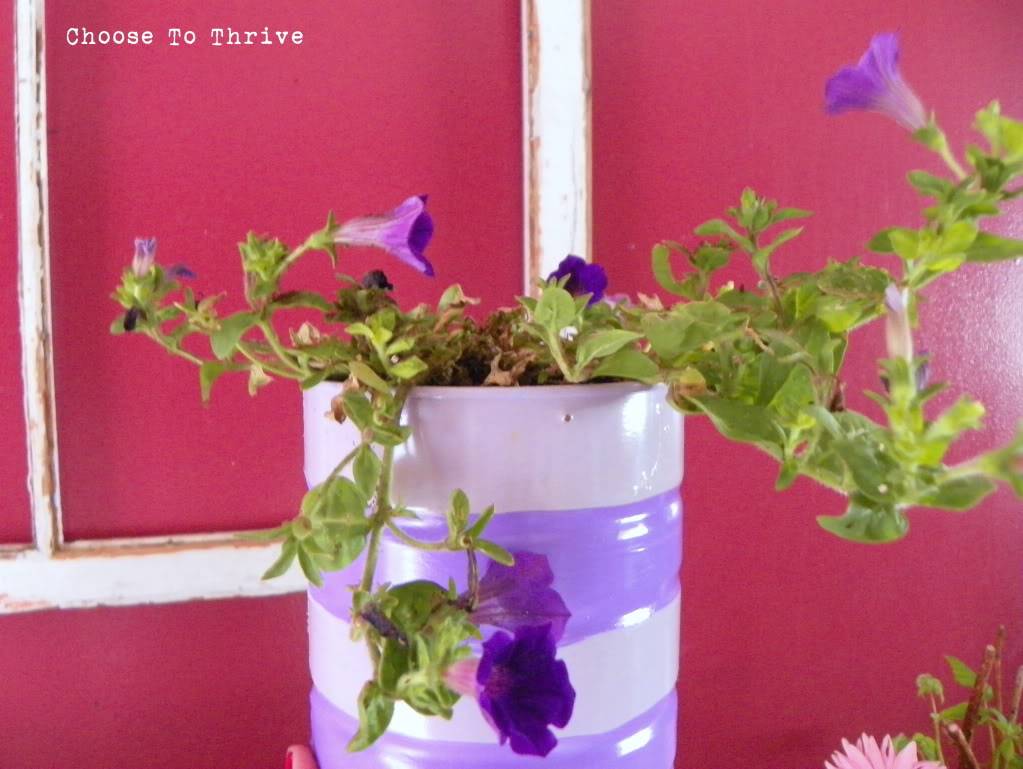
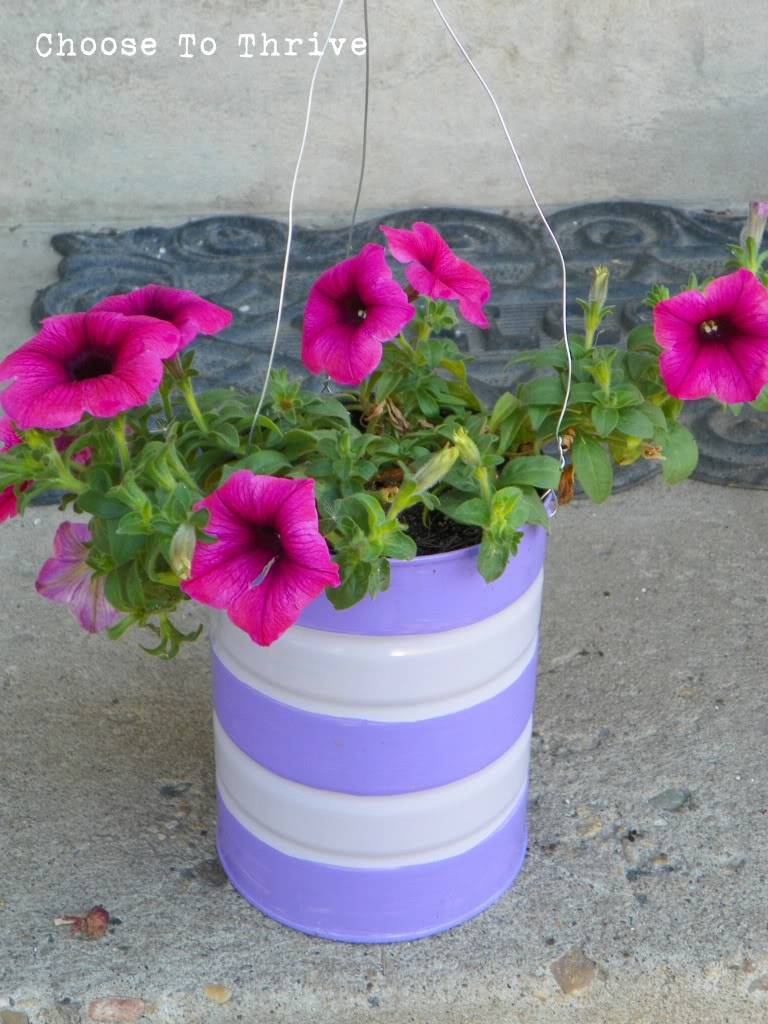
… and cover with your choice of paint. I used a coat of left over house paint for the base and craft paint for the stripes and spots.
A coat a clear spray paint sealed everything.
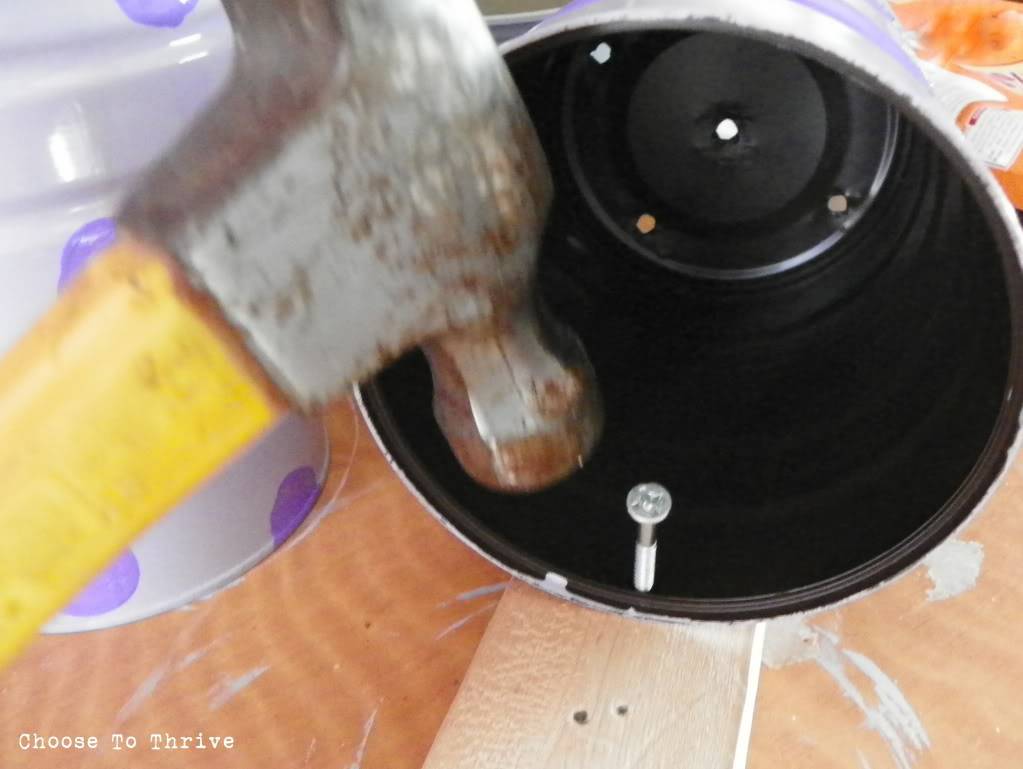
Hanging holes were made using a left over nail/screw. I placed a piece of scrap wood beneath my cans and hammered away.
I filled the bottom quarter of each can with packing peanuts to keep the weight down and save on soil …
… and then added my plants.
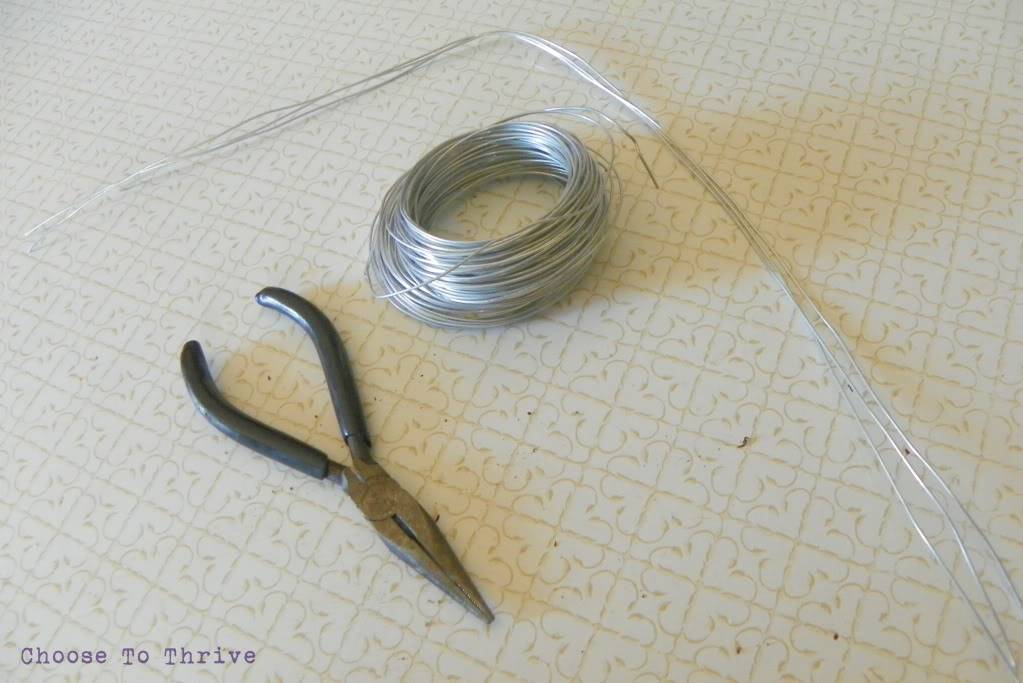
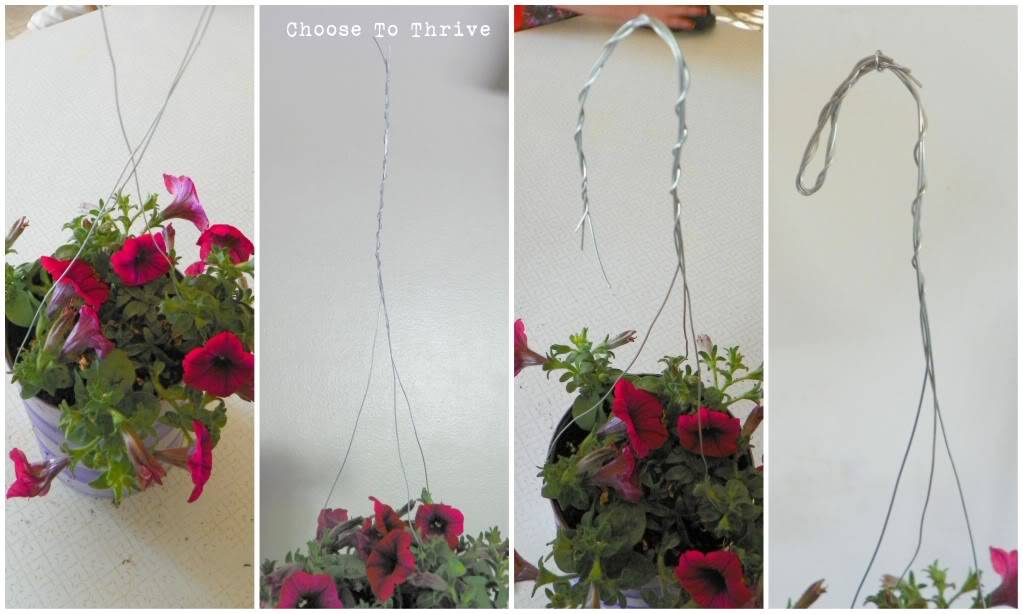
To make the hanging wires, I cut 3 – 18” lengths of wire per can …
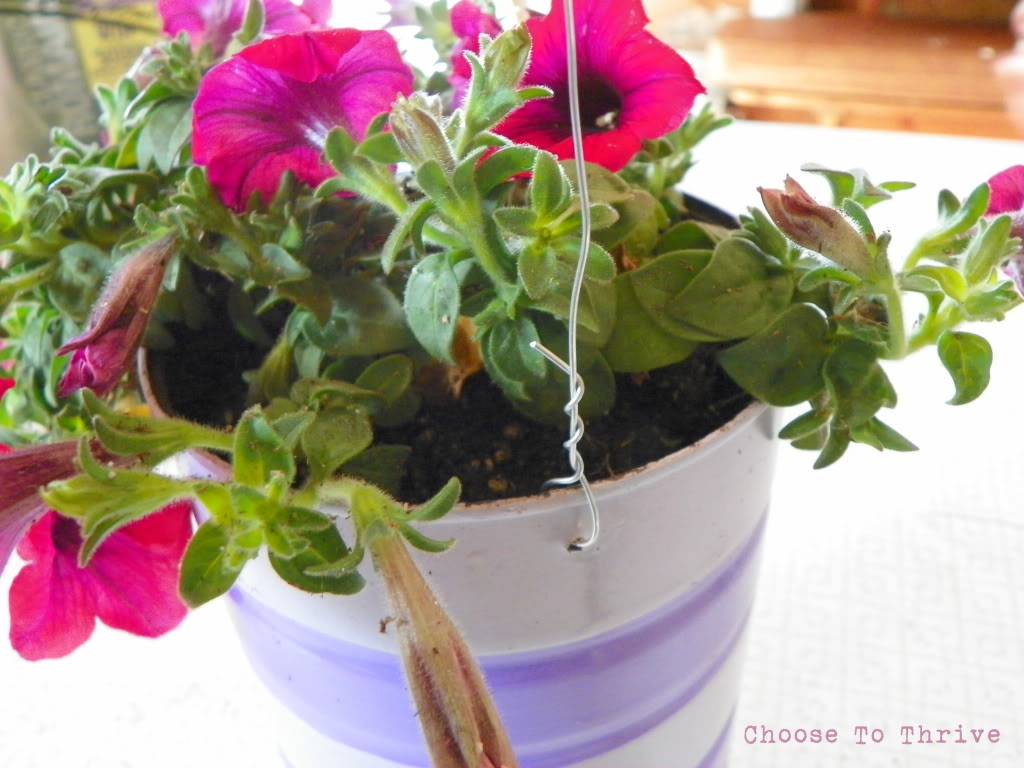
… and threaded them from the outside, twisting them into place.
I twisted all three wires together above the flowers and bent the end over to make a hook.
Left over wire was trimmed away.
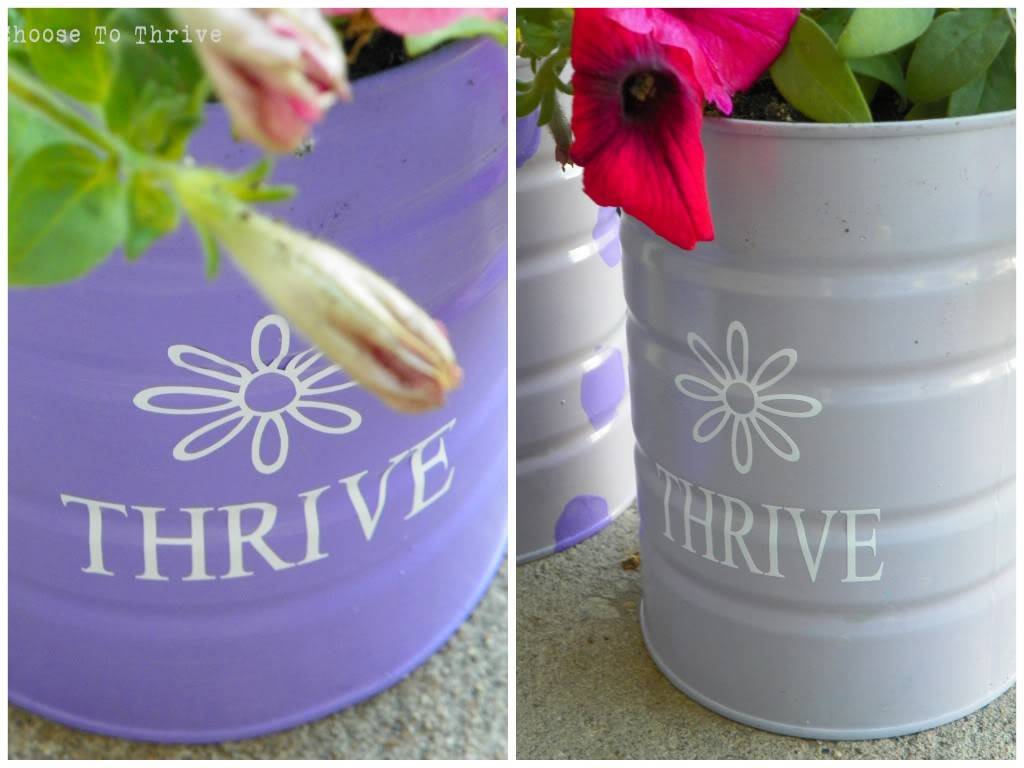
And just for fun, I added some vinyl to the outsides of a couple can planters.
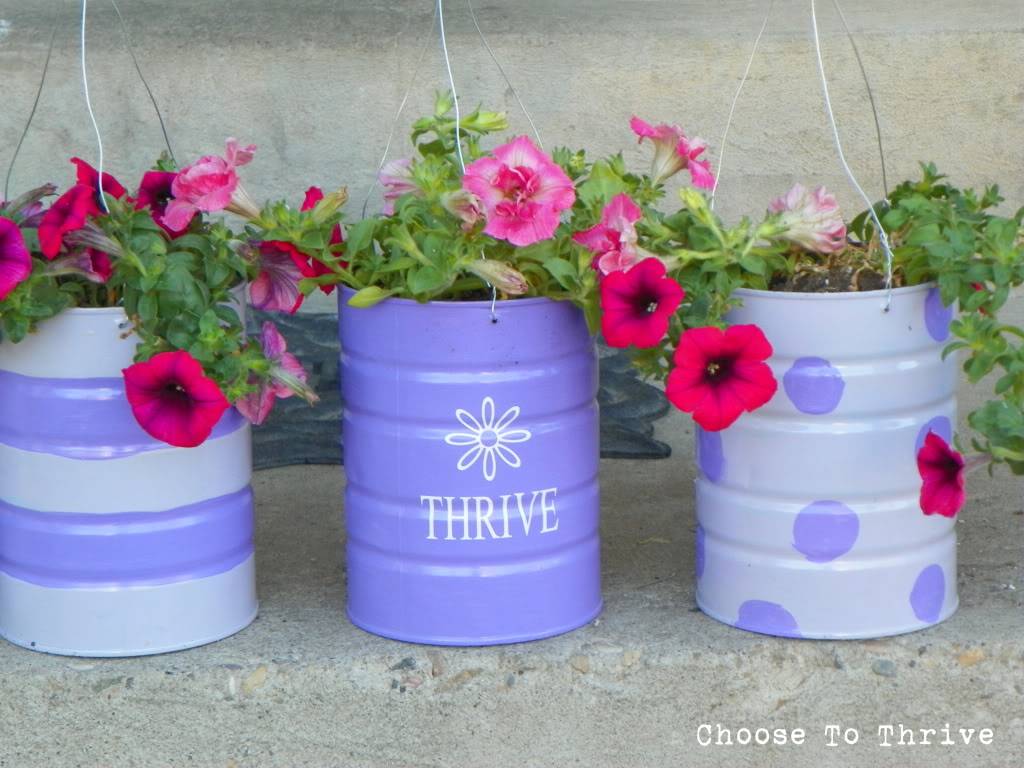
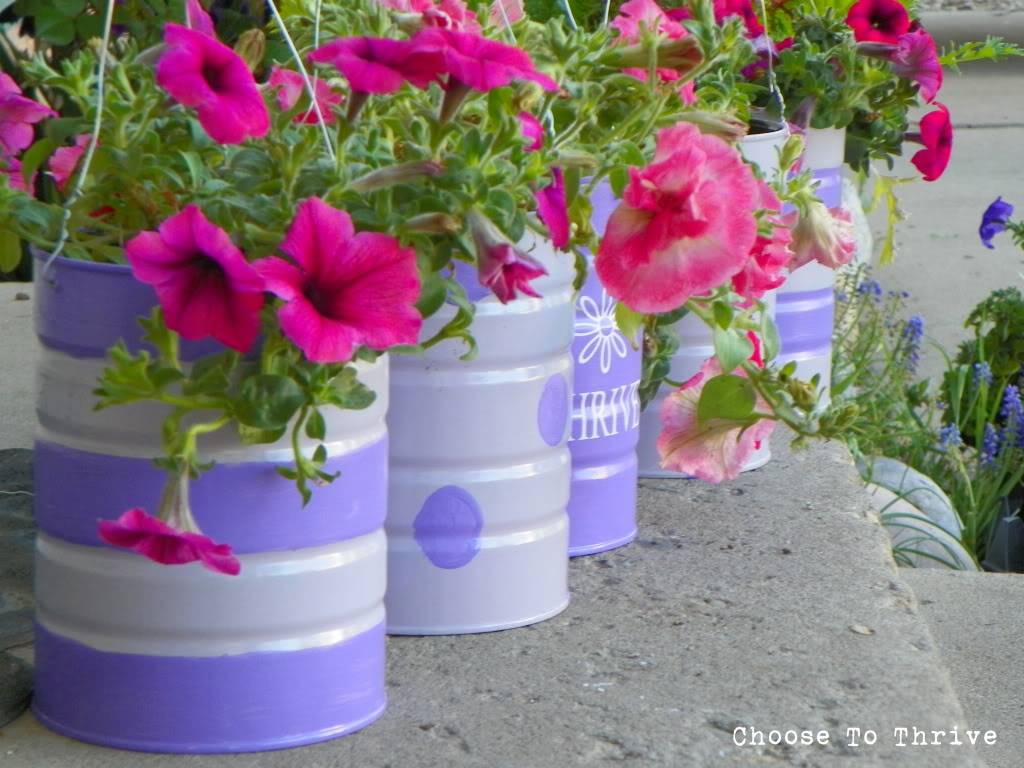
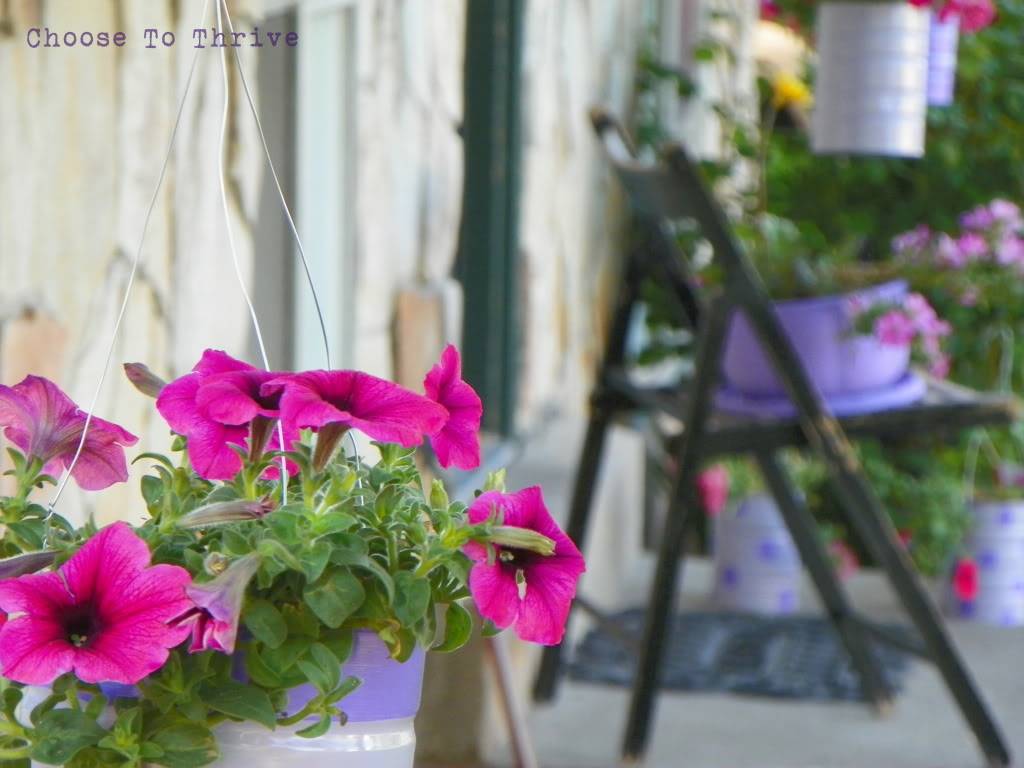
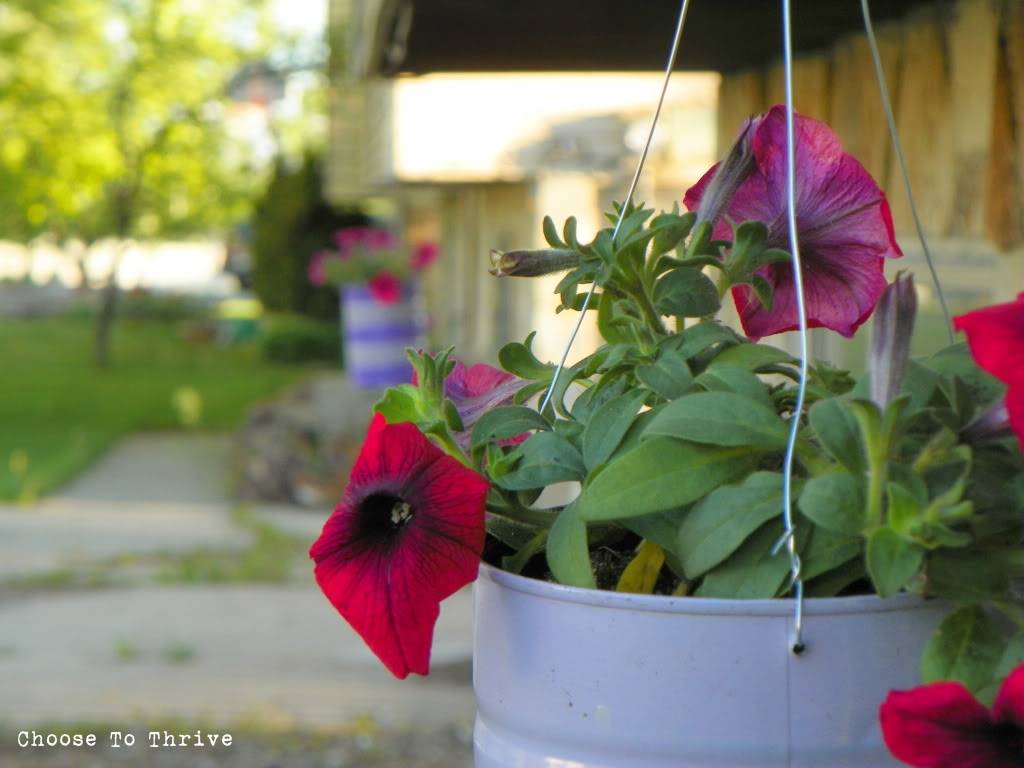
And just like that, six colorful baskets were waiting for a break in the weather to make their debut along the front porch.
And I love how they turned out …
… and how bright and cheerful they make the front of my house look!
Finally … finally … welcome to Utah Spring! Glad you made it in time for summer.
Featured on (thank you!):

