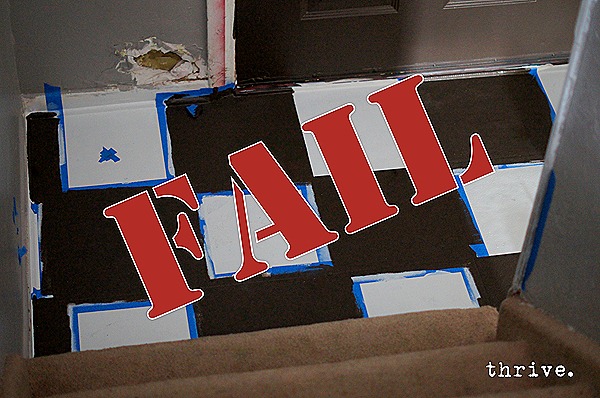
For the record, let me say this: painting your stairs is fairly easy, but very, very time consuming.
This is not a quick weekend project.
I highly recommend painting your stairs if you’re looking for a cheap facelift and/or to buy you some time until you can do a major stair remodel.
That being said … holy cow. This project was a chore. Awesome, but a chore.
If we could have tackled this on it’s own, it would have been fairly straight forward. But since we were now launching into painting the stairs in the middle of painting the entryway floor and door …
… and trying to finish the kitchen pantry …
… and the dishwasher breaking and needing to be hauled up and down those entry stairs and across the disastrous painted floor on not-so-much dry paint …
… and the stairs off the back deck deciding to rot and fall off at the same time leaving no other way to get in and out of the house …
… and not having a working entry light which meant that all painting had to be done during the day with kids around whose bedrooms and playroom are downstairs just made everything more complicated.
So I wasn’t surprised when Mr. Thrive got home the night of the paint-down-the-stairs-onto-the-entryway fiasco and was so, so not happy.
And can you blame him?
But we were committed, so I busted it to get going to try and fix everything in the two weeks left before company rolled into town.
The first thing I did was use a hammer to pull up the carpet tack strips that were nailed to the top of the treads and front of the risers. I had to use a chisel a couple of times to get the tack strips to lift up enough for the hammer to pull them loose.
I hadn’t ripped the carpet off the sides of the stair case or along the railing that first night …

… but the remnant carpet looked lame so off it came, too.
And then hundreds of staples had to get pulled out with pliers.
The super, tiny ones needed a small screw driver hammered underneath them to lift them up enough where I could grab them with pliers.
After four solid hours of ripping out staples and tack strips, I had some wicked awesome blisters. So here’s tip ladies: wear gloves for this part.
At this point I didn’t know how to proceed since as you can see in the picture above, the treads weren’t plywood or hardwood, but rather particle board that is notorious for leaching paint like a sponge. Plus it’s a lot coarser than plywood or hardwood steps. For 30 seconds, I really considered ripping up those cheapy particle board steps and putting down something that could be stained. But at $11 a tread, I was looking at a lot of money I still didn’t have.
So painting it was.
The nice thing about having particle board steps is that you don’t have to sand them down at all—in fact it’s a nightmare to even try. So the stained areas on the steps got a quick spot coat of KILZ …
… and then the whole thing got two heavy coats of oil-based primer.
And I was pleasantly surprised — the particle board took the paint very well. The first coat of primer sucked up a lot of paint and dried very light, but the second coat covered beautifully.
I had hoped two heavy coats of primer would hide all the staple holes everywhere.
Um, no.
After the first coat of primer it was pretty clear that no amount of paint was going to cover those bad boys.
So, tip #2: fill all the holes with wood putty and then sand smooth before priming and painting. It’s a total pain to have to go back to do that step after the painting has started.
Between my super-cautiousness-on-the-drying-times-after-the-floor-mess thing and the afore-mentioned issues with the rotting-back-stairs-and-dishwasher-and-painting-only-during-daylight thing, the prep work took a full week to complete before we were ready to start painting the finish colors.
Phew.
So for anyone wanting to paint their stairs – especially stairs with particle board treads, let’s recap how to do this the smart way.
Painting Your Stairs: Prep Work
1. Remove carpet and pad using pliers and the claw on the back of the hammer.
2. Remove the carpet tack strips with a hammer and chisel.
3. Remove staples using pliers.
4. Patch staple/nail holes with wood putty, allow to dry thoroughly, sand smooth.
5. Sand non-particle board areas like the risers/kick boards and sides of stairs lightly.
6. Sweep stairs and wipe clean.
7. Spot treat any stained areas with KILZ and allow to dry at least 30 minutes.
8. Coat stairs with two coats of oil-based primer, allowing each coat dry thoroughly.
************************
Back on Friday with the fun part – painting the finish colors!


