Tag

Summer

Browsing

As summer approaches, you need to make sure that your home is in tip-top condition. There are several appliances you are going to come to rely on in the warmer weather, such as your AC unit. It is incredibly important that this piece of equipment works to the best of its abilities as the months turn warmer. Here’s what you need to do to get this ready for summer.

Give It a Quick Assessment

First up, you need to give it a once-over to establish its general condition. Depending on where you live, you may not have touched it for several months. As a result, it is likely to be in not the best condition compared to how you usually like it to look.

Even if you are not HVAC-savvy when it comes to fixing things up, you should be able to tell from a general once-over what condition it is in. If it looks battered and old, it is going to need either some repairs or potentially even replacing fully. This first little assessment of fins, electrical components, belts, and other essential parts of the system could be key in ensuring that your AC is actually able to stand up to the job without breaking halfway through the season.

Clear It Out

Through fall and winter, dirt and debris can become lodged in an AC unit if it is not properly cared for belts, and electrics. Many areas of your AC can get clogged with dirt and grime that can impair them, so when you’re checking that your AC is workable, you should also clean it out. This is such a critical part of the maintenance and it can’t be a step that is skipped. If you feel like this is going to be beyond your skillset, make sure you enlist the help of an expert instead.

The very first thing you need to do is cut the power to the AC unit itself. Make sure that power is off to avoid any issues you may encounter while trying to clean it. You then need to clean the inside. Make sure the evaporator coils are clean, and then empty and clean the drain and drain pan. If the drain is clogged, you can use a wet/dry vacuum to try to shift the blockage.

You should also clean the outside of the unit once the power is off. There should be enough slack in the wires for you to do this without needing to disconnect the wires. You can then clean out any debris from the bottom of the unit itself. If you use a solution to clean your condenser coils, you need to make sure that it does not get on any of the inner workings or on you as it can cause burns and damage the unit itself. Finally, straighten the unit’s fans to help maintain its efficiency. Make sure you are using the right set of tools for the job when you do so. As you close up your AC unit, make sure you check that it is still level.

Check the Air Filters

Air filters are one of the most crucial parts of the AC unit and it is something that you will check fairly regularly, even if you only clean the full unit a few times a year. Air filters are such an easy change to make but they can make a real difference to the inside of your home. If you feel like things are a bit stuffy, or it seems like the air is not circulating as well as it should, that is a key indicator that your air filter needs to be changed.

Air filters come in many sizes – while you’ll likely have a common size like a 16x25x1, make sure to check the size of your current filter before stocking up. A good-quality air filter should last you at least two or three months, but you may want to change it more often depending on your household. As a result, you need to make sure that you have enough filters to last you throughout the season.

Maintain Your AC Regularly

We rely on our AC systems more than we might realize. If you think that yours needs some work as we move into the summer months, you should think about updating it as soon as you can. This is just one part of your house that should be refreshed in time for summer, but things can get unpleasant if it does break down.

Make sure you are giving yourself enough time to properly assess it and any repairs it might need. Better to get them sorted now before you have to rely on that AC keeping you cool after all! If your home needs its AC in the warmer months, you should check on it today to make sure it is ready!

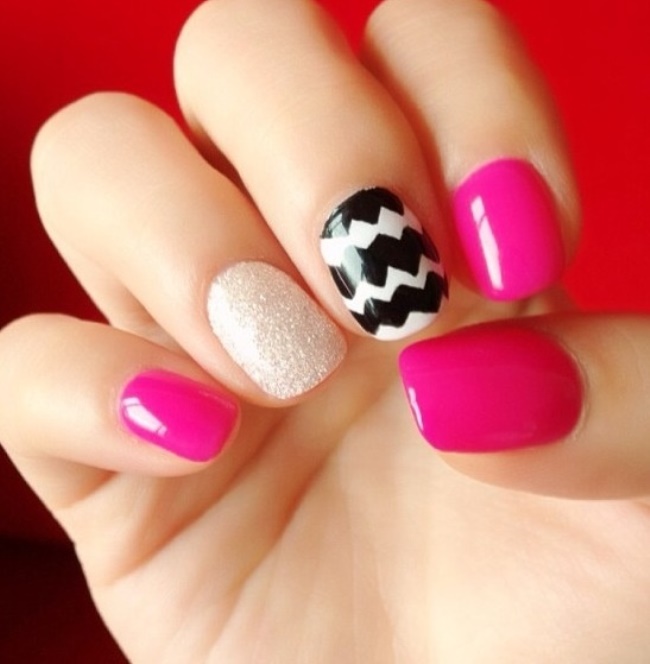
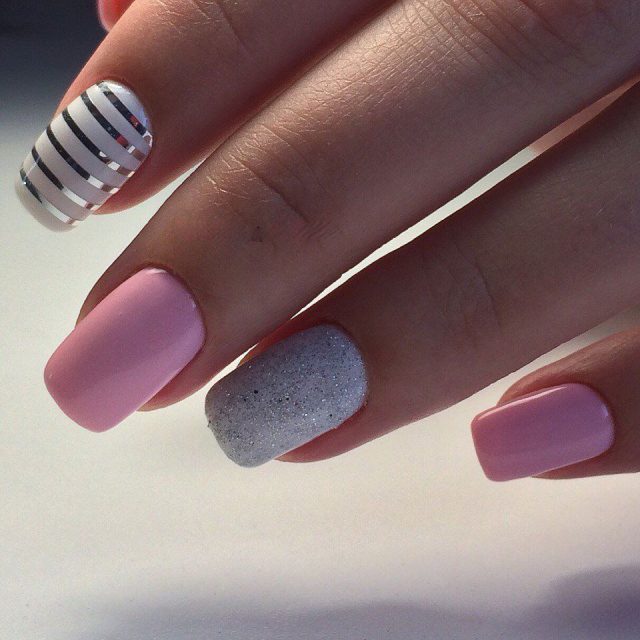
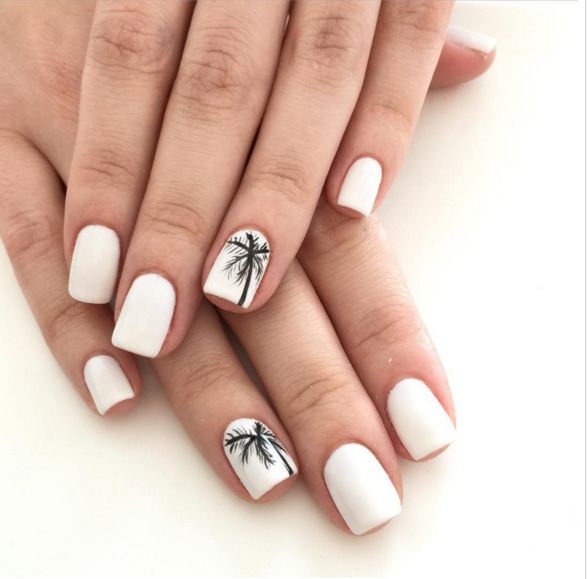
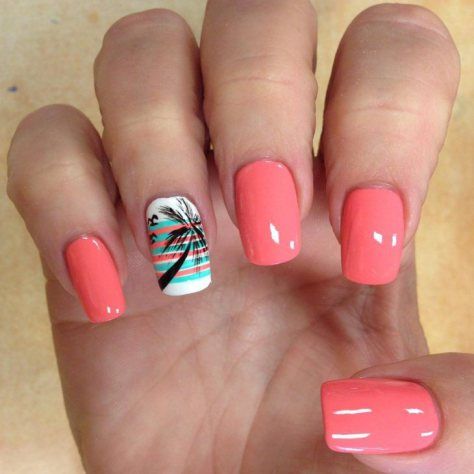
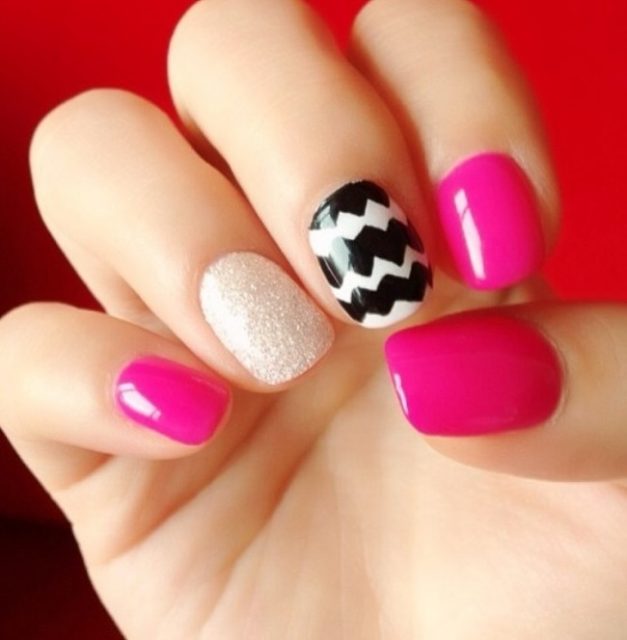
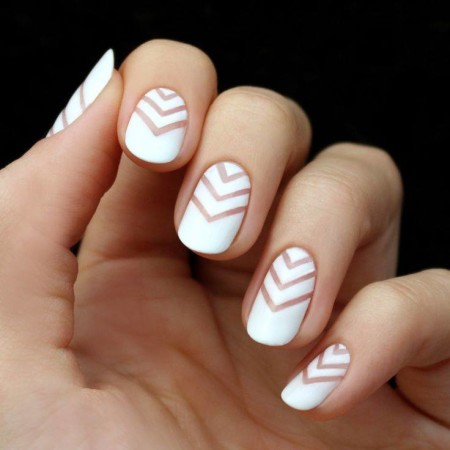
Let’s play with some cool summer nail paint shades to forget the discomforts of this hot weather. I love to do summer manicures because summer nail colors are so relaxing and cool. Today I am going to share some trendy and pretty nail designs for spring and summer. Just pick up some trendy nails paints to give a cool look to your hands and nails.

Summer Nail Color Trends

Before doing summer manicure just gather some shades of nail paints which are n vogue these days. Here are some suggestions.

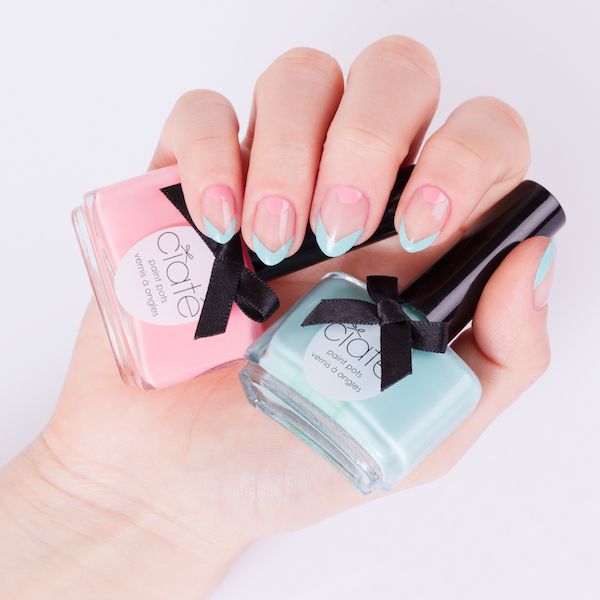
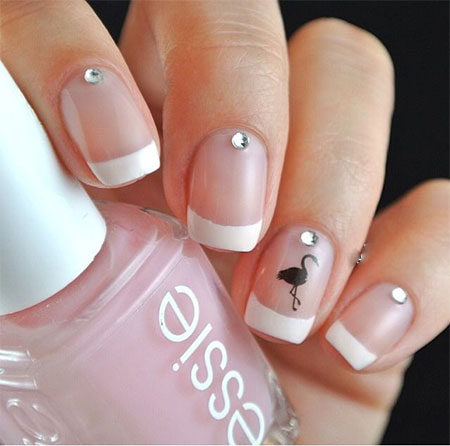
Pinks: Go for soft pinks, Glittery pinks, Peach pink, Coral pink, Girly Pink, Fuchsia,

Metallic:  Creamy Gold, Metallic sand,

Orange and Yellow: Vandal Orange, Lemon, Tangerine,

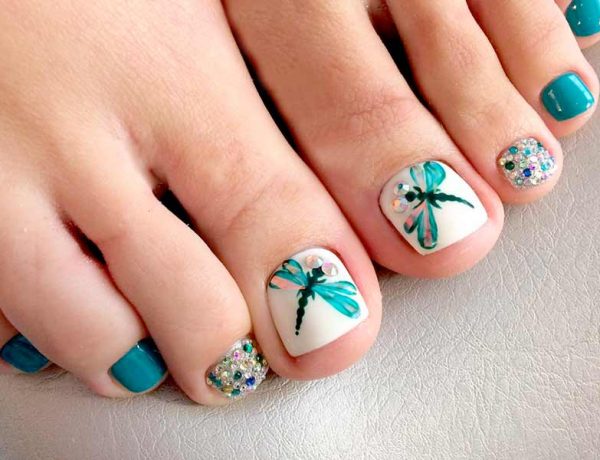
Blues and Greens: Turquoise, Cobalt, Sea green, Palm green,

And obviously different shades of red always remain hot no matter mercury level is up or down.

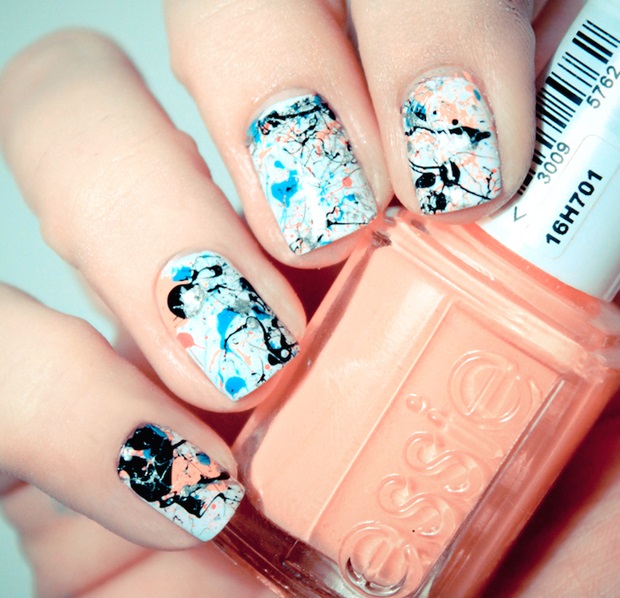
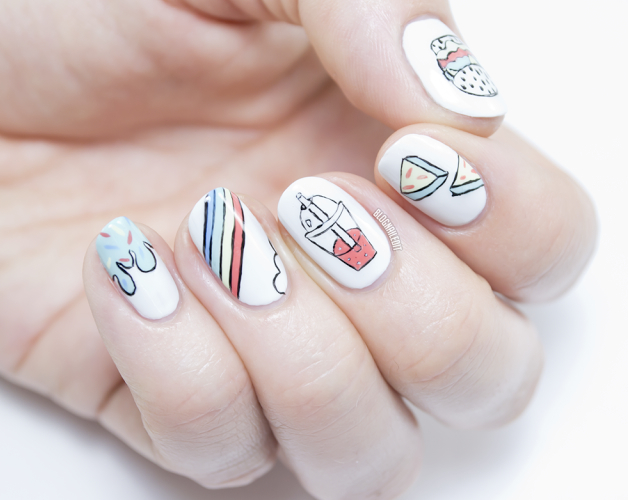
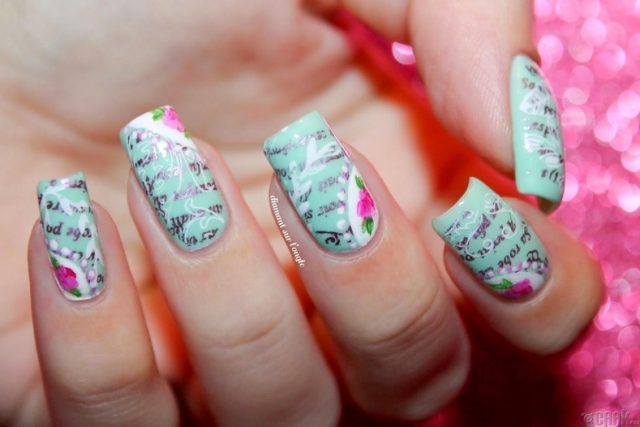
Now I am going to share some pretty nail designs below. French manicure, graphic nails, dotted and stripes nails all are ok for this summer. Have a look at these pretty nail arts made with appropriate summer shades.

Some designs are basics that you could make as a beginner using simple nail paint and glitter. Some are freehand nail art designs that could be made using detailing nail art brush. As a beginner you could create pretty nail designs using dotters, nail art tape, stickers and other accessories for doing nail art available online and in the market as well. Don’t forget to share your summer nail designs on our Facebook page. Good luck with summer Manicure.

DSC08897

Well, despite my hours of dedicated research on Pinterest, my kids still arrived at ‘bored’ last weekend. *Sigh* It’s only been a couple of weeks and apparently all the park trips, splash pads and kid crafts just aren’t cutting it anymore. And movies, coloring and playing outside were also nixed. Bummer.

But those stacks and stacks of pictures got me thinking … and I looked over my ginormous ugly-stained-ripped-worn-out t-shirt stash and started thinking.

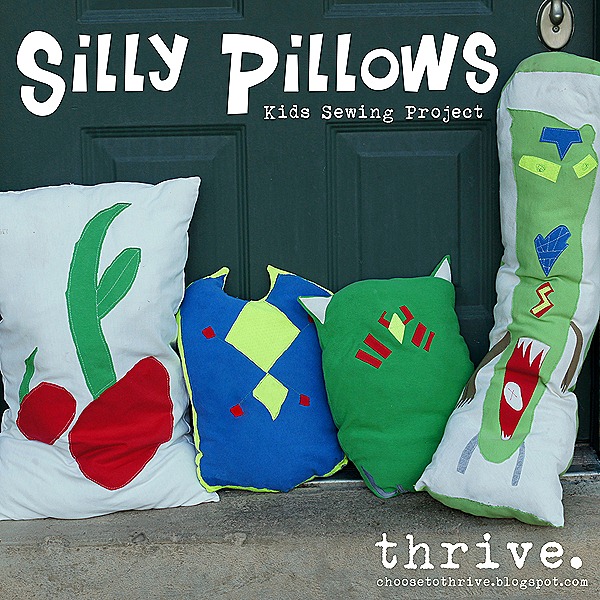
And suddenly I decided that it might just be time to turn the kids loose and let them design their own silly pillows any way they’d like. It’s stash-bustingsewing-teaching and time-killing all in one.


The end result was pure delicious awesomeness. See?

Crazy robot monster? Sure.

June 2012 BLOG1

Superhero shield? Bring it.

June 2012 BLOG2

Random ‘spider head’ pillow? Okay.

June 2012 BLOG-4

I {HEART} Cherries? Yes ma’am.

June 2012 BLOG-8

And these were so ridiculously fun to make.

Me and my dirty half dozen blew off two solid days working on these and they were giggly and excited the whole time. I loved that they were bending over backwards to help with dishes and laundry to give mom time to finish sewing their pillows.

So this isn’t a tutorial so much as it is a list of tips and ideas to get the wheels turning and hopefully save you a few headaches.

1. There are no rules! I’ve been terrified to sew with knits because I don’t have a zig zag on my vintage Featherweight, nor do I own a serger. Who cares—you’re not making clothes! Pillows don’t have to hold up to the wear and tear of being pulled on and off of little bodies. If you’ve got a zig zag or serger, by all means, use it. But if you don’t (or are scared to try), don’t sweat it. Just use lots of pins to keep the fabric from pulling and stretching, GO SLOW, and lengthen your stitches. Our pillows have been beat to death and drug around everywhere in the last two weeks and they’re holding up great. (They came through the wash like champs, too).
2. Give your kids total control over their designs – no mom ‘fixing’ or ‘helping.’ Period. When their design was finished, I just drew a seam allowance for the pillows by simply pinning the pattern to the fabric and tracing a .5”ish line around the edge.

DSC08226

3.  Let your kids help with the cutting, pinning, sewing and stuffing as much as possible. It’s going to be messy, imperfect and slow, but totally awesome. You know your kids’ ability levels – help when needed and then get out of the way.

DSC08301

My older kids (including my 6 yr. old) cut out there designs by themselves. It was sloppy and jagged.

DSC08213

I mean really sloppy and jagged.

DSC08229

Who cares?! The rough edges will be covered up by the seam and my kids were so proud of themselves.

4. Keep the pillow shapes simple. If your kid’s design is really small or oddly shaped, apply it to a square, rectangle or circle pillow. The basic shape of the superhero shield and spider head where fine as-is, but the small cherries and alien robot monster would have been impossible to make without attaching them first to an easy-to-sew rectangle base.

DSC08889

5. Sewing applique pieces:  I attached large shapes like the cherries and alien body by simply pinning the shape to the pillow top and straight stitching around the edges.  Contrasting thread helped little details really pop.

June 2012 BLOG-2

The smaller pieces were ironed on using lite-weight heat’ n ’bond and then top-stitched for extra durability.

DSC08280

But … rock-what-ya-got!

If you want to skip sewing on details, do it! Just use a heavy weight iron-on product. If you only have fusible webbing, that’ll work, too! If you don’t have anything but a sewing machine handy, just sew the whole thing together. See? No rules!

6. Fun extras like handles for shields or pockets for treasures can be attached for extra awesome powers.

June 2012 BLOG-5

7. Scraps make the sweetest dress up gear ever. See?

June 2012 BLOG-1

Best project outfit ever, kid. Well done.

June 2012 BLOG-9

8. Get creative for stuffing ideas. I had a little bit of store-bought stuffing on hand, but not nearly enough for four pillows. The solution? I had the kids pick out stuffed animals from the toys bins that were ready to be tossed and remove the stuffing. The old, dirty fabric from those stuffed animals got a rinse in the washer and then joined my fabric stash. 🙂

DSC06803

Both types of stuffing work great and it saved me a trip to the store. Love that.

DSC08325

So give Silly Pillows a try.

June 2012 BLOG-3

We’re sure liking them at our house. 🙂

A lot.

DSC08891

And if you liked this project, please share it on Pinterest, FB or twitter using the tabs below. Thank you!

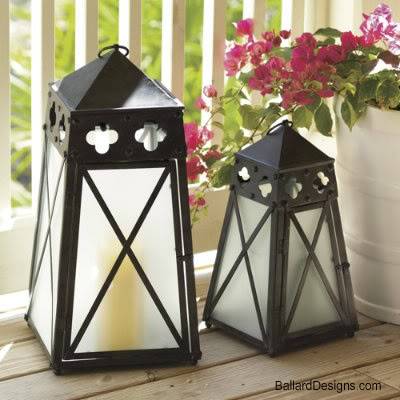
Do you remember these awesome quatrefoil lanterns from the Ballard Designs catalog?


 photo quatrefoil.jpg

I love them. I want them. I can not afford them.

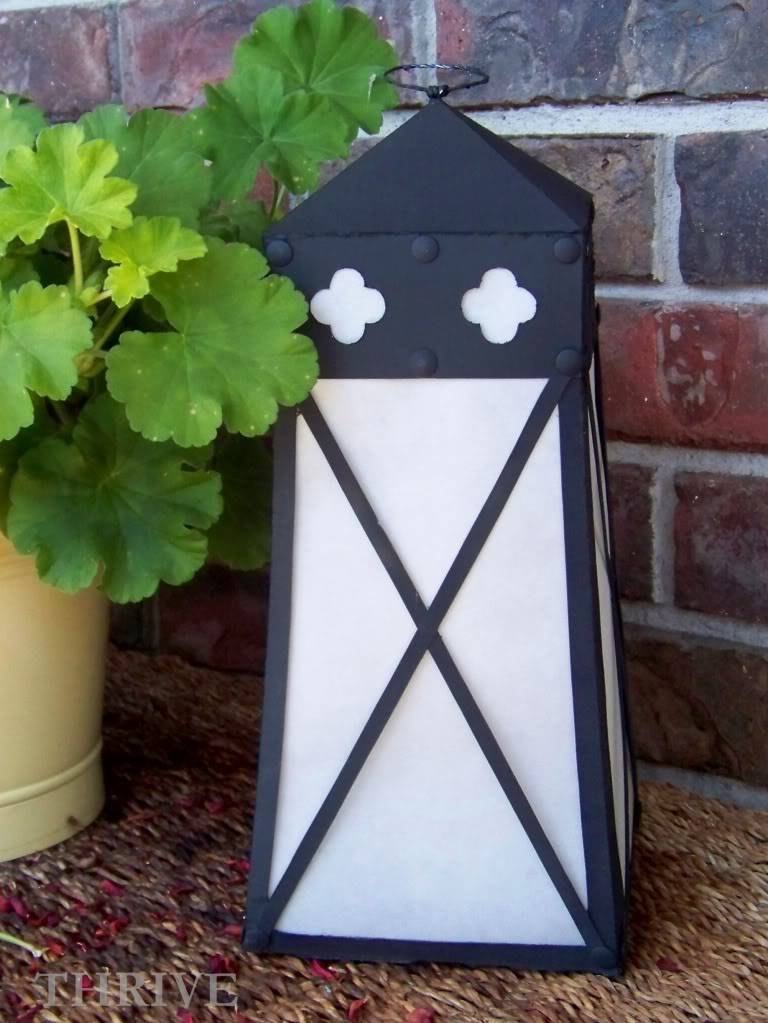
So I made my own.

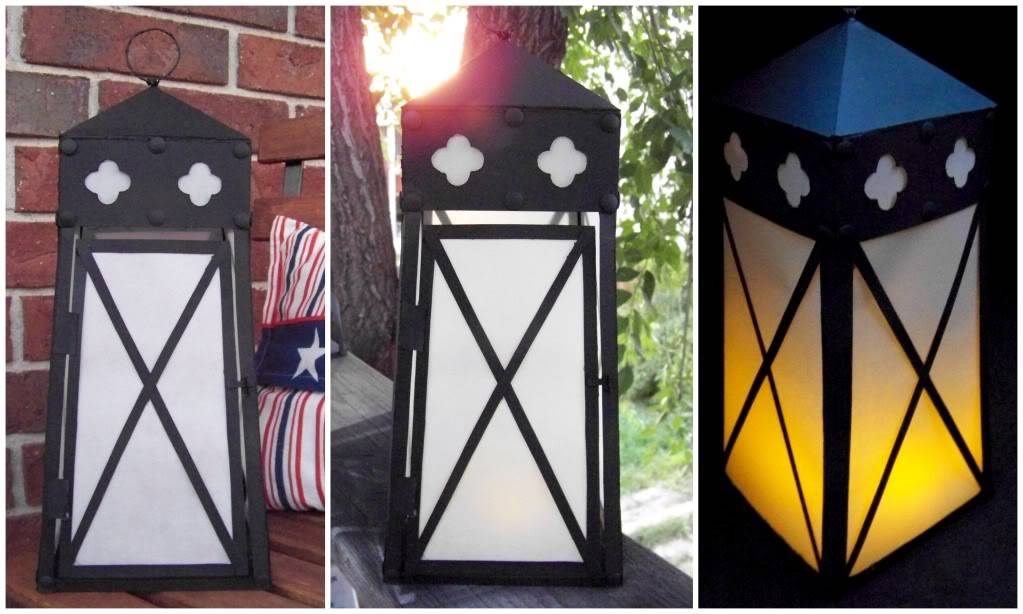
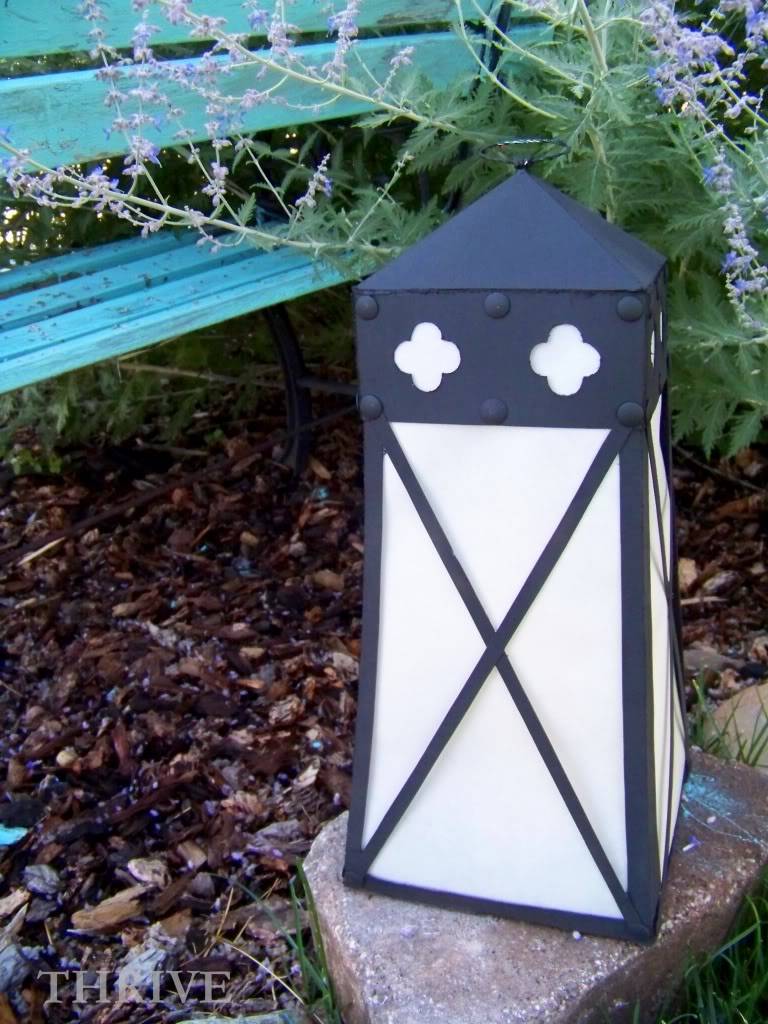
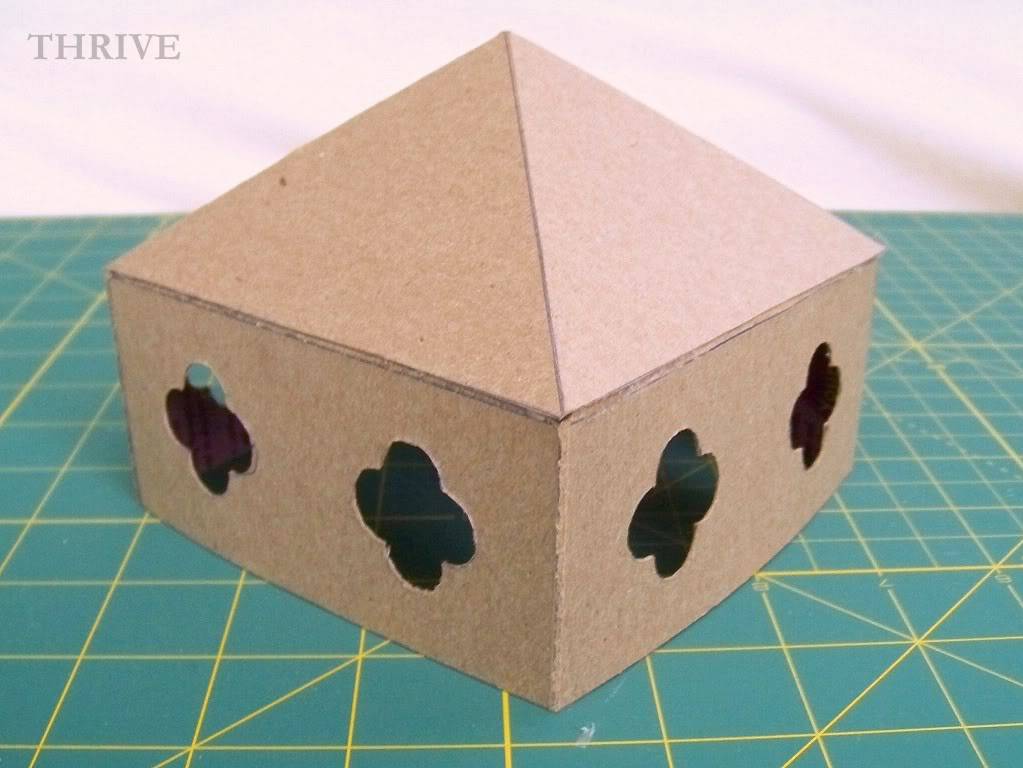
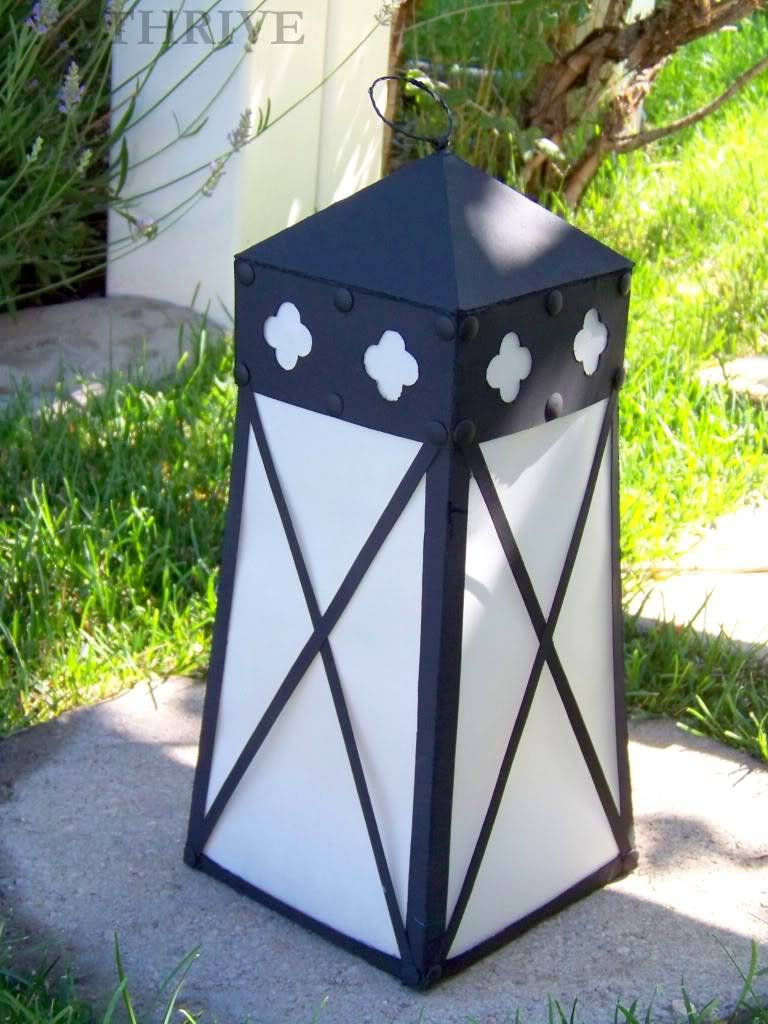
Ta-da!

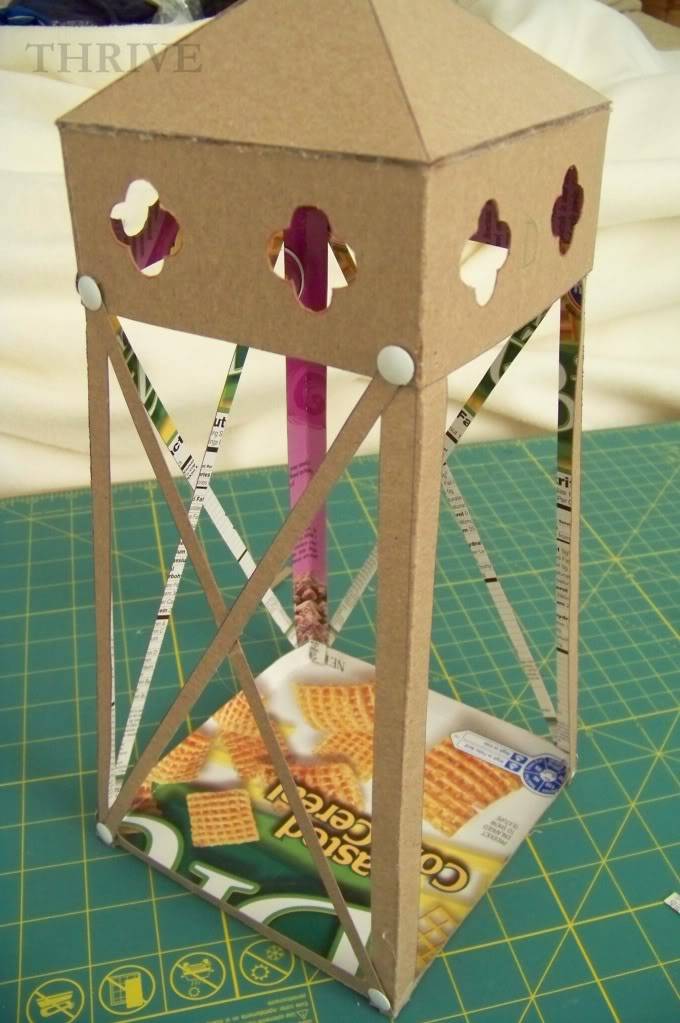
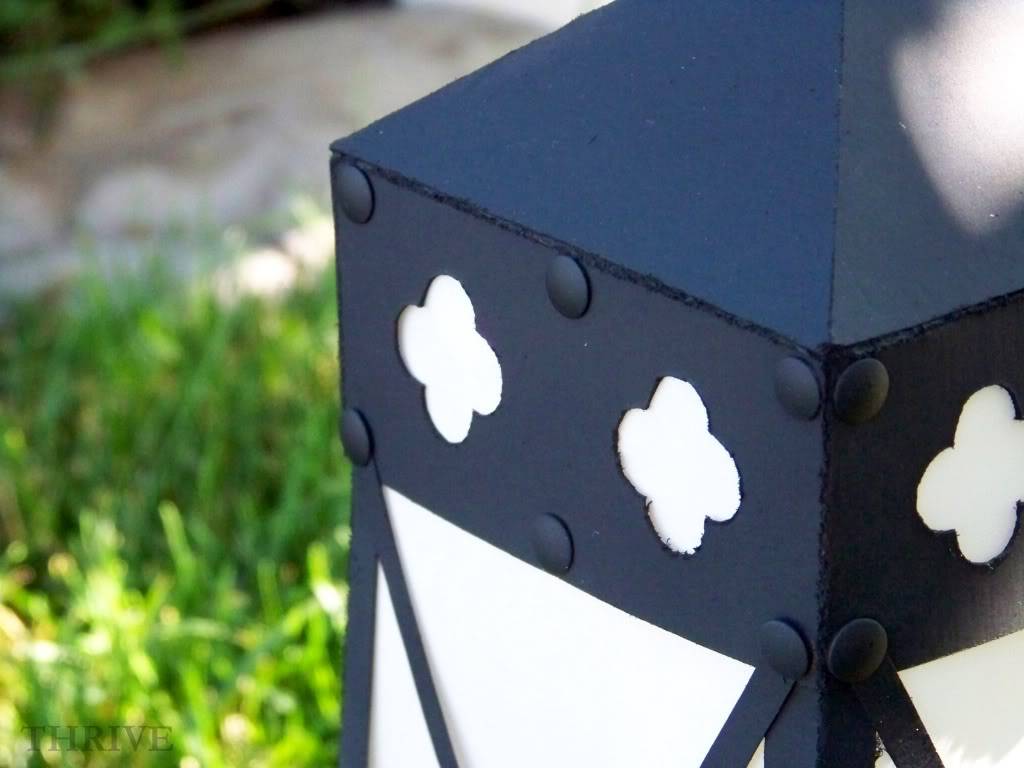
Catalog-inspired quatrefoil lanterns straight from the cereal isle that look good day, dusk and night!

Really.

Want to make your own?

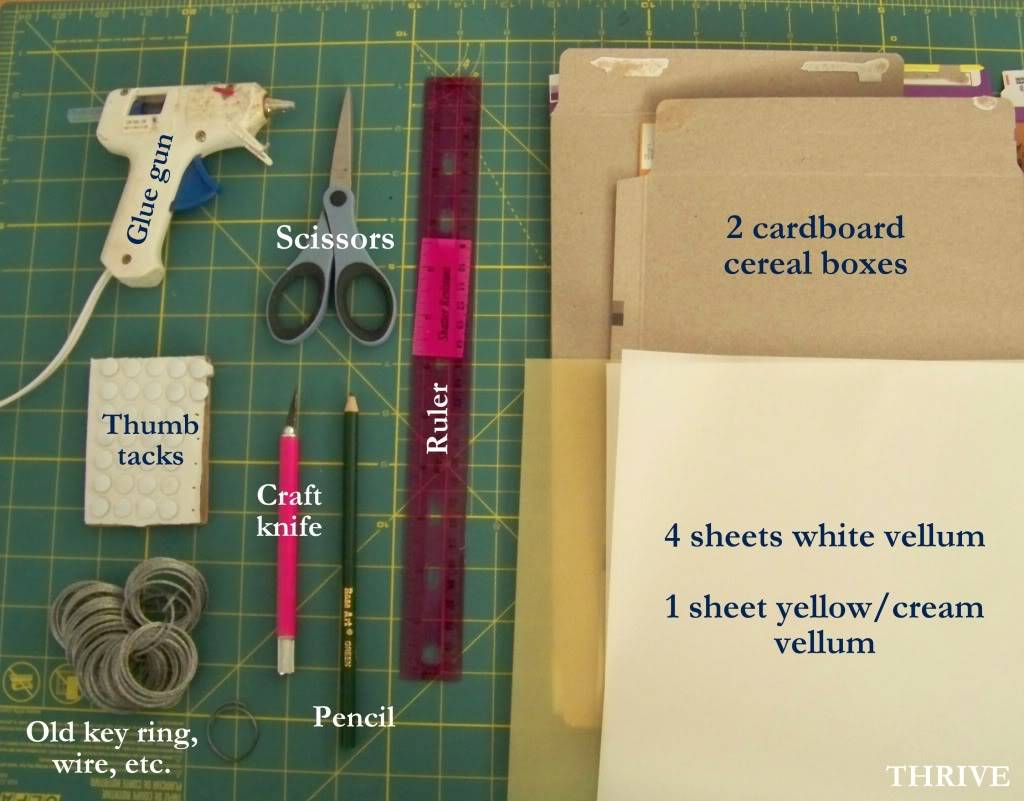
For each lantern you’ll need:

As always I hope you’ll Rock-What-Ya-Got and adapt this project using items around your house to make this without a trip to the store.

And to make life easier, you can even download the pattern pieces I created HERE.

So do that first. (I’ll wait.)

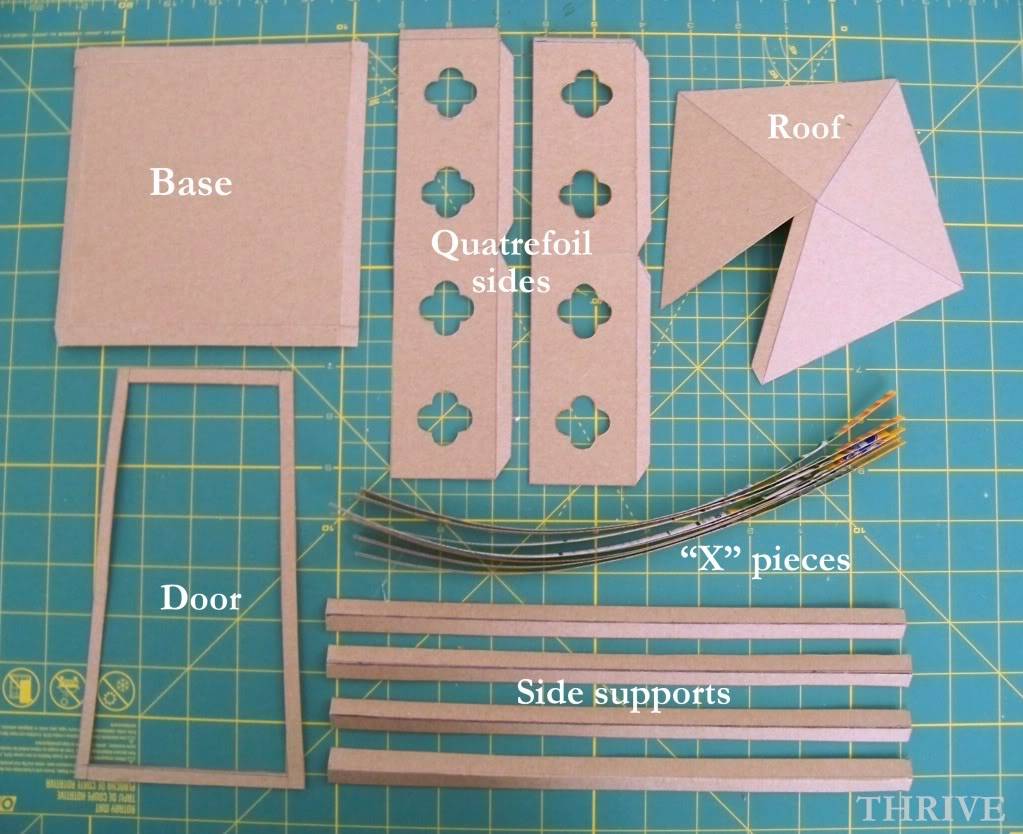
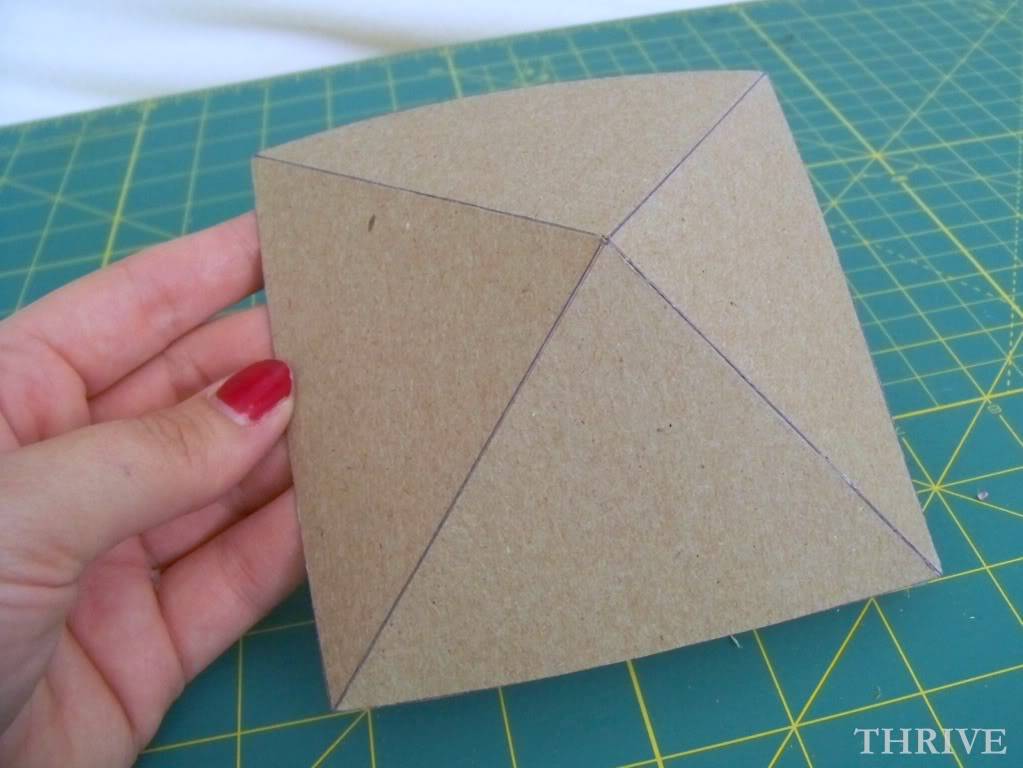
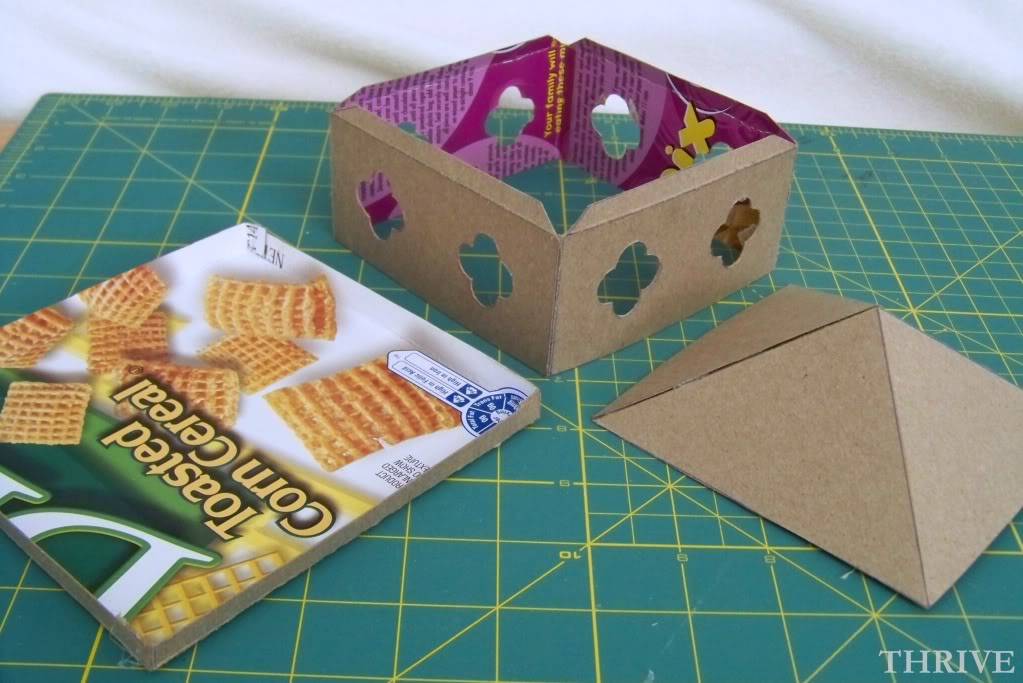
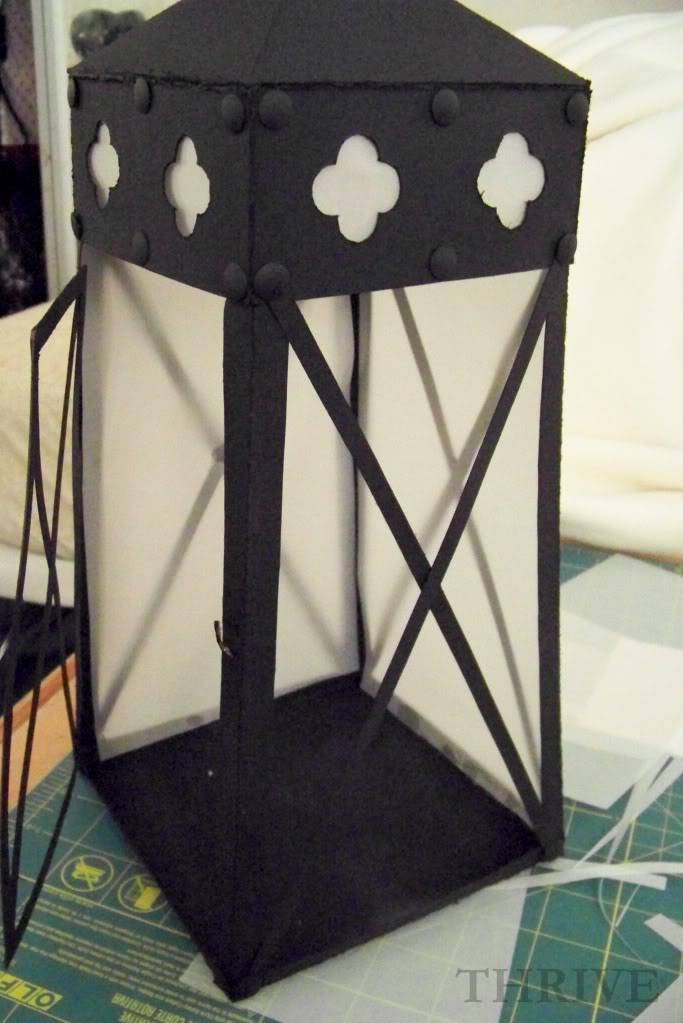
Trace, cut out and score all the lantern pieces according to the pattern instructions.

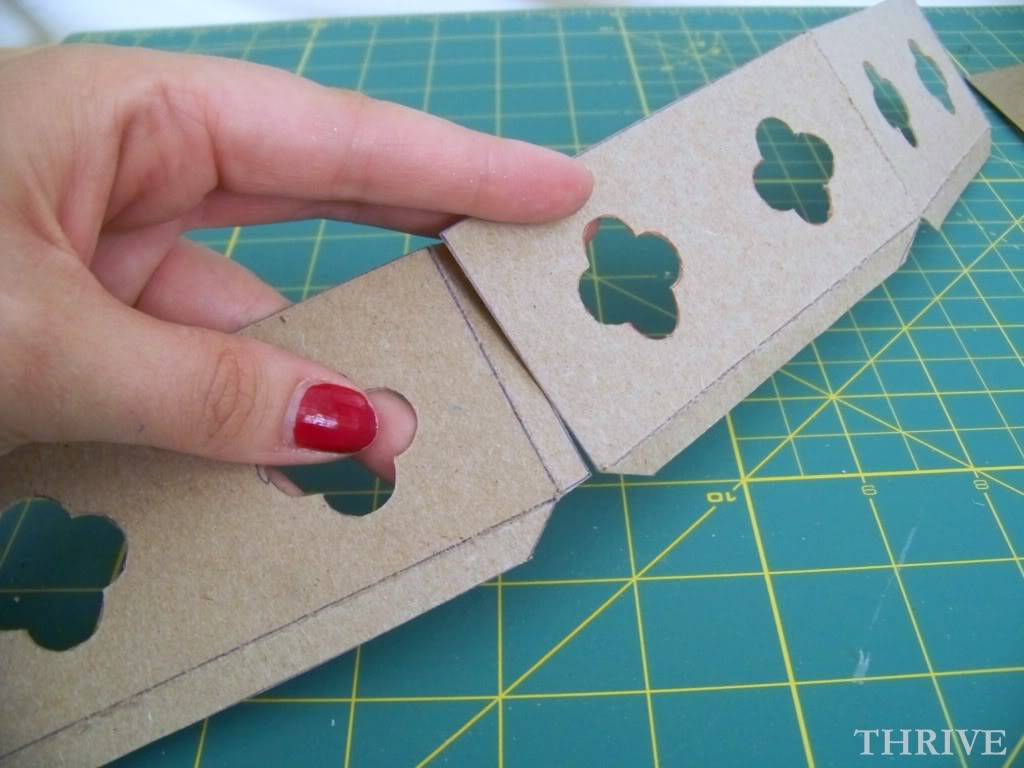
Glue the three main pieces together with hot glue:

… roof …

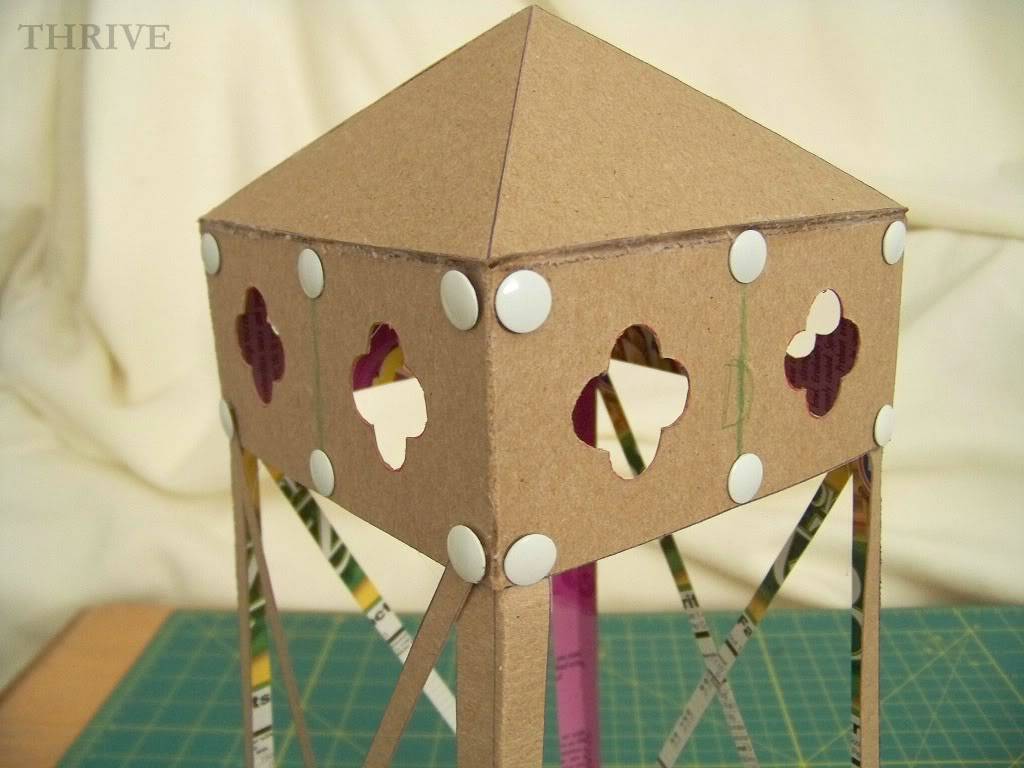
… quatrefoil side pieces …

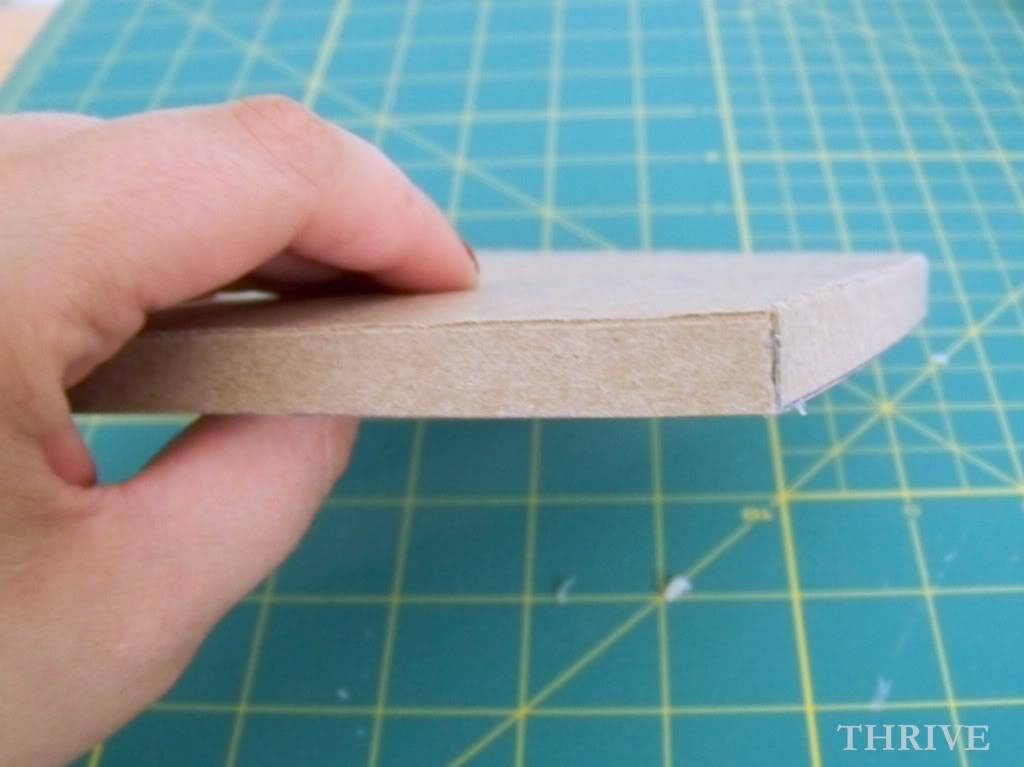
… and base.

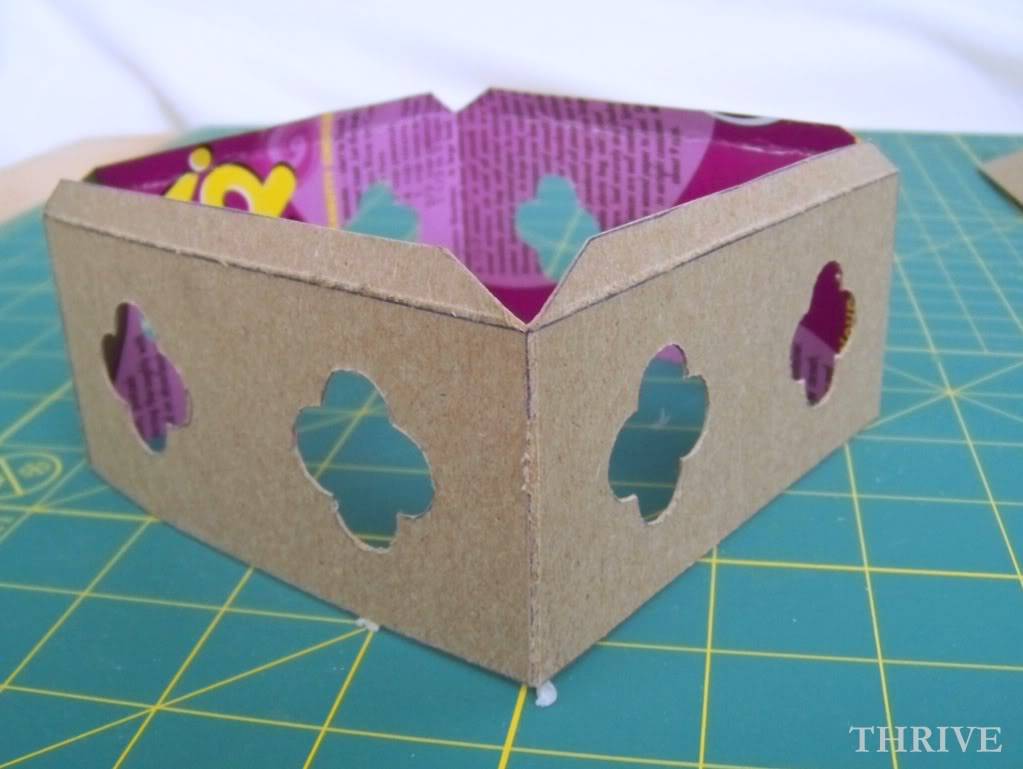
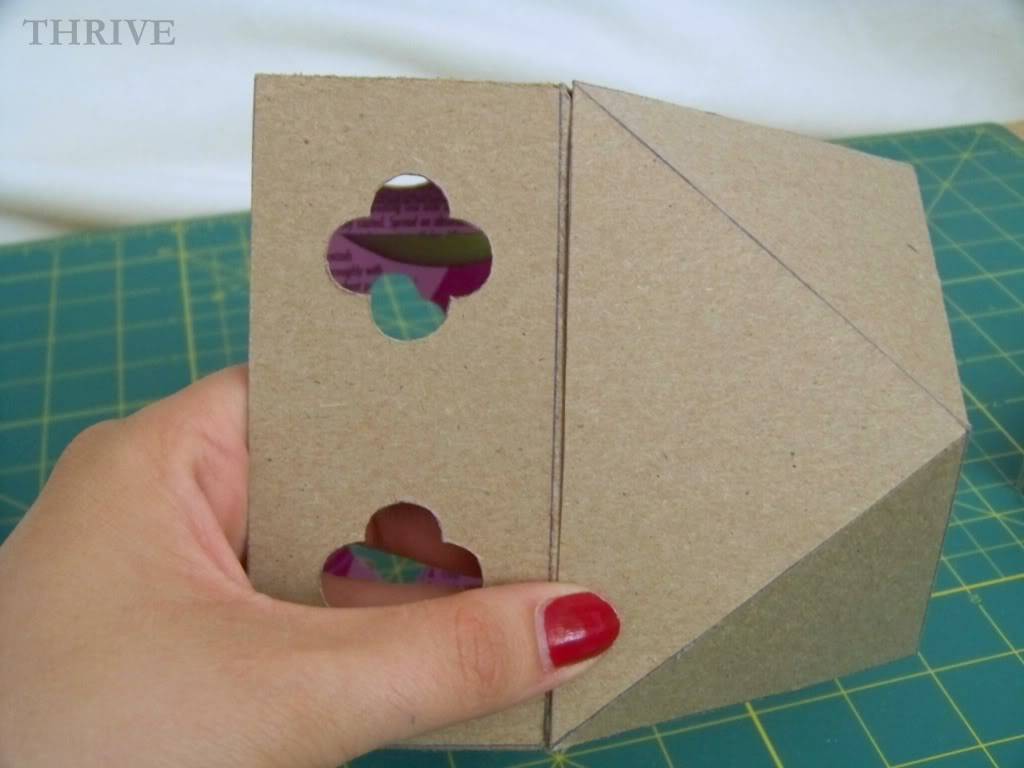
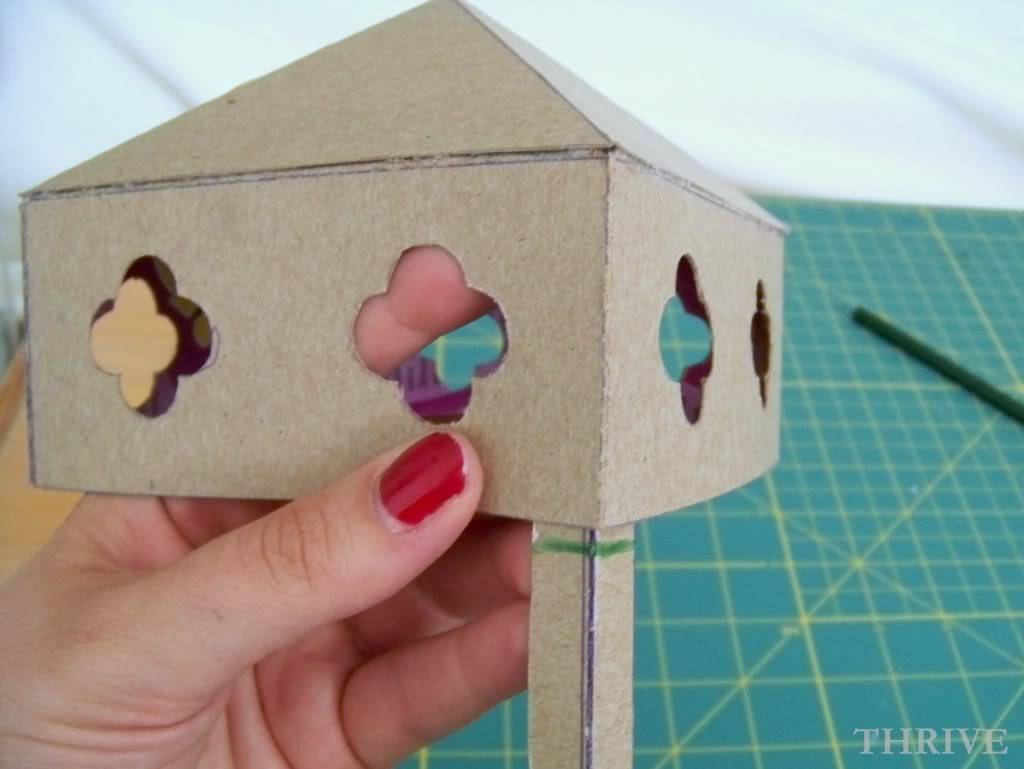
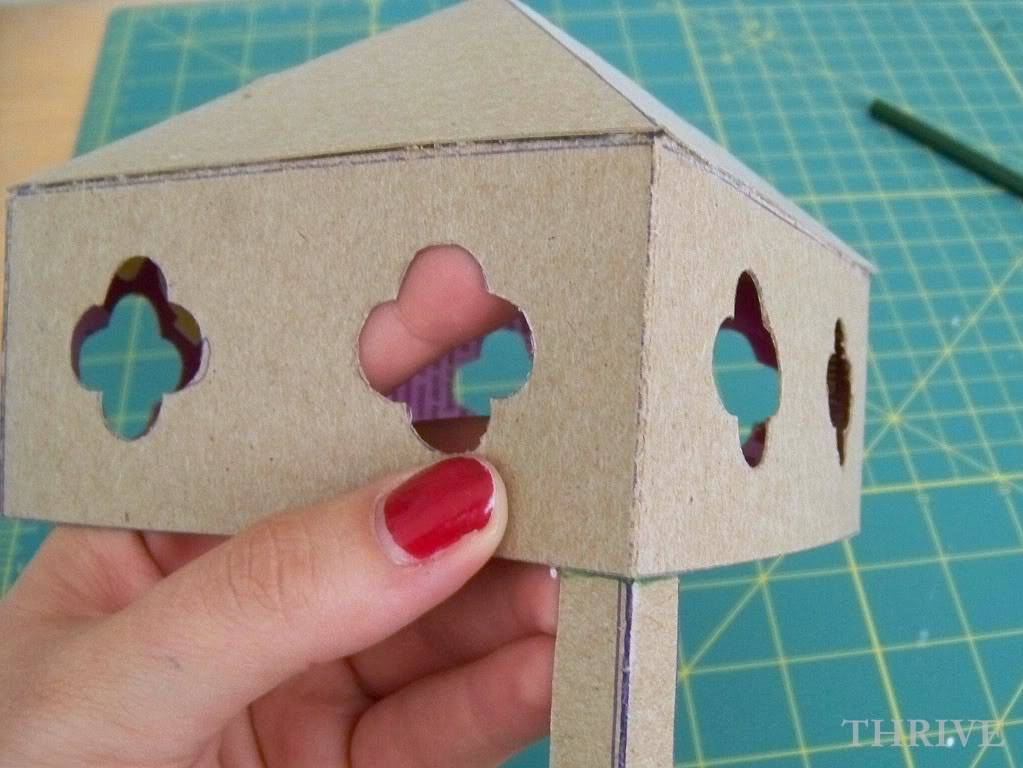
Attach the roof and quatrefoil pieces together with hot glue.

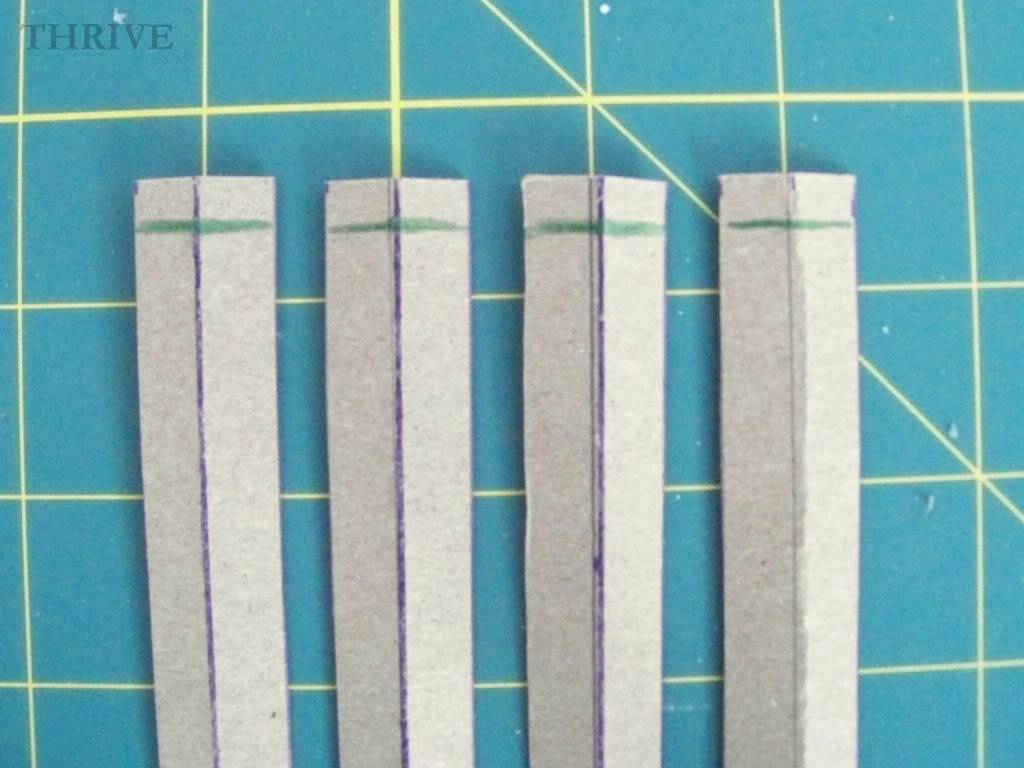
Mark a line 1/4” down on each side support pieces …

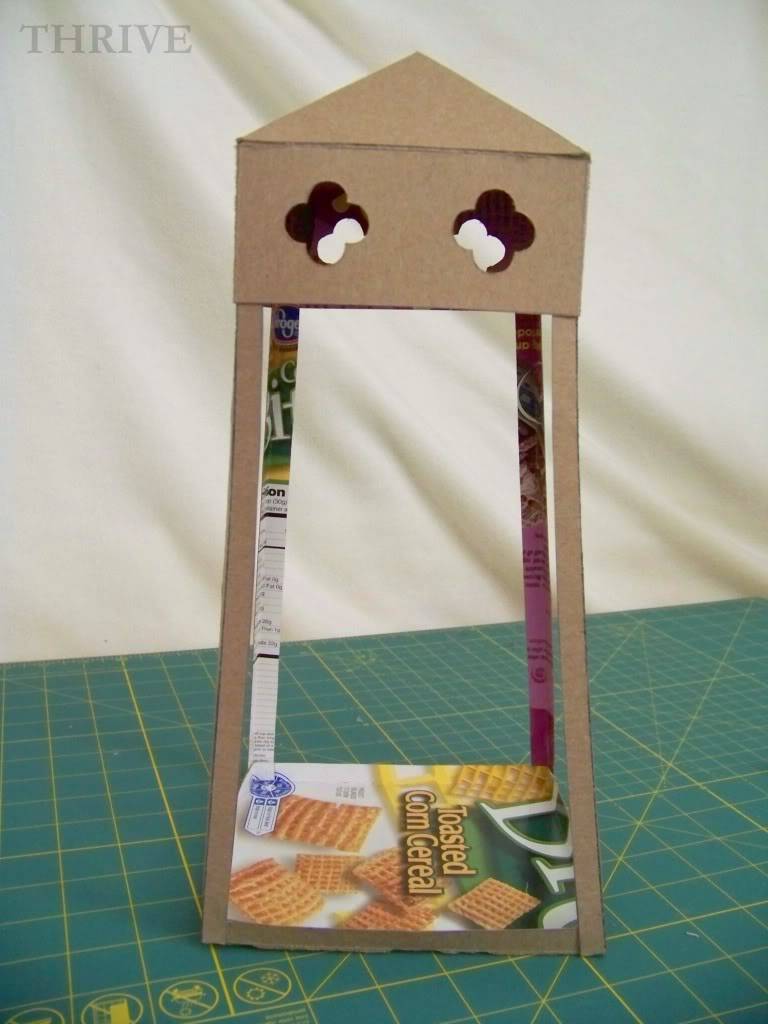
… and glue just the top 1/4” of each side support to the inside corners of the quatrefoil /roof piece.

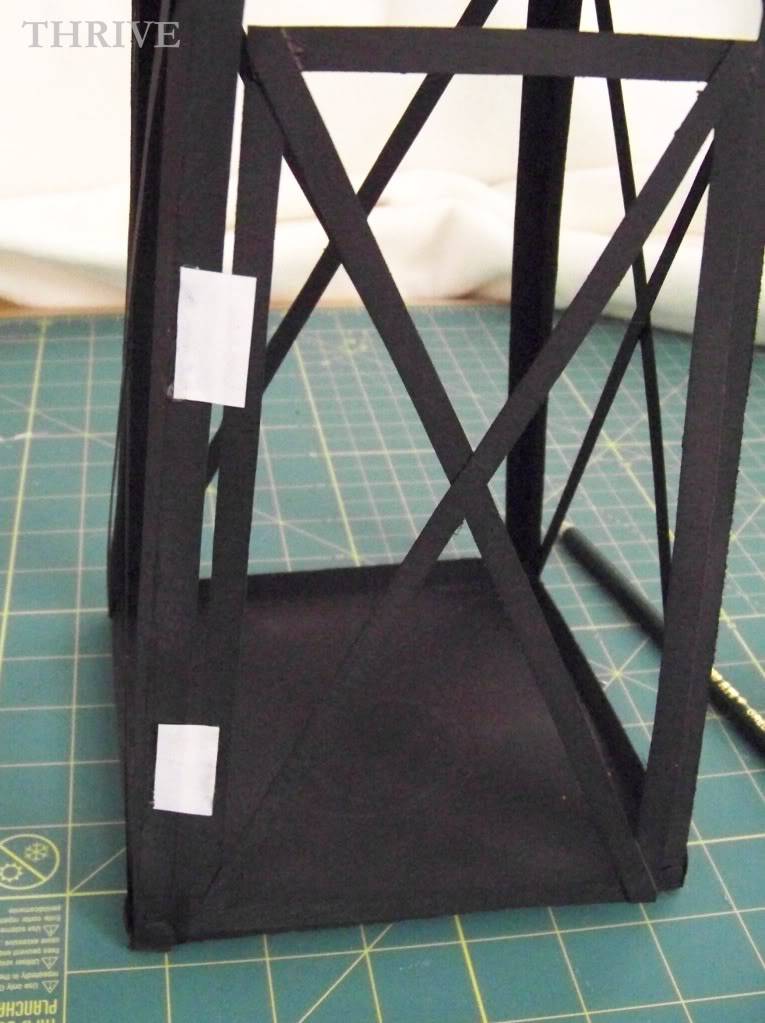
Glue side support pieces to the outside corners of the base.

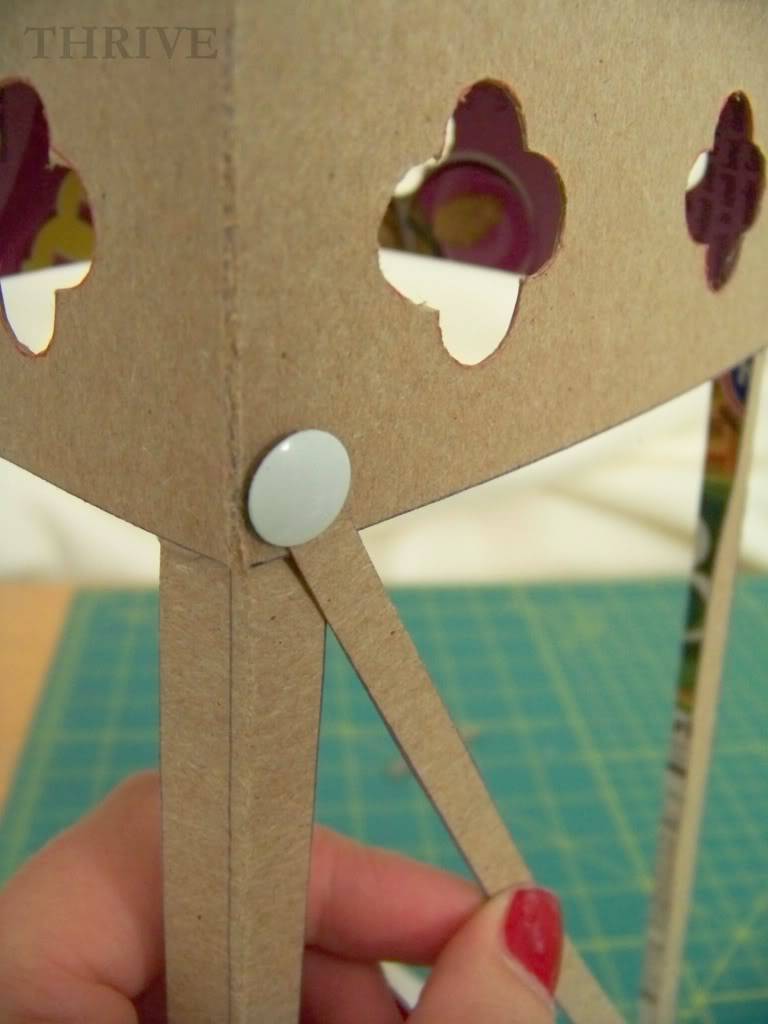
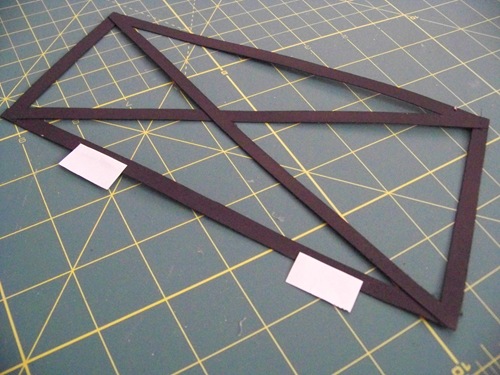
To make the “X” pieces on each side of the lantern, attach the long 1/4” strips with thumb tacks and trim away excess.

Carefully push through remaining thumb tacks around the quatrefoil piece.

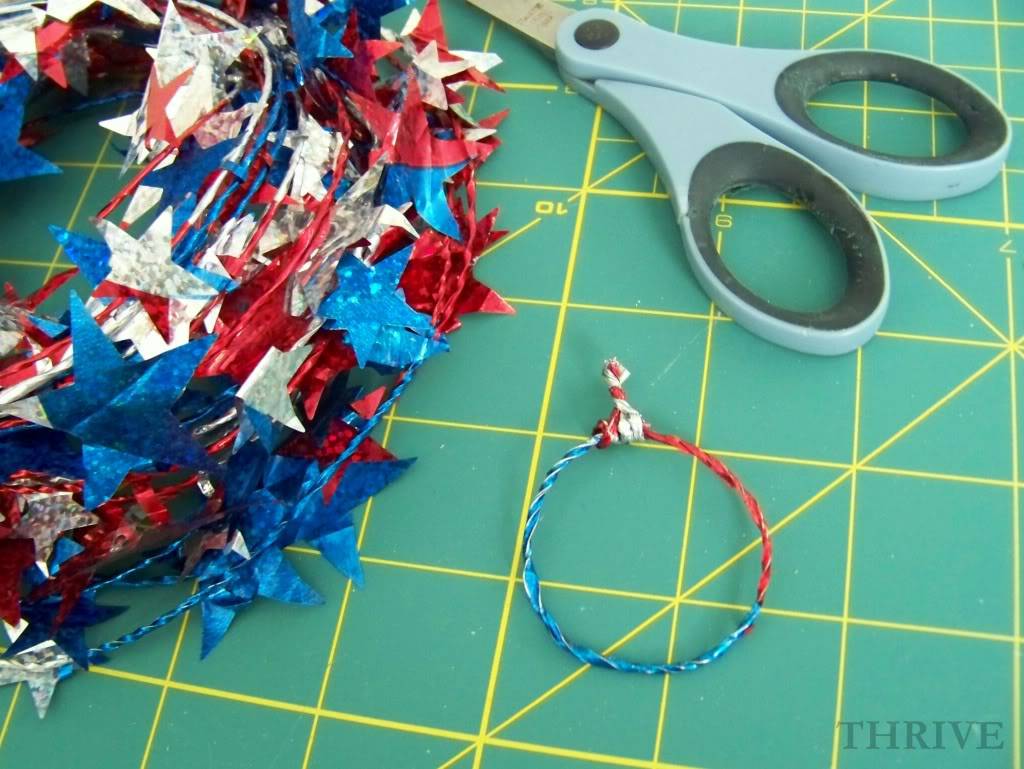
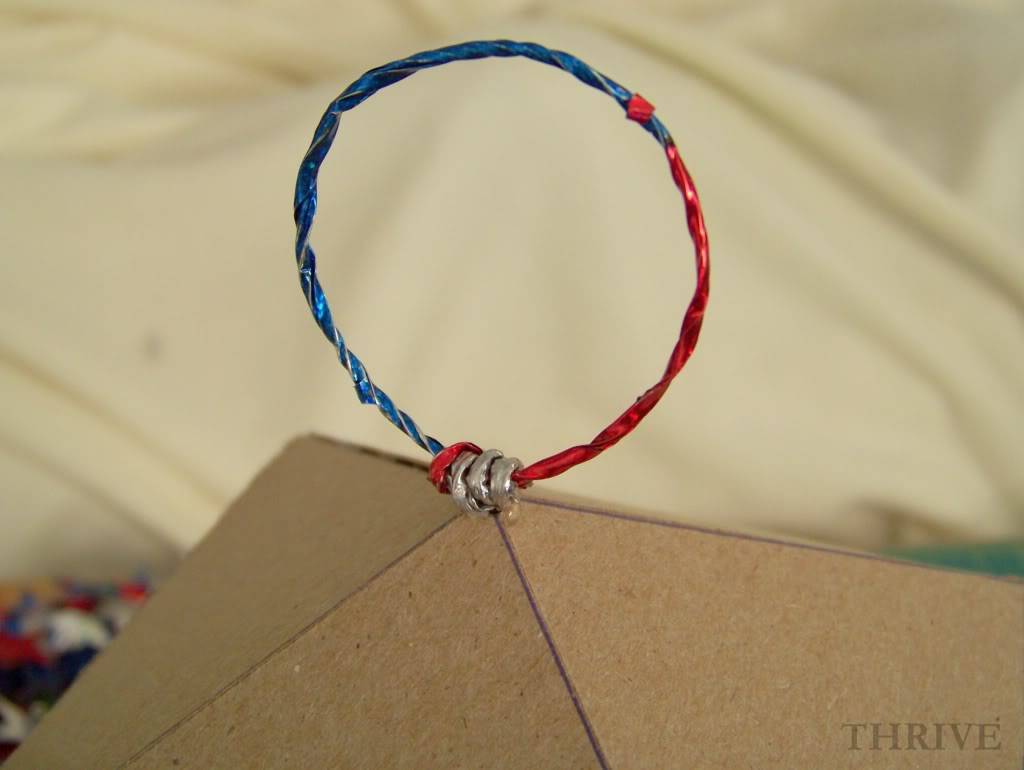
To attach the hanging loop to the roof, make a quick loop out of wire or even left over holiday garland from the dollar store like I did.

Make a hole in the roof with a craft knife and hot glue the loop in place.

(You could also glue a small bead to the top and thread an old key ring or wire loop through.)

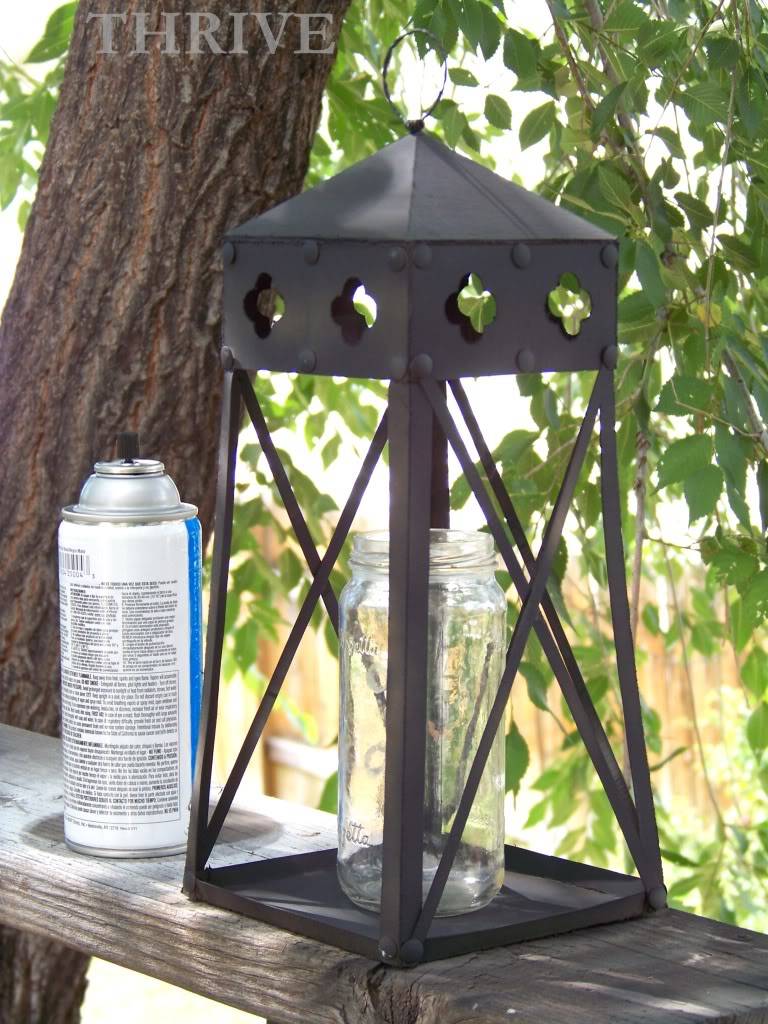
Spray lantern and door piece separately with a couple light coats of black spray paint and let dry.

(You’ll probably want to put something in the middle of the lantern to keep it from being blown over while it’s drying.)

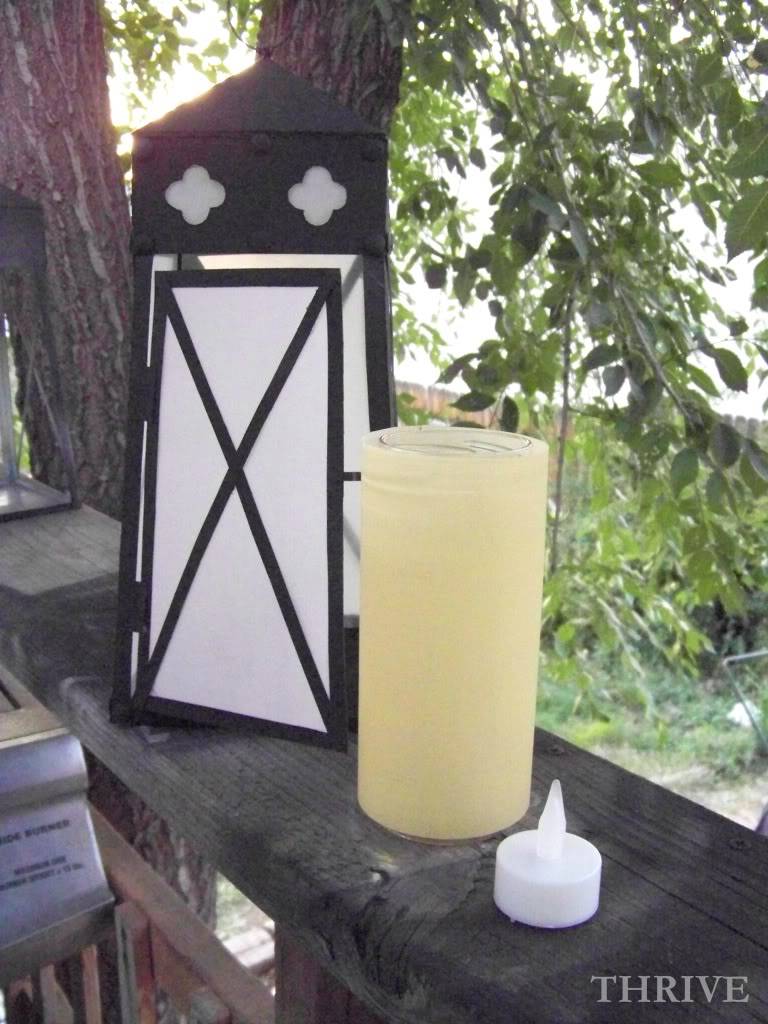
To attach the door, cut two 1/2” x 3/4” pieces of scrap regular paper and glue along the left side.

Line up the door in the lantern opening and hot glue in place, making sure you leave a slight gap between the door and the side.

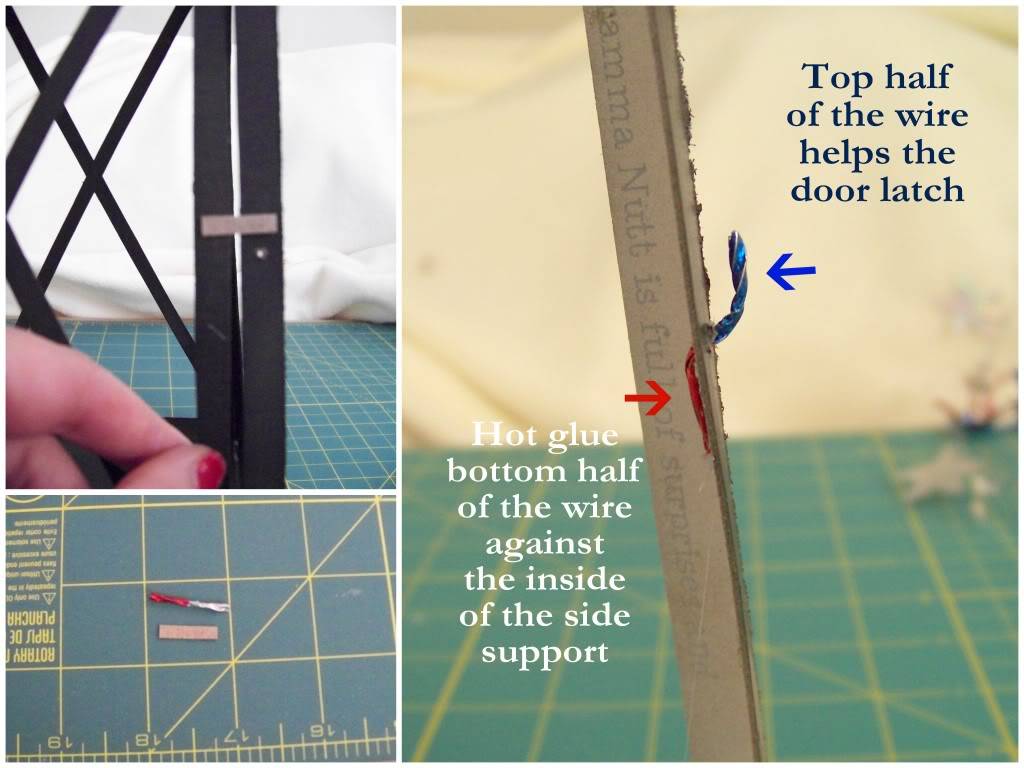
To make a latch to the hold the door in place, glue a small cardboard rectangle on the door, make a small hole in the side support and thread a 1” piece of wire half way through.

Spray the lantern frame one more time and let dry.

Trace “glass” pieces from white vellum and carefully glue in place.

The catalog version of the lanterns left the quatrefoil cut-outs plain, but I chose to add vellum behind them as well.

Either way works. Your choice.

To make the pillar candle, wrap a piece of yellow vellum around a narrow glass jar and drop in a battery operated tea light.

And that’s it — done and done!

Who knew you could get your very own expensive-looking-but-totally-free lantern and a full serving of whole grains out of that cereal box?

Happy crafting for free everyone!

 photo csi34.jpg

(Originally posted on The CSI Project)

My mission to live and craft without spending a dime carried over into my yard this week as me and my kids geared up for the holiday weekend. Because who wouldn’t love to enjoy the 4th in an amazing outdoor space?

But as it turns out, I’m fresh out of amazing outdoor spaces.

The back yard is being reseeded, spending any money on decorating is a no-no right now and my front yard looks like this:

 photo csi3.jpg

average 1970’s split-level, average landscaping, average trees, average grass.

Yawn, right?

I thought so, too, until I started rummaging around the kitchen and junk drawer.

So in true rock what ya got style, I’m here to show you how I used items from around the house to FAKE two great outdoor spaces (and how you can, too!)

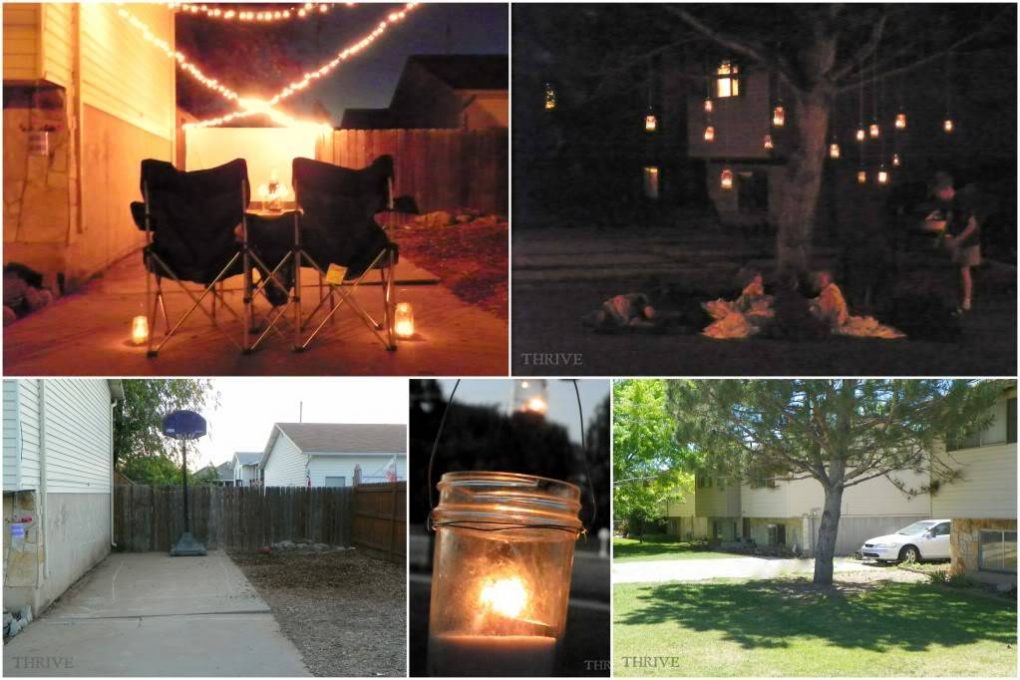
Space No. 1: Date Night In The Driveway

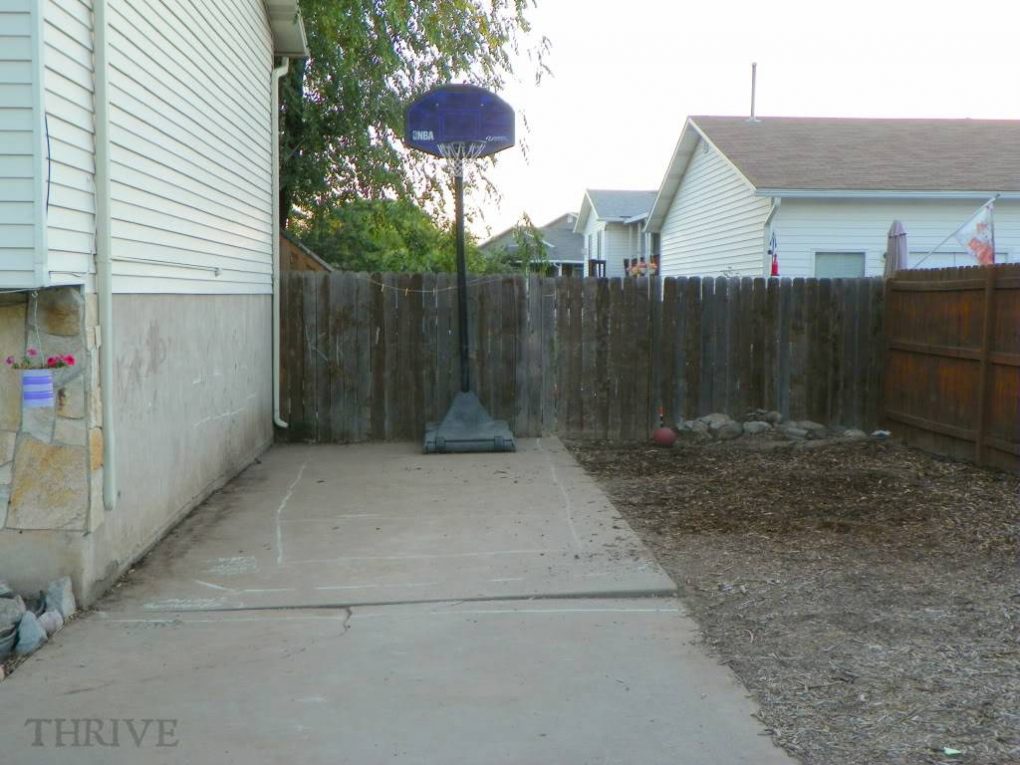
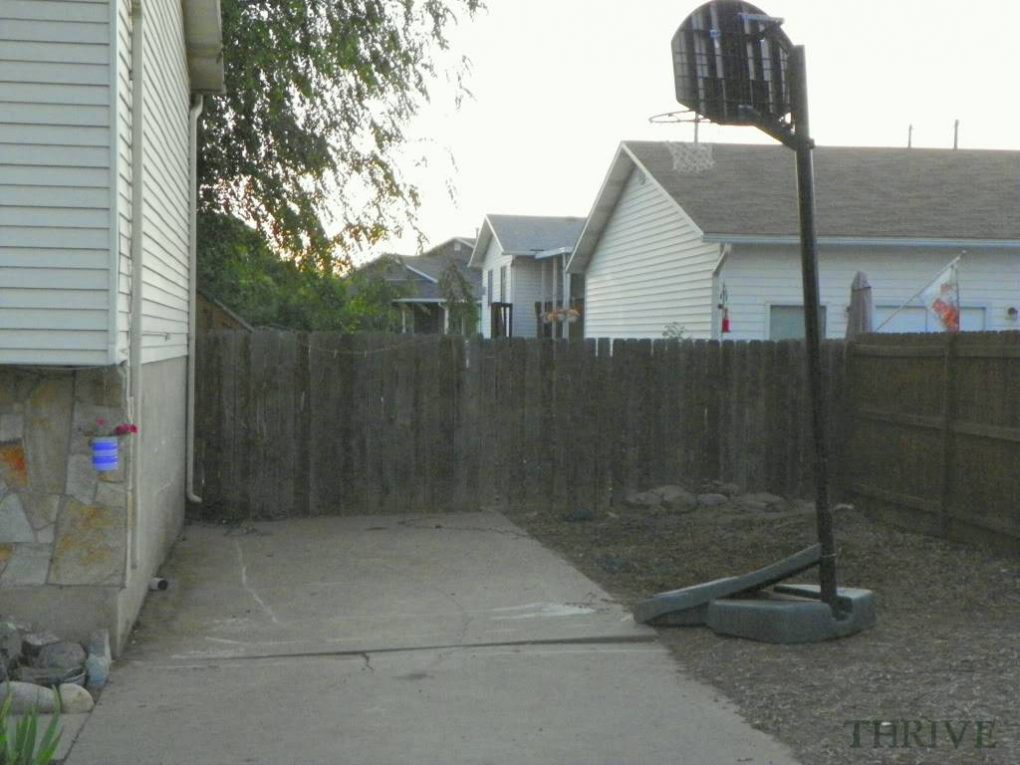
Here’s a look at my boring suburban driveway.

 photo csi5.jpg

But with a little imagination … and some rearranging …

 photo csi6.jpg

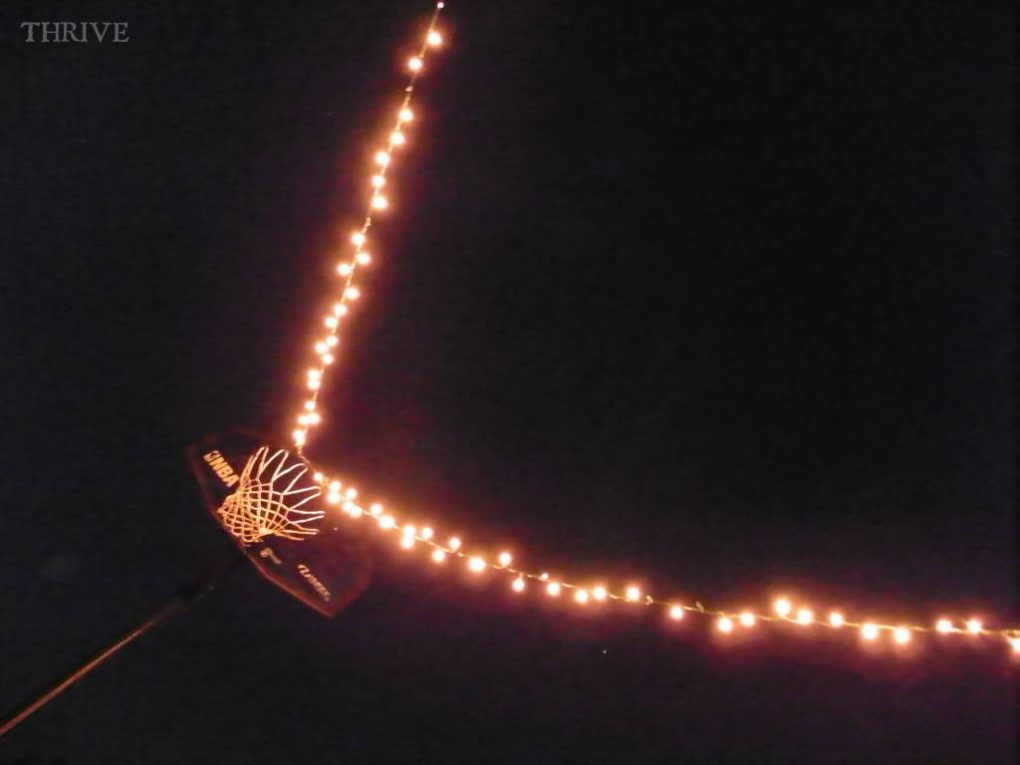
… and some Christmas lights and twisty ties …

 photo csi38.jpg

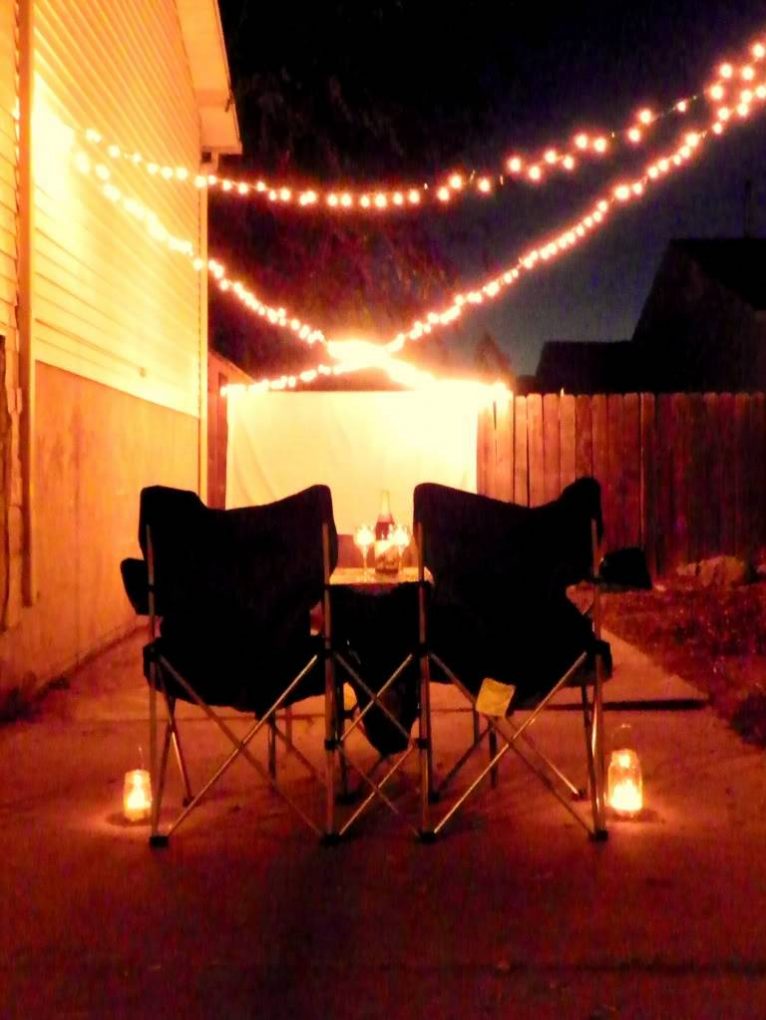
that driveway becomes something else entirely:

 photo csi2.jpg

a driveway bistro get-away perfect for a stay-at-home date night dinner.

And as soon as dinner’s done, the drive-in theatre comes to you with movie night on the fence. All it takes is a queen size white sheet, a borrowed projector and a $0.99 movie rental.

 photo csi16.jpg

And you can bet that my driveway is going to look just like this again tonight as Mr. Thrive and I remember when we met 15 years ago at a 4th of July display … and how we went and saw Independence Day the next day for our first date … and shared popcorn and Hot Tamales … and how 1 house, 2 layoffs and 6 kids later we wouldn’t change a thing.

Space  No. 2: Under The Tree

Here’s another look at my front yard:

 photo csi3.jpg

Again, nothing to write home about.

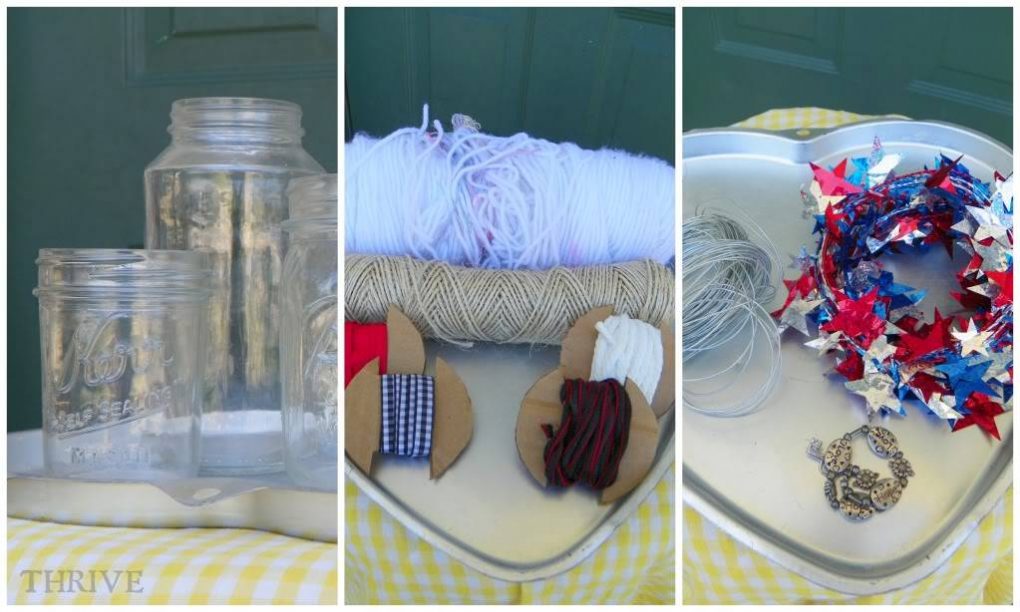
But with a little digging around the kitchen and craft room …

 photo csi21.jpg

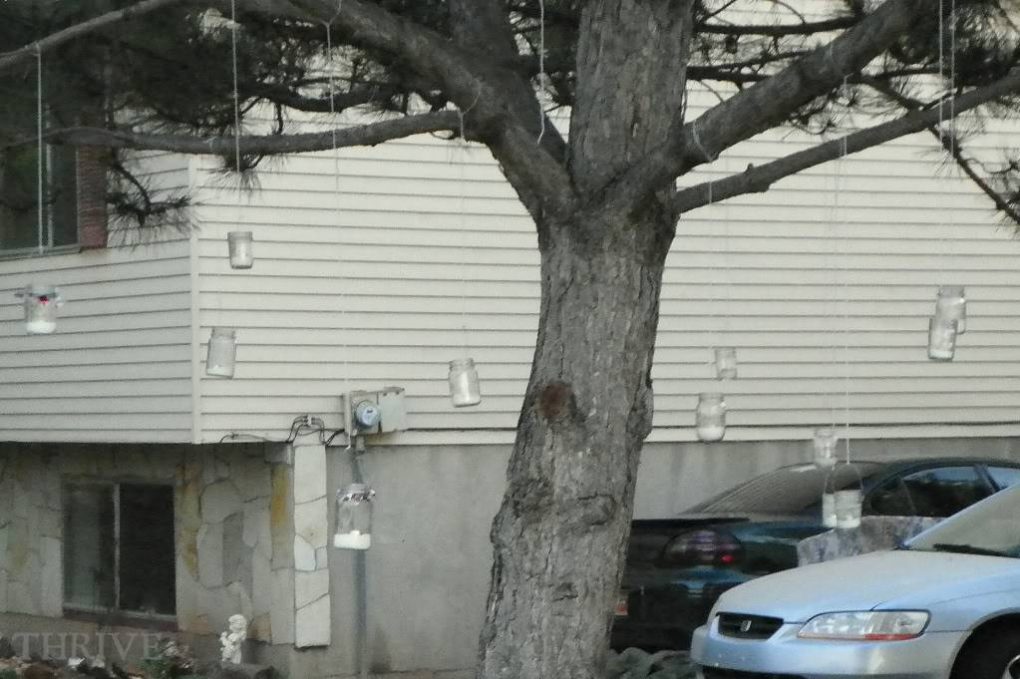
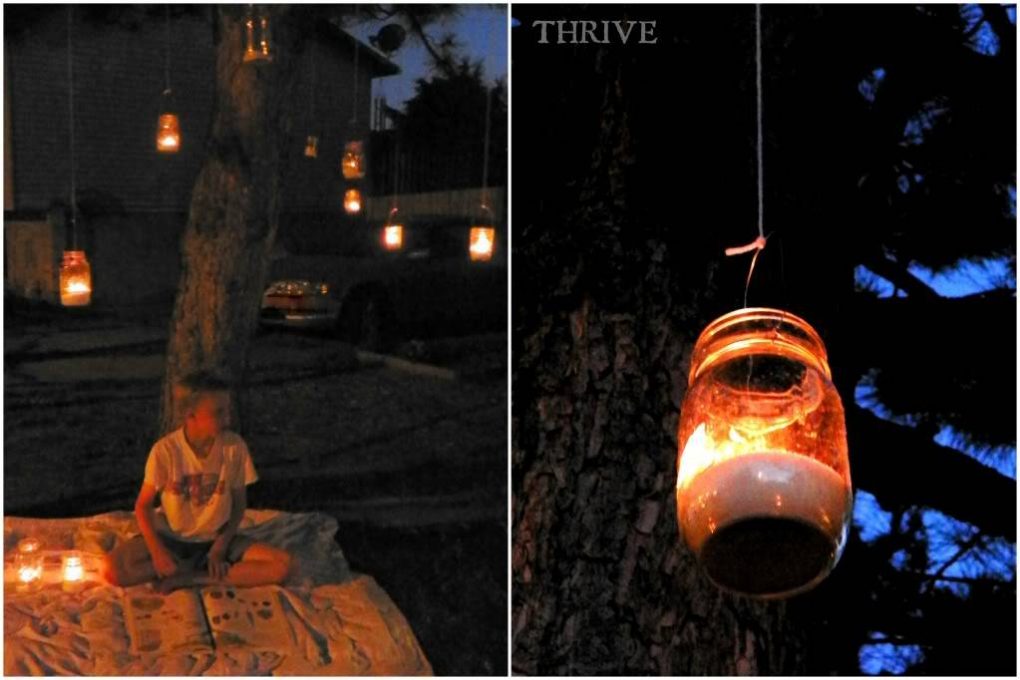
… I figured some make-shift floating lanterns could help that boring tree and spotty grass become something magic.

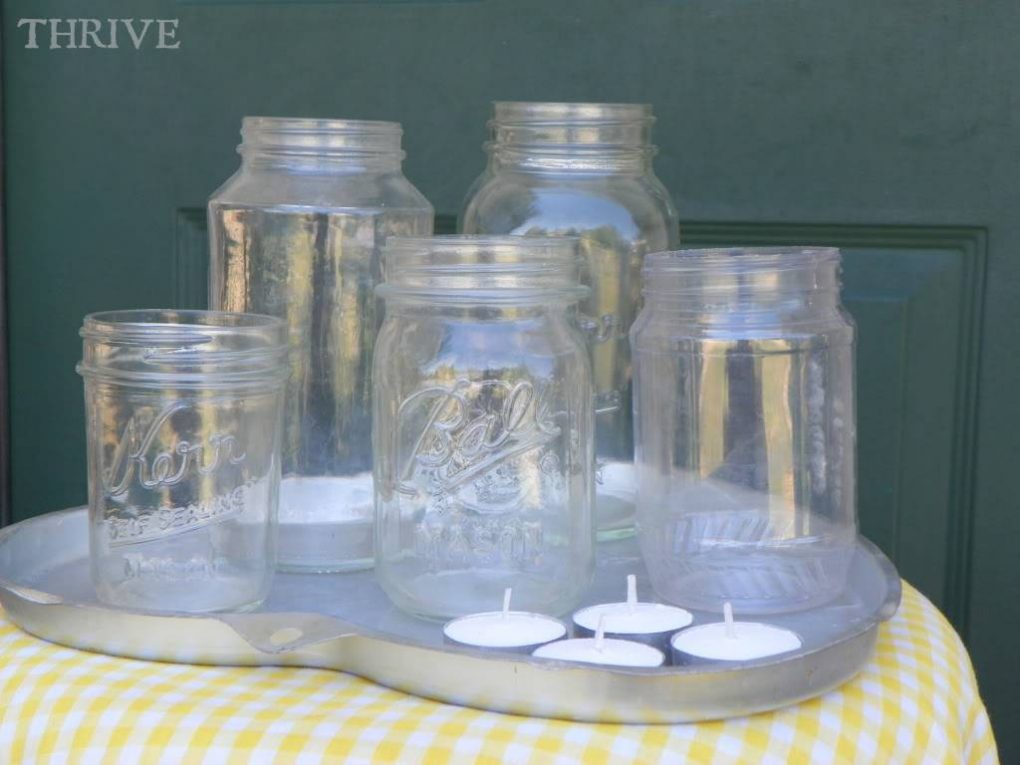
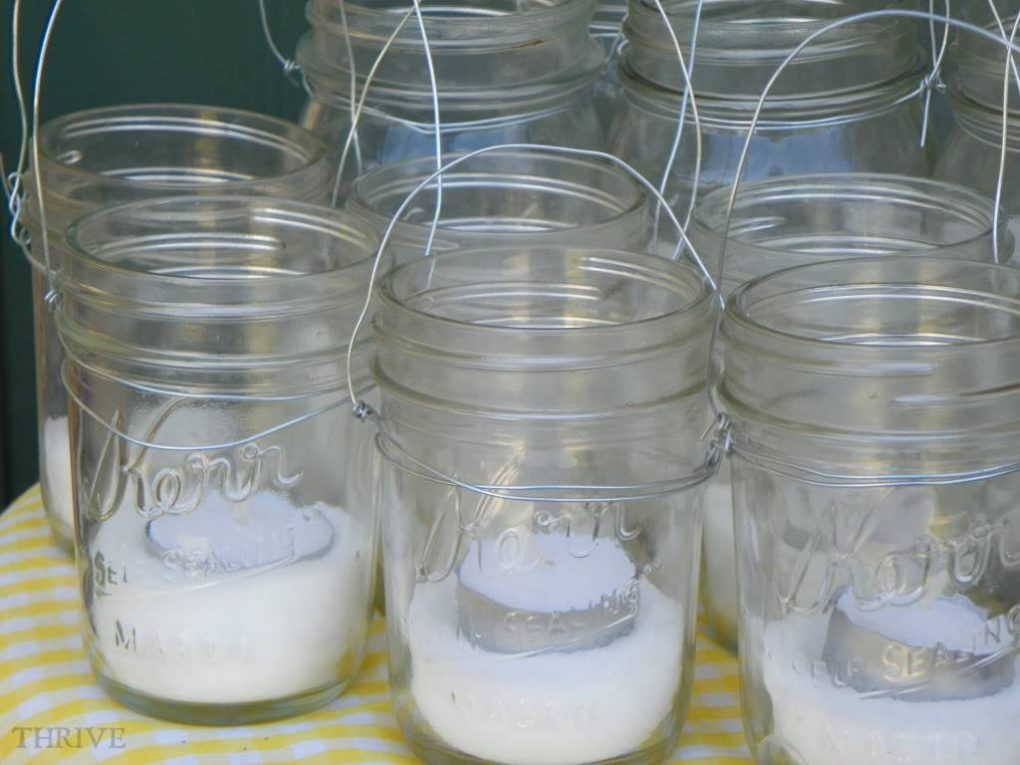
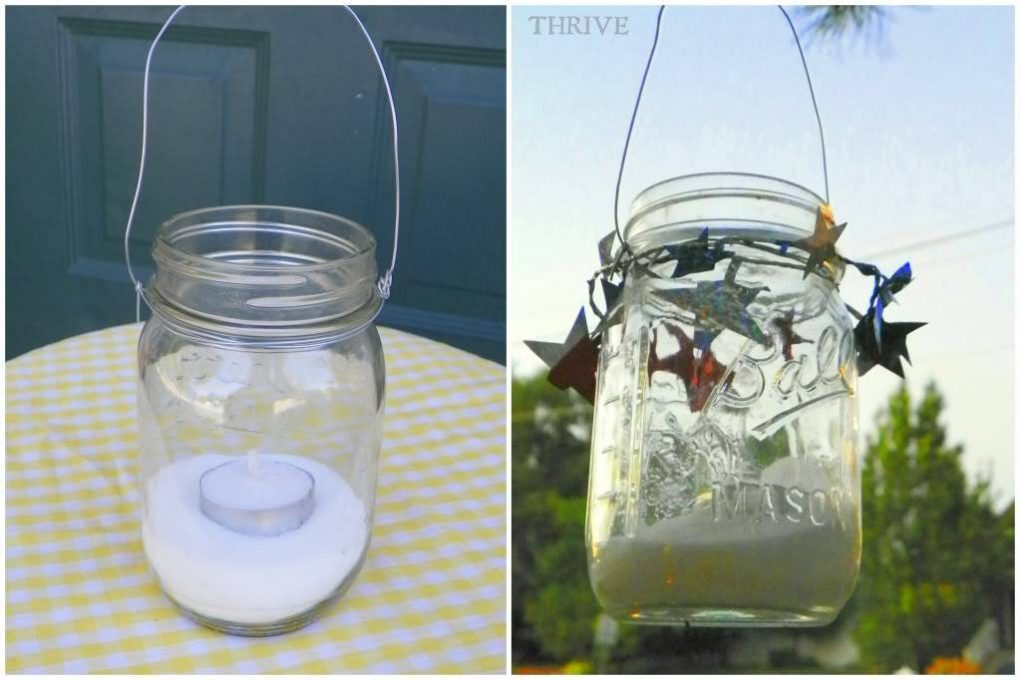
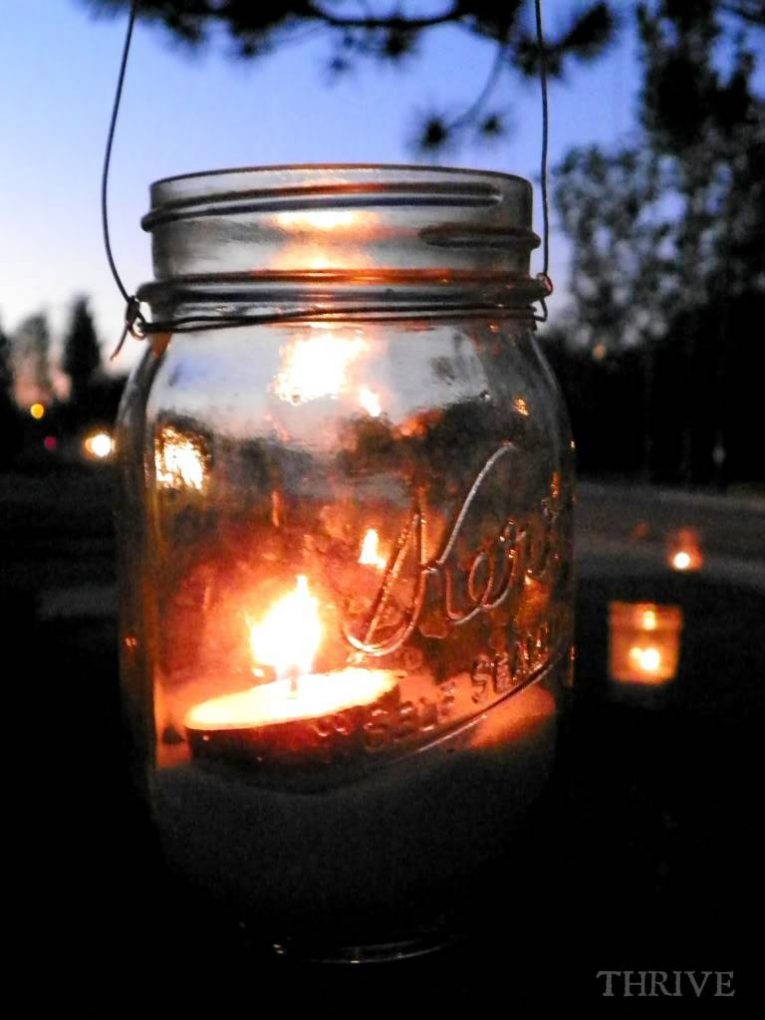
Lanterns can be made from anything: canning jars, empty peanut butter jars, whatever.

 photo csi1.jpg

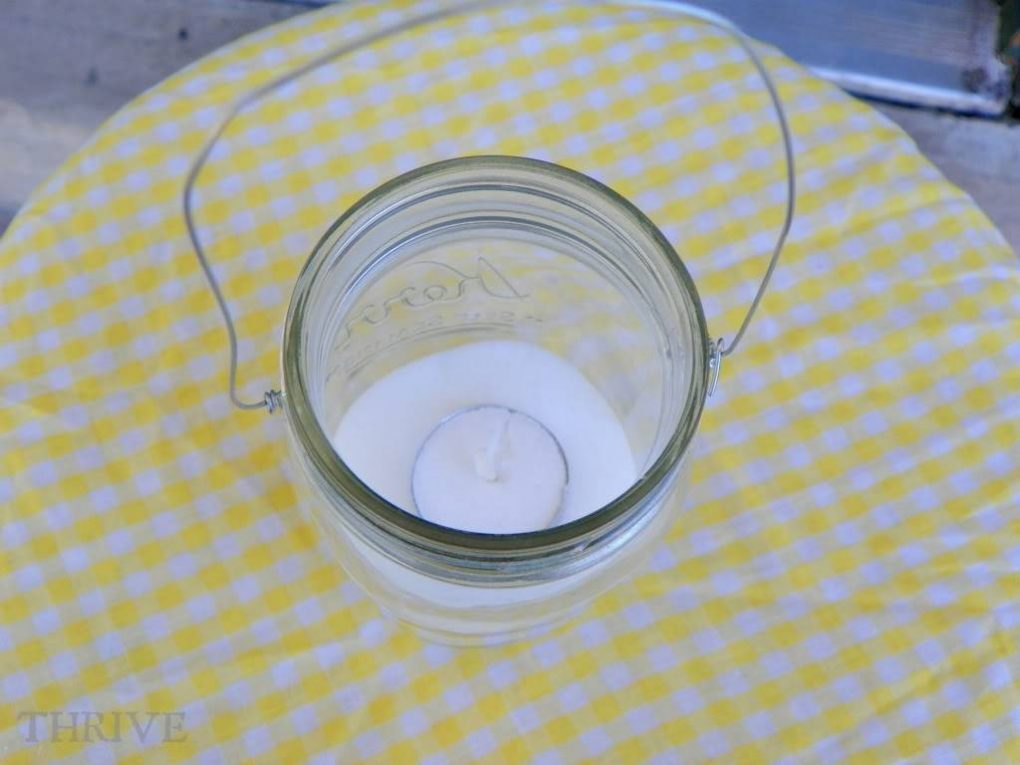
Lantern handles come together by wrapping wire around the lip of each jar a few times and then back over the top.

 photo csi4.jpg

Tea lights (battery or open-flame) work best if they’re set in a little bit of sand.

 photo csi13.jpg

No sand on hand? Me neither. Salt works just fine and can even be tinted with a few drops of food coloring for the looked of colored sand.

You can leave the lanterns plain or dress them up with some beads, ribbon or garland.

 photo csi35.jpg

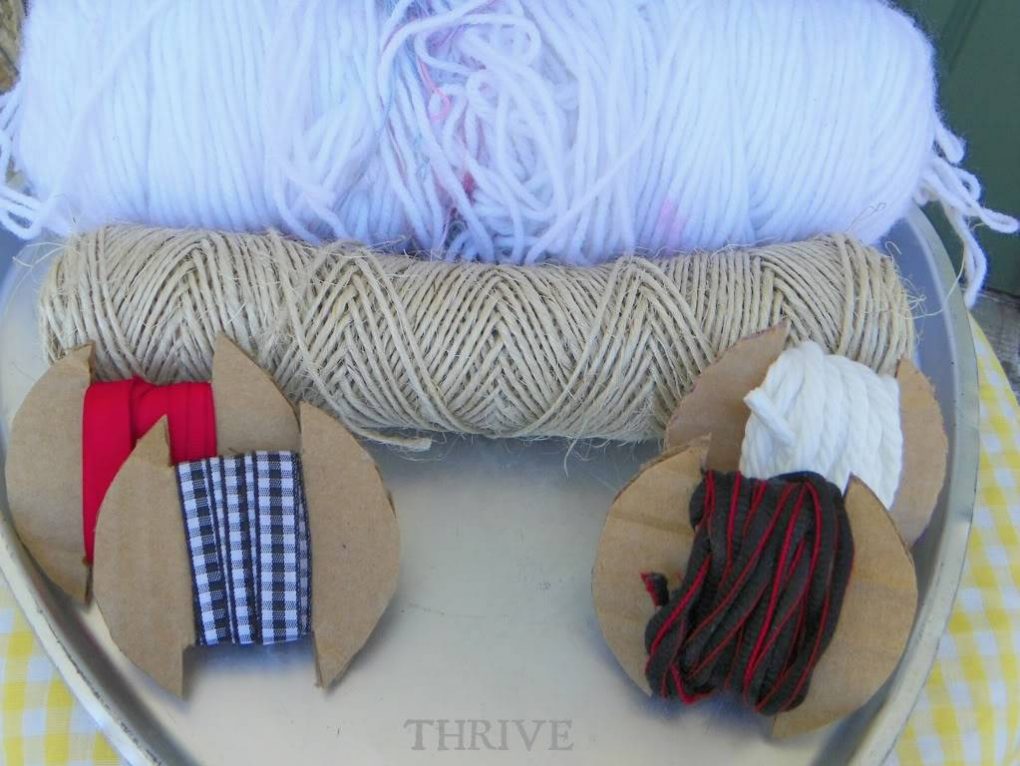
Hanging is a snap using whatever you have on hand—yarn, twine, ribbon, shoe laces, whatever. Rock what ya got.

 photo csi9.jpg

And as the sun starts to set, those lanterns get tied in place …

 photo csi14.jpg

… and candles lit …

 photo csi23.jpg

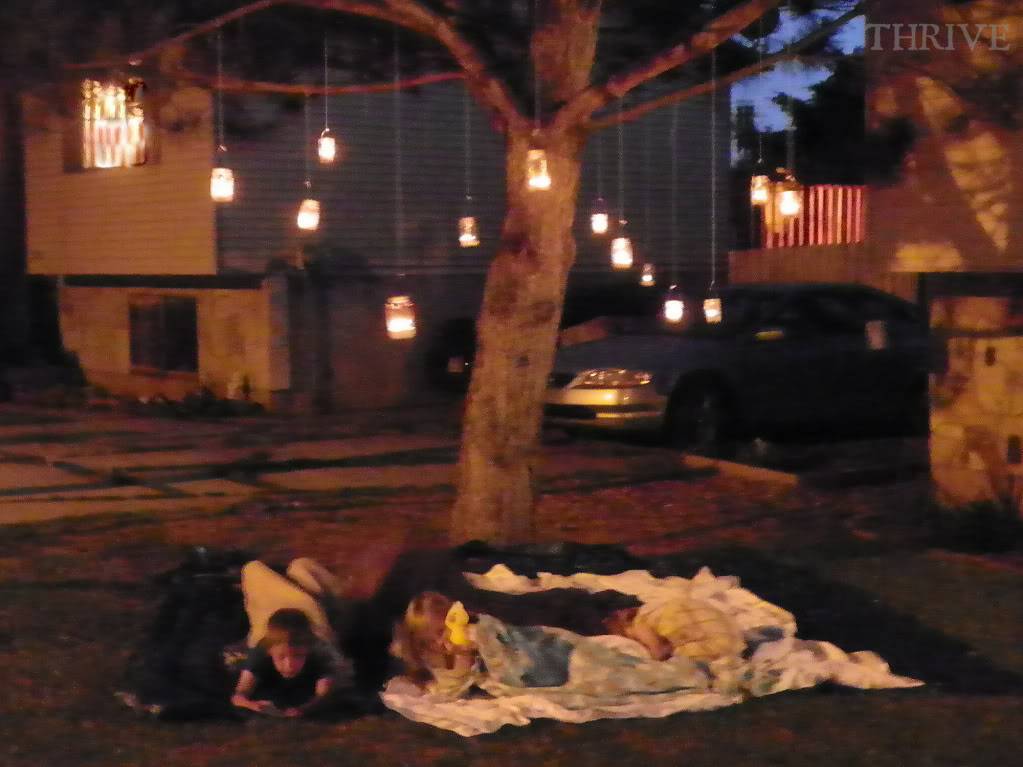
… and little bodies in jammies with story books find their way outside to lay under the stars …

 photo csi36.jpg

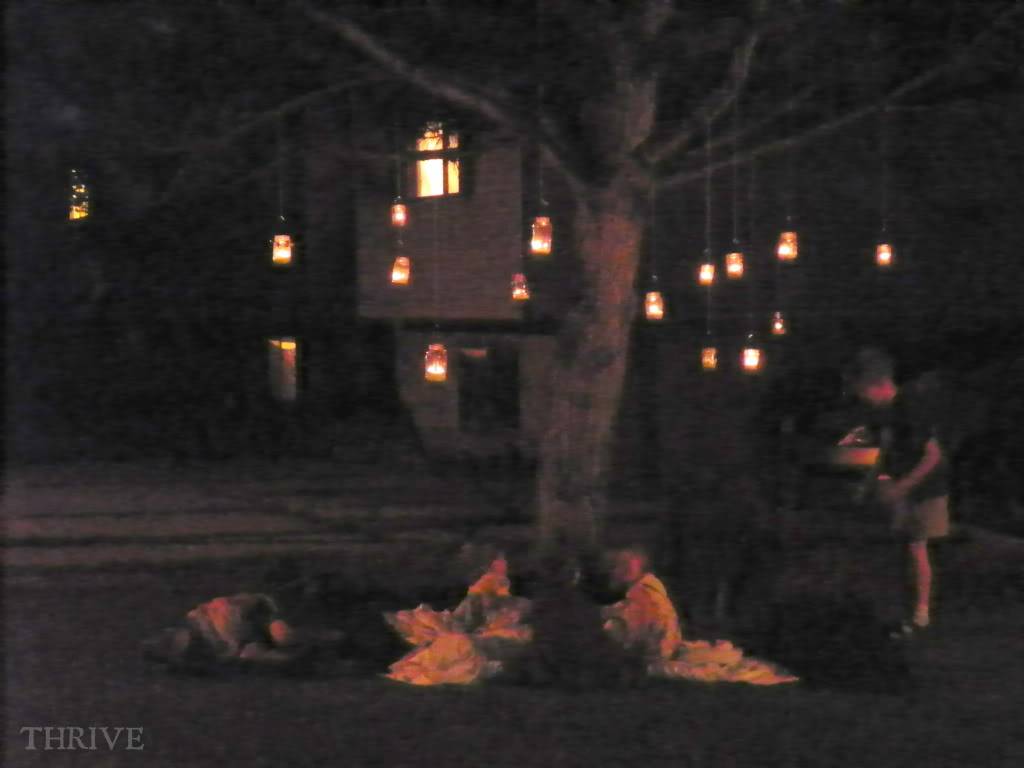
… and curl up with their favorite blankets under a canopy of lights …

 photo csi20.jpg

… telling ghost stories way, way past their bedtime.

 photo csi18.jpg

And seeing my ho-hum front yard transformed with some jars and string, and hearing the laughter and excitement of my kiddos waft through the warm summer night reminded me of my favorite children’s poem ever:

 photo csi31.jpg

So go take another look at those outdoor spaces around your house or apartment and see what kind of magic you can make yourself.

 photo csi37.jpg

Happy Monday everyone! I’m so excited to be blogging from my hometown in Washington following a 13 hour drive Saturday with our Dirty Half Dozen.

And thanks to a little planning, the trip was actually … awesome.  The kids did great, we made good time and even managed to save enough money on travel snacks to be able to afford gas for the trip home–ha!

So this week I’ll be sharing some THRIVE friendly tips for surviving those summer road trips without breaking the bank or loosing your mind.  And as always, you should be able to pull together these easy snack ideas without a run to the store

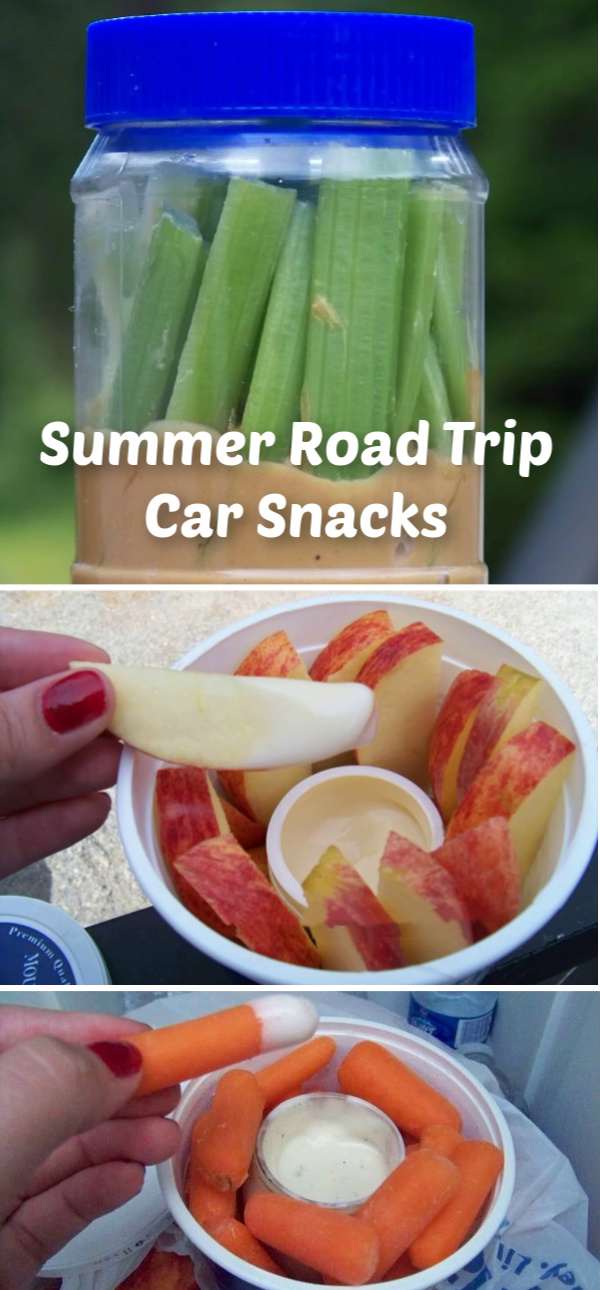
Today’s feature: 3 easy snacks for the road or camp ground.

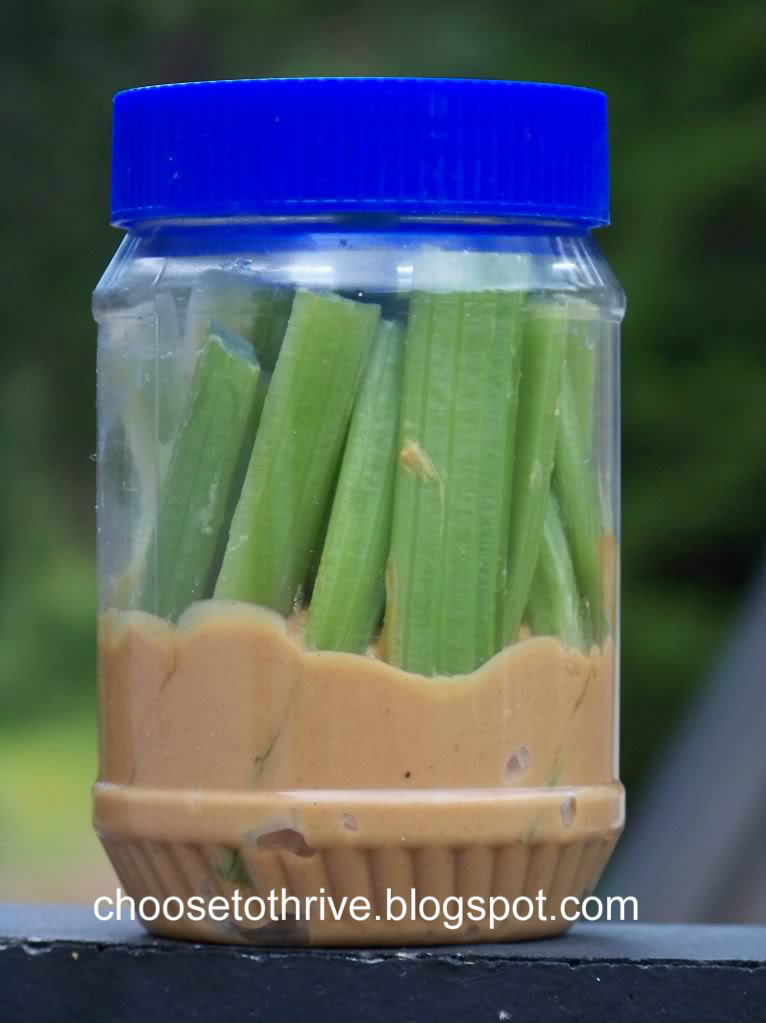
1) Empty peanut butter jar + celery sticks

celery sicks

Finally a way to have p.b. and celery without the mess. Fill an empty jar with an inch or two of peanut butter and then fill with celery sticks. Kids get a yummy snack without sticky fingers and the car stays free of kid schmeer.

2) Empty sour cream container + empty baby food jar

Carrot Road Trip Snacks

A quick way to pull off carrots and dressing without the dragging the jar along or buying those expensive to-go dressing singles.

3) Empty 32 oz. yogurt container + single serving yoplait

Easy peasy fruit slices and dip. So yummy straight from the cooler at a camp site or rest stop.

Delish.

Apple

So there you go–easy straight-from-the-recycling-bin solutions for eating well on the road.

I’ll be back on Wednesday with some great ideas for keeping the kids entertained.

~ Nike

PIN THIS TO SAVE FOR LATER

Summer Road Trip Car Snacks

 photo basket6.jpg

Quick—someone knock on wood—but it looks like we might get a break from the rain, hail and snow that refuses to leave Utah.

Heck, it’s a balmy 54 degrees outside right now.

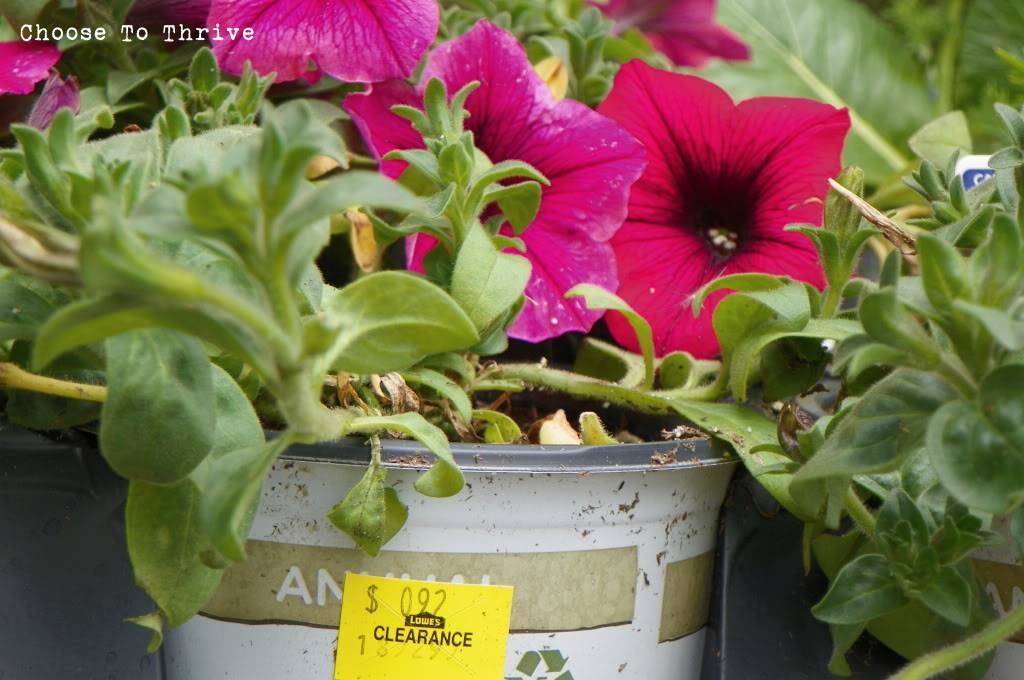
That means that the rest of my sad clearance flowers from my cake dome planter project that have completely taken over my kitchen table can finally move outside.

 photo basket22.jpg

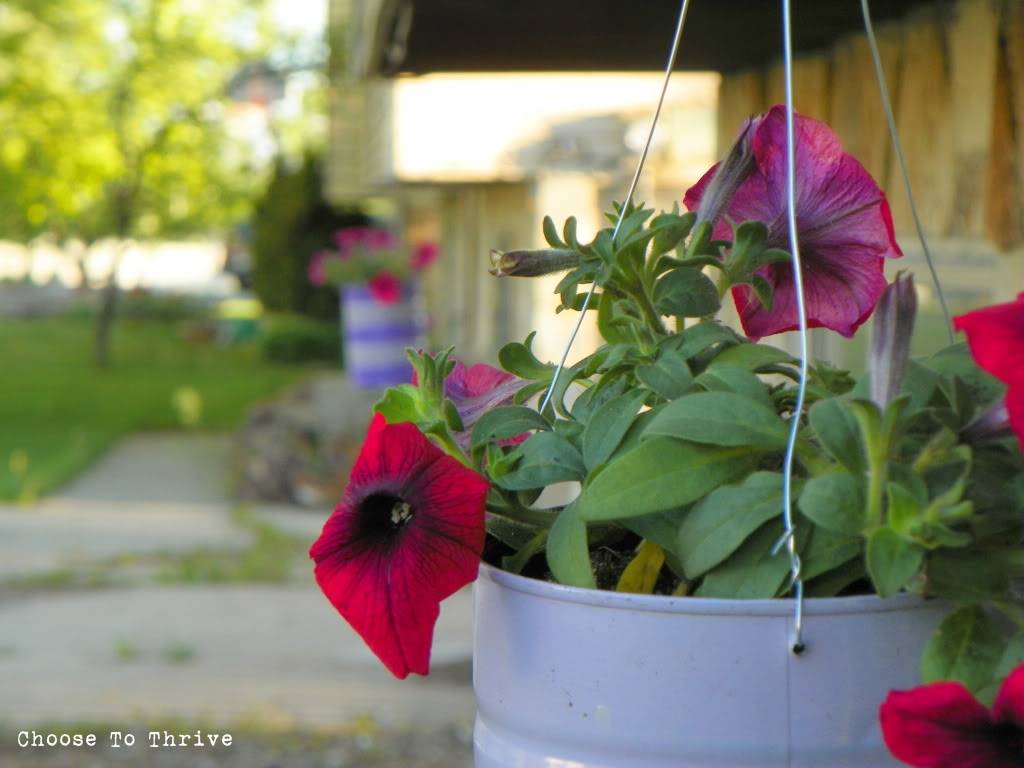
I’ve been wanting some more color to go with my cake dome planter along the front porch and love the look of hanging baskets.

 But as it turns out, I was fresh out of hanging baskets.

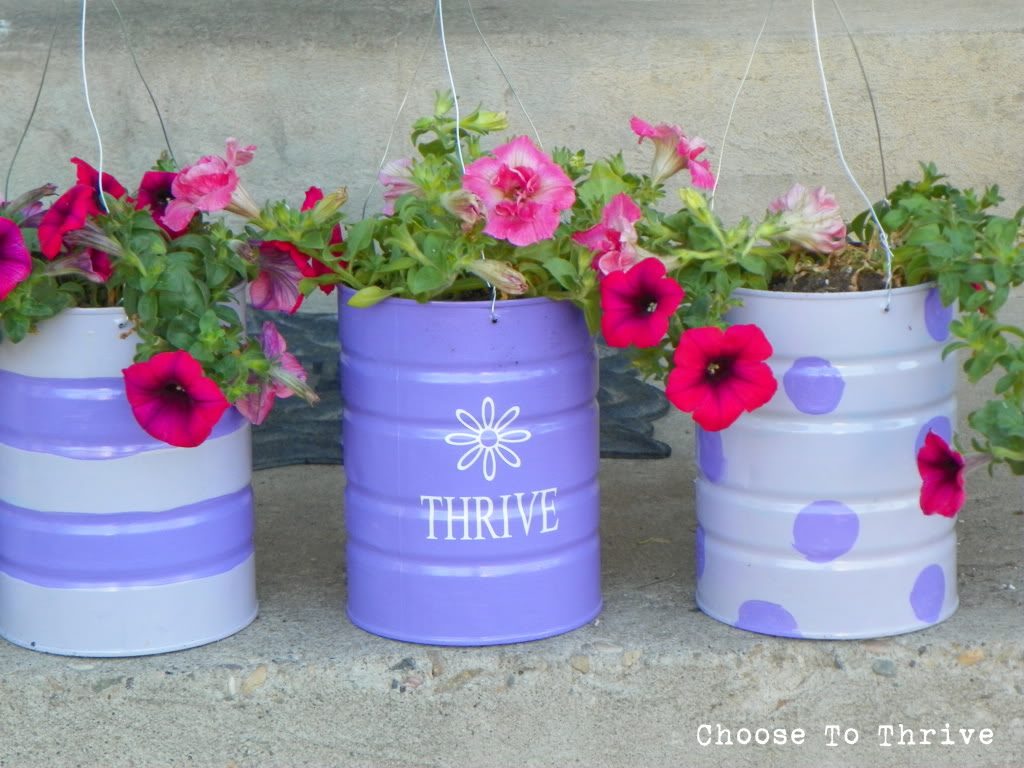
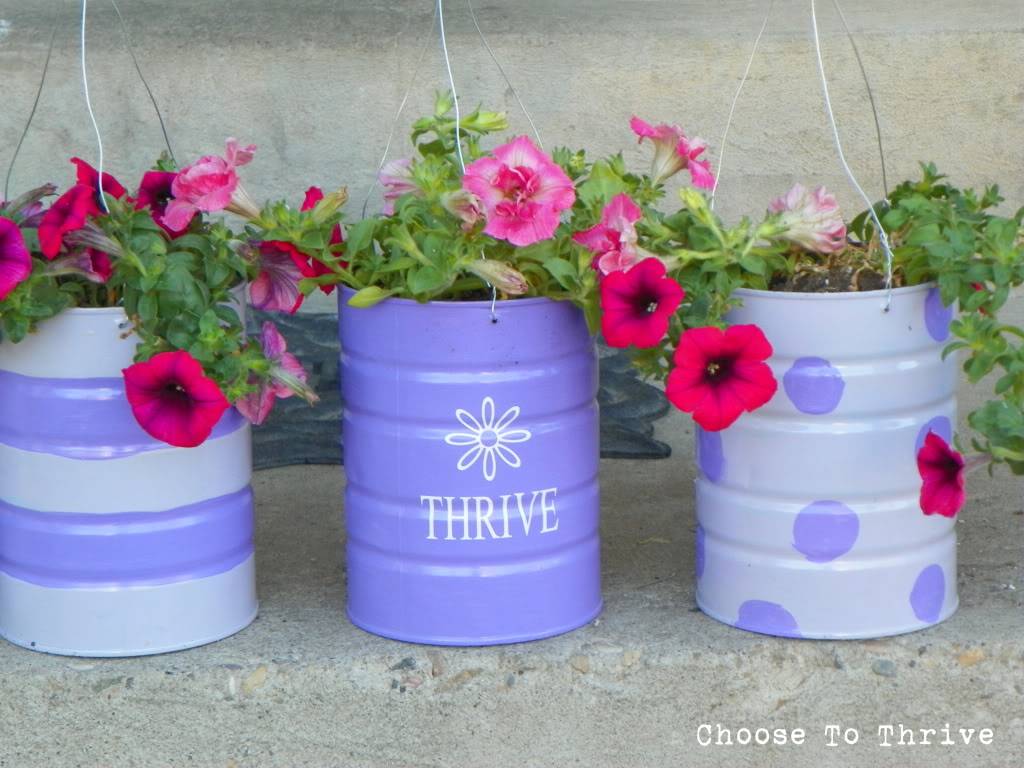
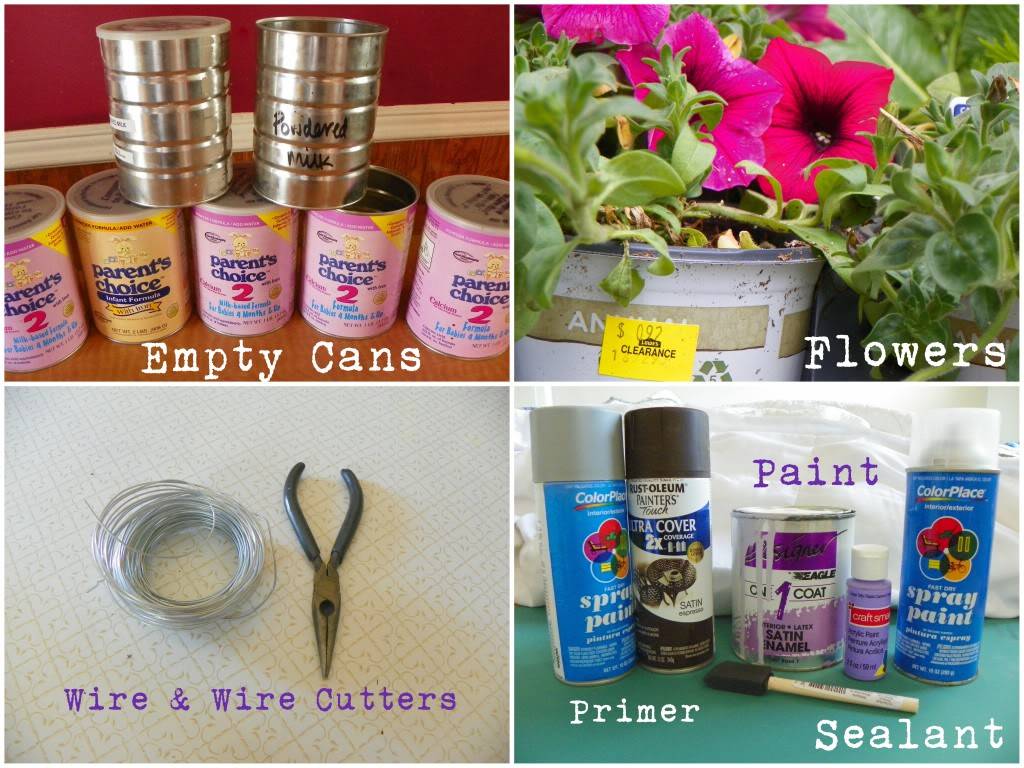
So the only thing left to do was grab some empty formula cans and get to work!

For this project you’ll need:

 photo basket20.jpg

{As always I hope you’ll rock what ya got an use whatever you have on hand to make this without an extra trip to the store.}

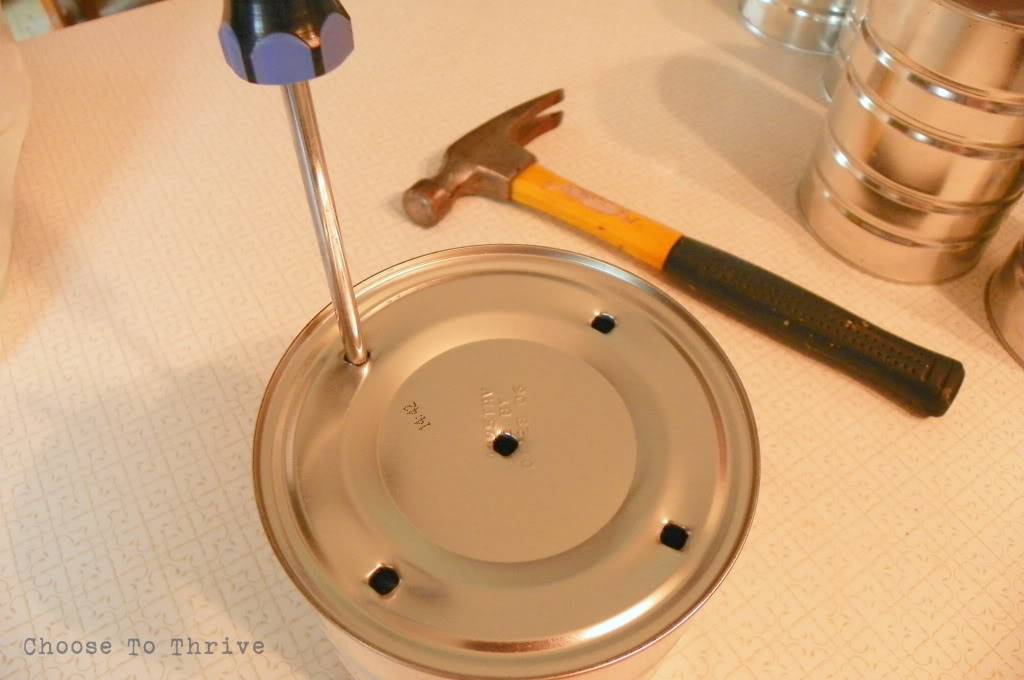
Punch drainage holes in the bottom with a screw driver and hammer.

 photo basket15.jpg

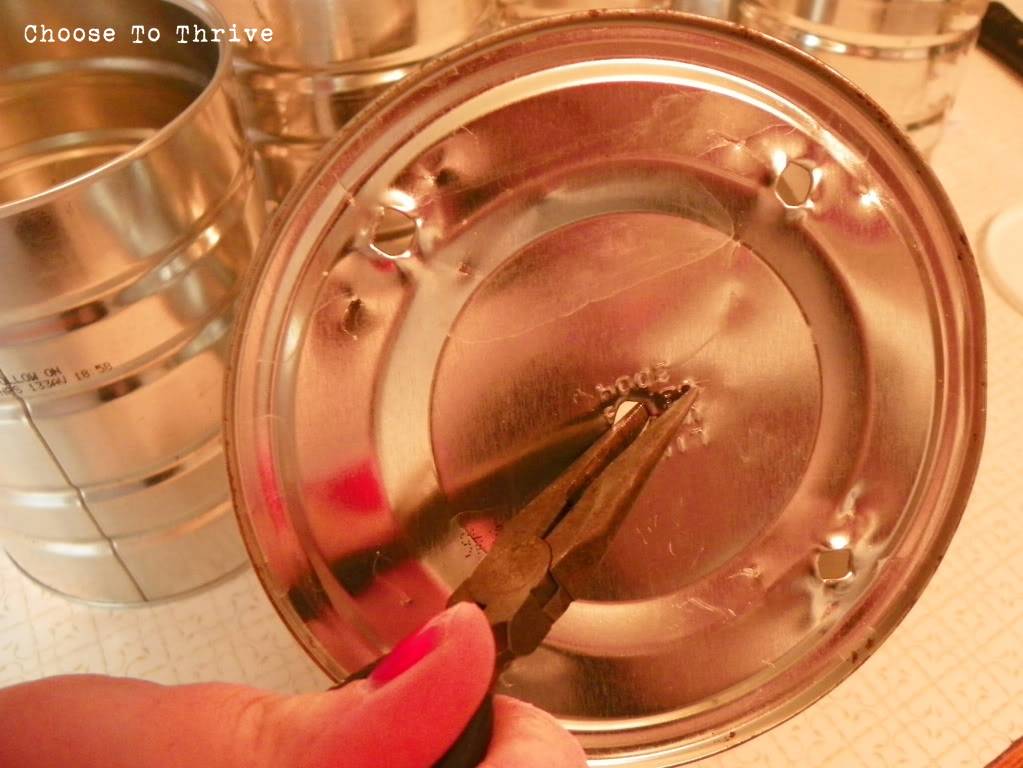
Flatten rough edges with a pair of needle nose pliers.

 photo basket16.jpg

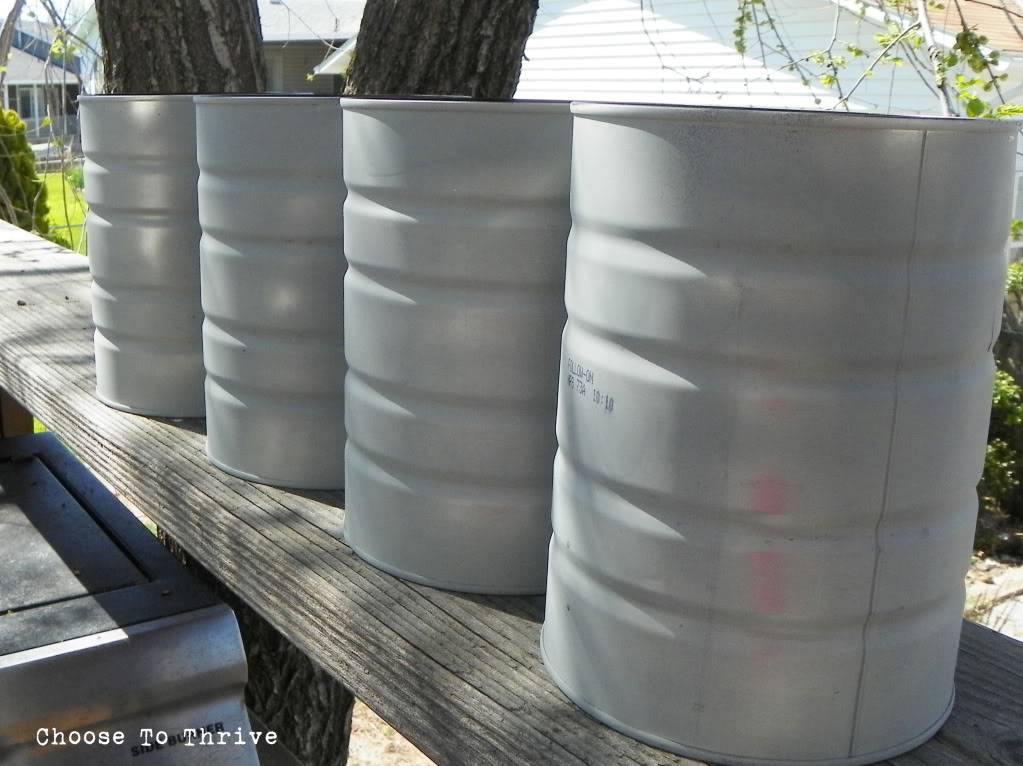
Coat cans with a quick coat of primer on the inside and out …

 photo basket18.jpg

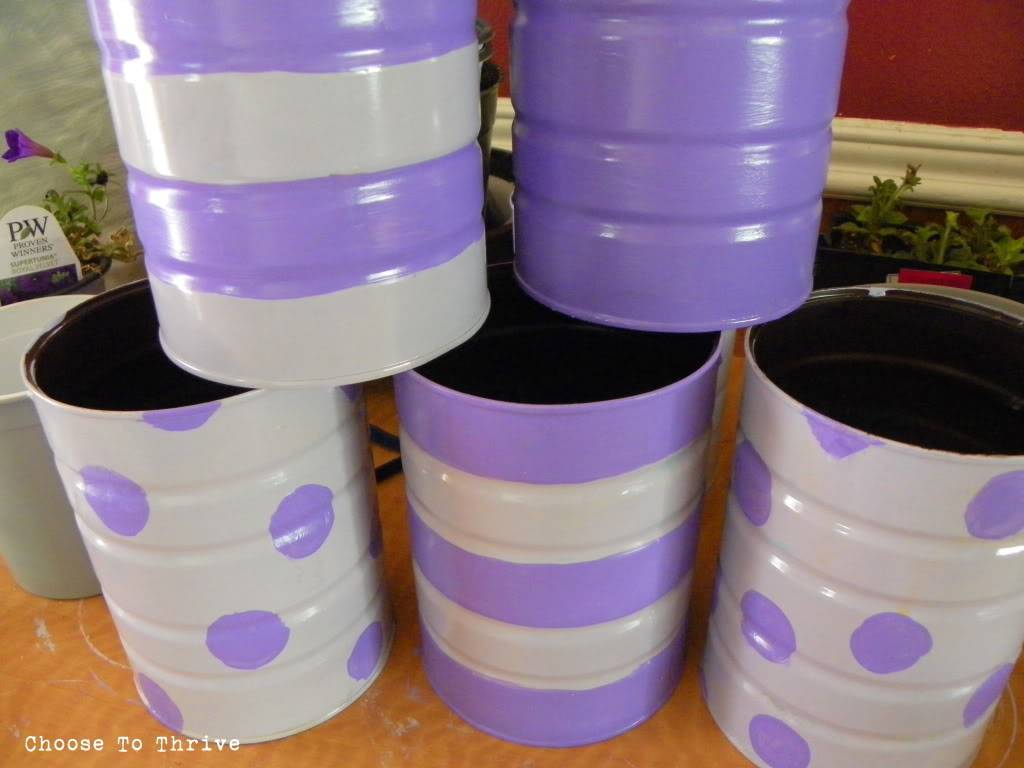
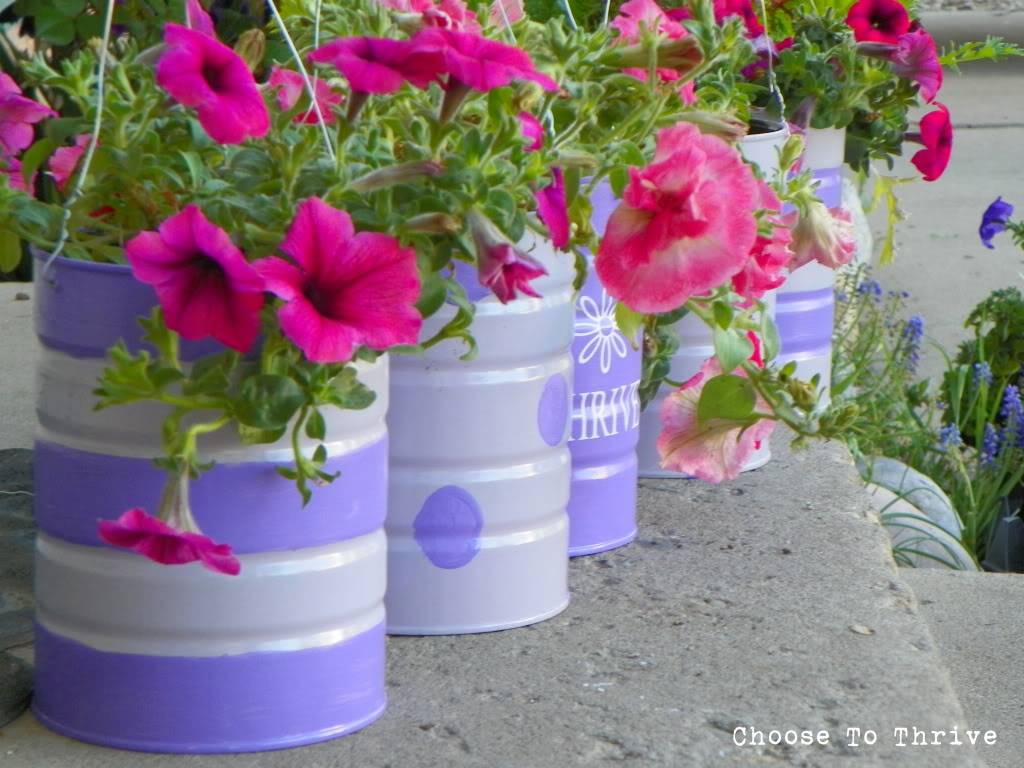
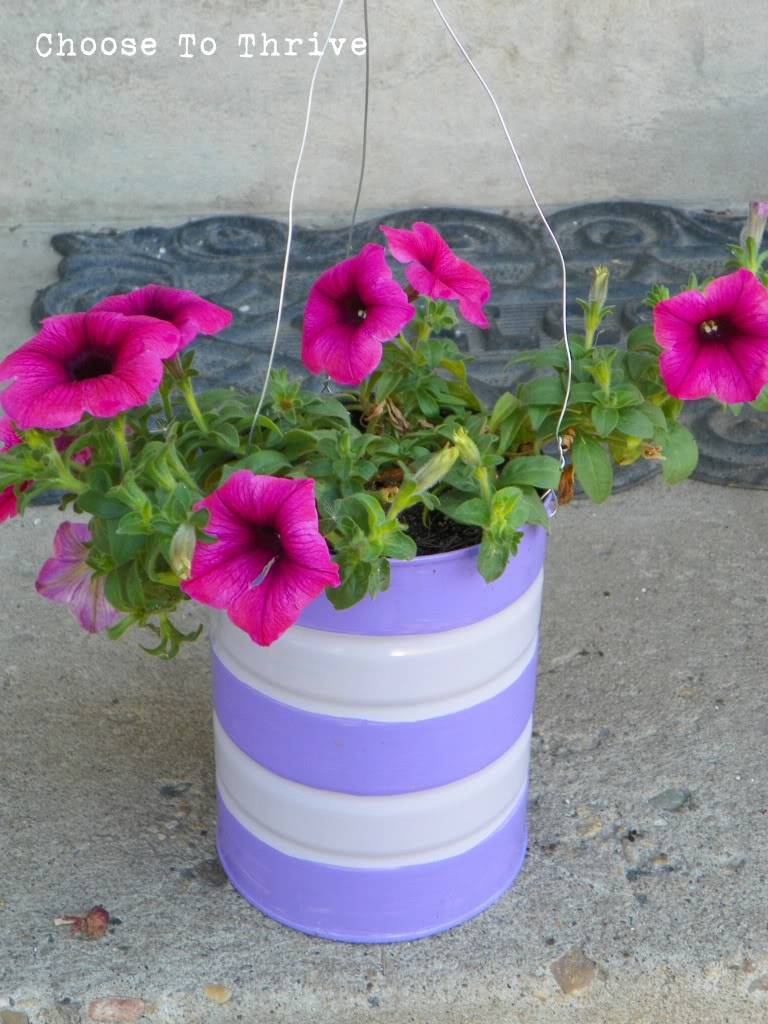
… and cover with your choice of paint. I used a coat of left over house paint for the base and craft paint for the stripes and spots.

 photo basket2b.jpg

A coat a clear spray paint sealed everything.

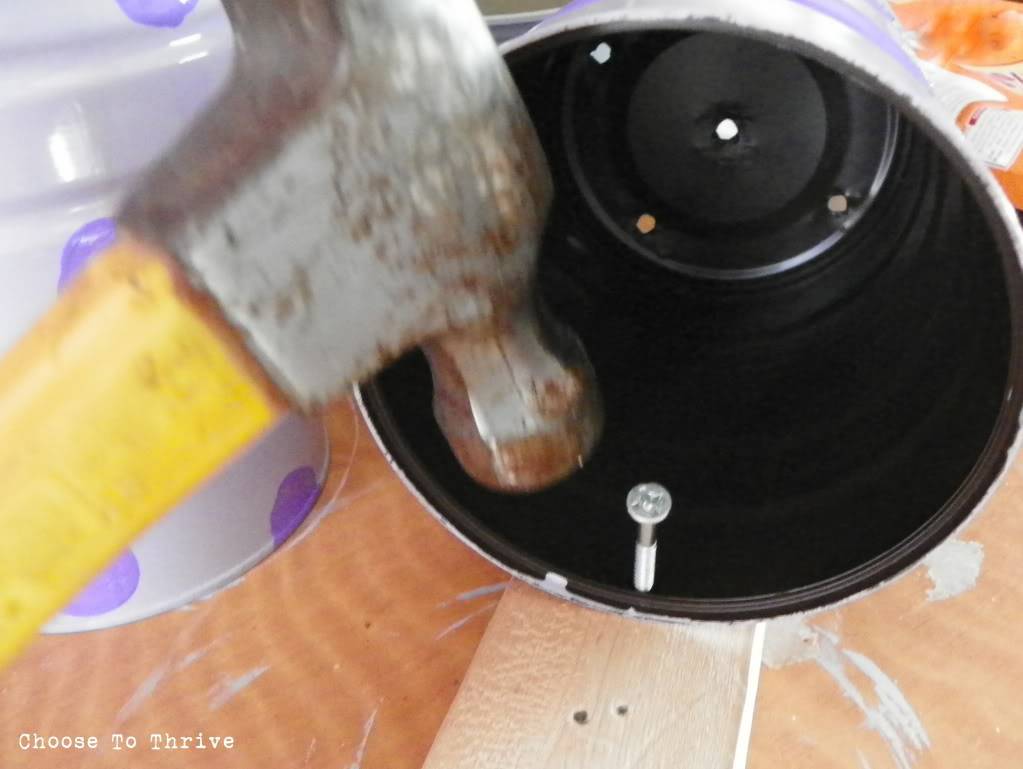
Hanging holes were made using a left over nail/screw. I placed a piece of scrap wood beneath my cans and hammered away.

 photo basket1.jpg

I filled the bottom quarter of each can with packing peanuts to keep the weight down and save on soil …

basket.3

… and then added my plants.

 photo basket19.jpg

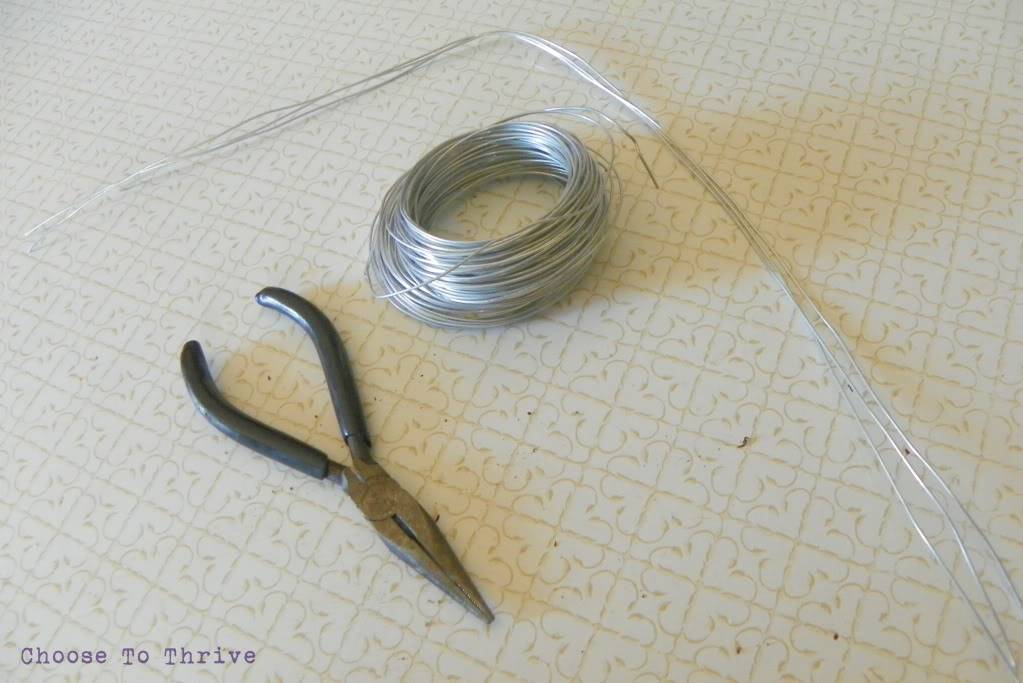
To make the hanging wires, I cut 3 –  18” lengths of wire per can …

 photo basket21.jpg

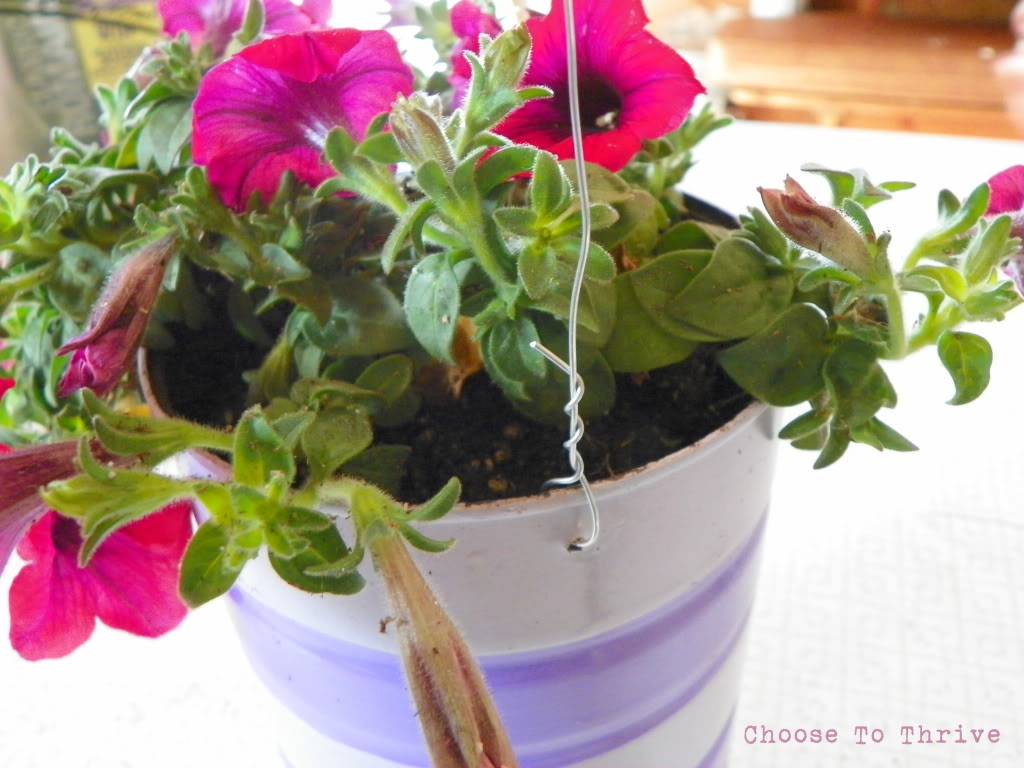
… and threaded them from the outside, twisting them into place.

 photo basket4.jpg

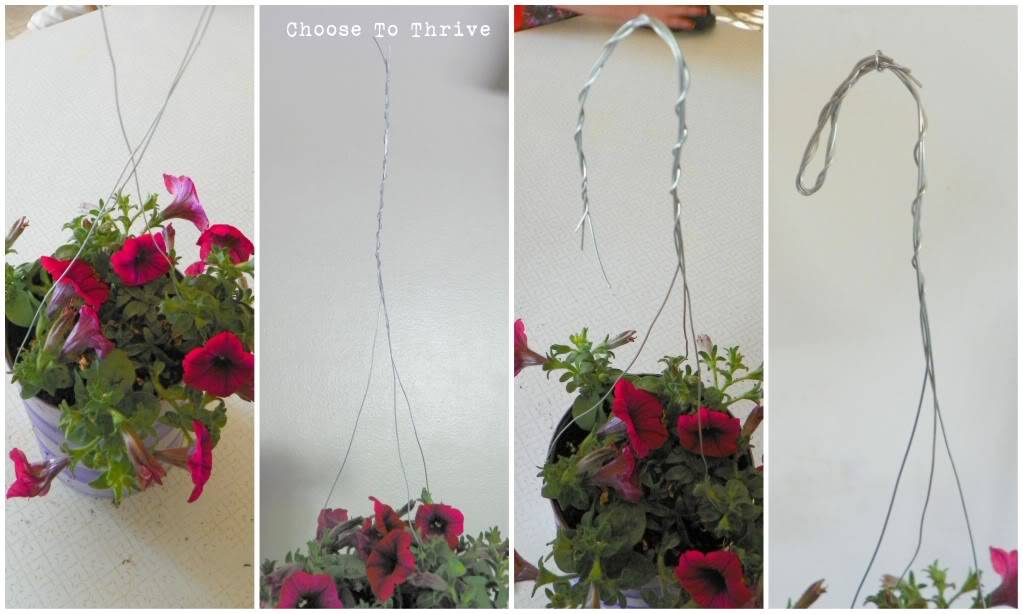
I twisted all three wires together above the flowers and bent the end over to make a hook.

 photo basket5.jpg

Left over wire was trimmed away.

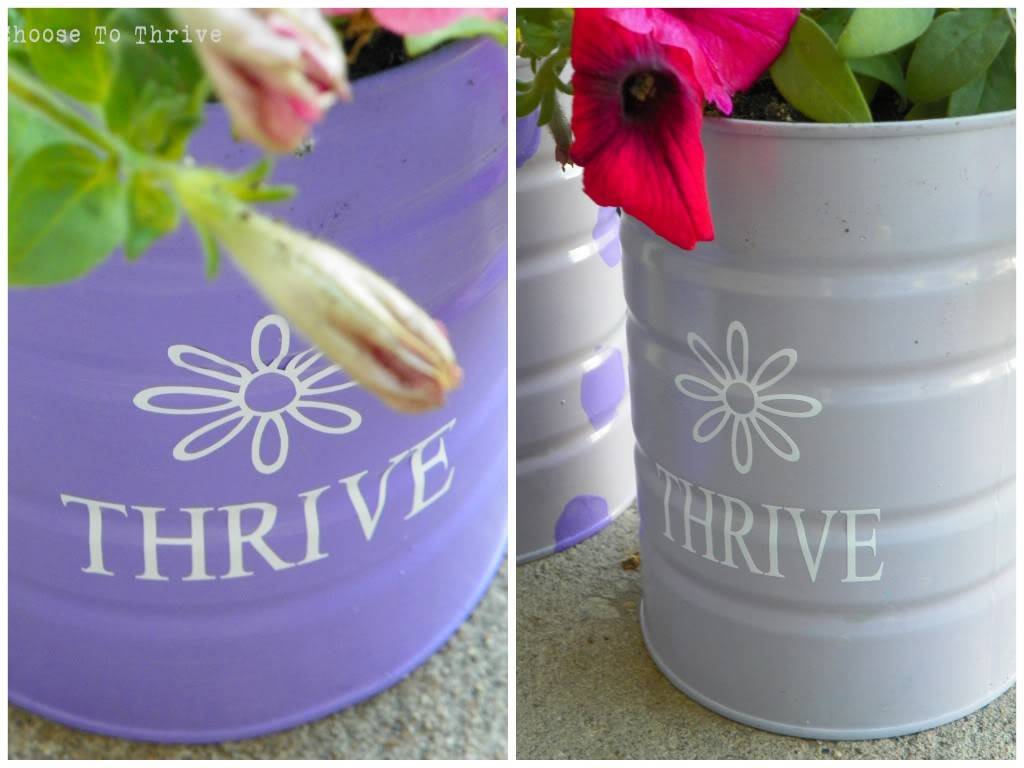
And just for fun, I added some vinyl to the outsides of a couple can planters.

 photo basket14.jpg

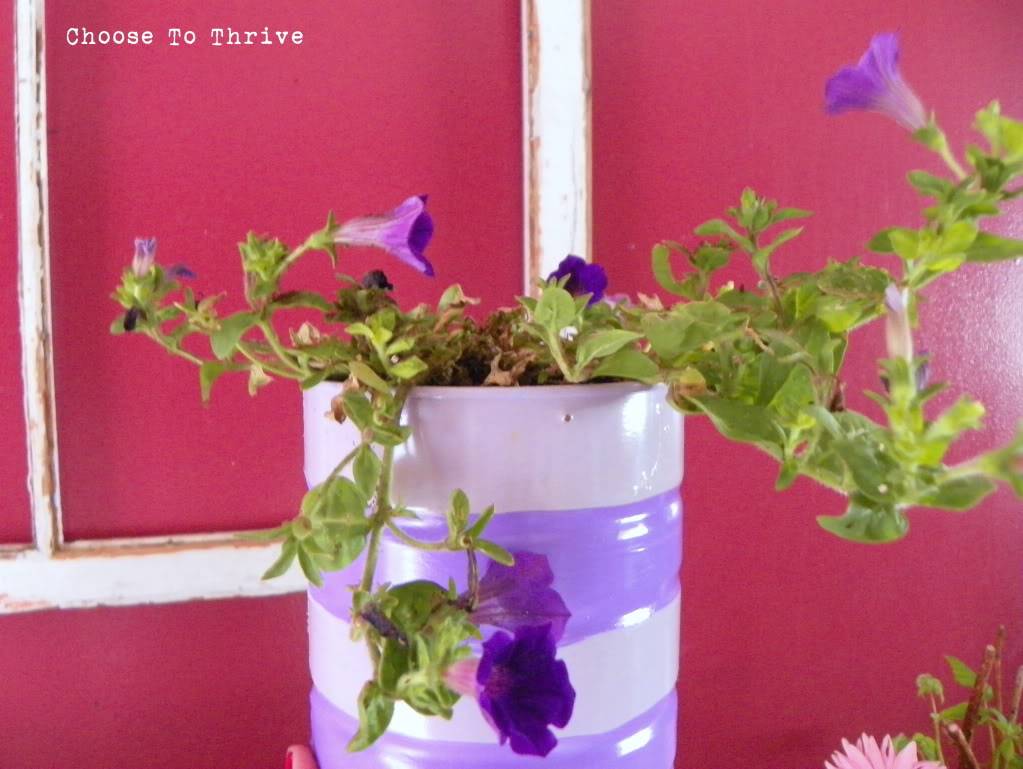
And just like that, six colorful baskets were waiting for a break in the weather to make their debut along the front porch.

 photo basket9.jpg

And I love how they turned out …

 photo basket7.jpg

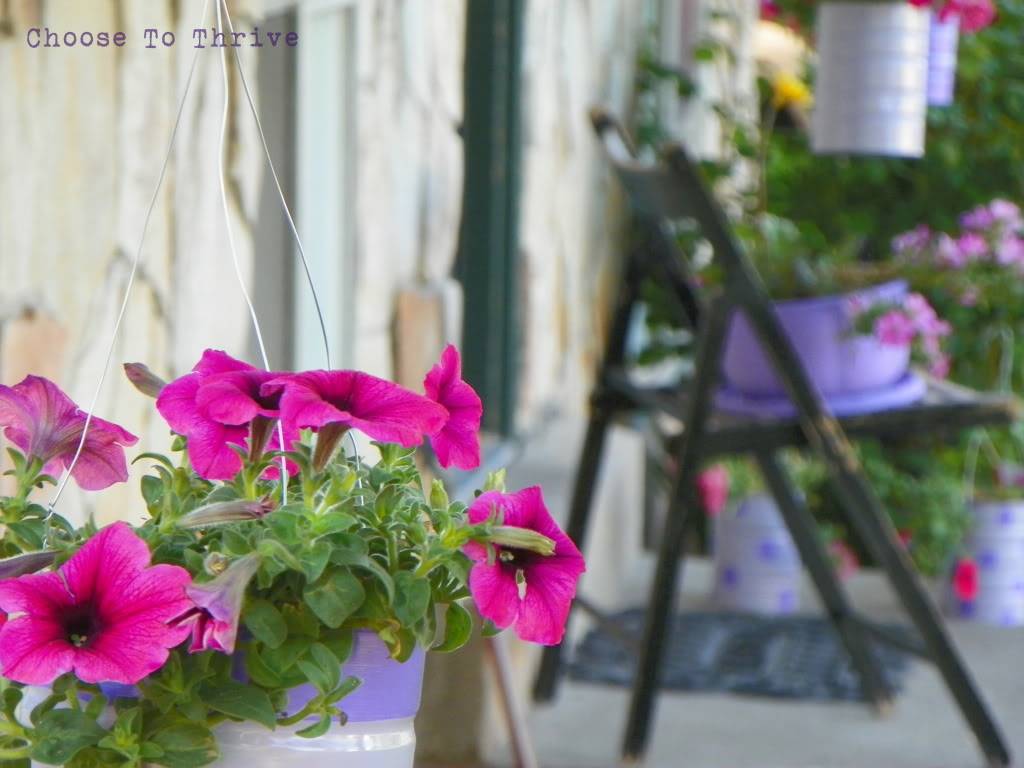
… and how bright and cheerful they make the front of my house look!

 photo basket23.jpg

Finally … finally … welcome to Utah Spring! Glad you made it in time for summer.

 photo basket24b.jpg

Signature 

Featured on (thank you!):

top 10 sunday.showcase.feature