Tag

No-Money Remodel

Browsing

fail

Thanks for your kind comments on my door painting fail – so glad I’m not the only one who’s screwed up a DIY project.

And I’ll give a quick disclaimer right now: painting your floors can look AWESOME and is a great solution for a cheap face lift until you can replace flooring outright.

However … however, if you rush this project, you’ll screw it up royally and probably wish you had taken help from a professional house painter. Guess which route I took?

Yeah.


After horribly trashing the floor around the door with not one, but two spray painting fiascos, I couldn’t take it anymore and wisely plunged into tackling the floor. I mean, come on … really? How long could you greet friends at the door with a floor that looked like that?

100_3744-1

But at the same time … finish one project, woman, and then move on.

The entry floor was covered with the same peel-n-stick vinyl tiles that we have in the kitchen.  The original linoleum was a dark, heavy 70’s brown, so the white vinyl was a big improvement. But just like the kitchen floor, these tiles were 10 years old and seriously showing their wear.  This is freshly scrubbed.

DSC03401

See? It never looks clean. And that was before several layers of spray paint over spray.

So after a quick wipe down, that floor got two coats of oil based primer.

100_8262

Seriously, oil based primer is the greatest stuff ever. I was giddy with how much better it all ready looked.  I let that dry for a couple days and then rolled on a coat of white semi-gloss paint (what I had on hand).

And then …yup,  you guessed it … I went stupid again.

Instead of letting that paint dry for 2-3 days minimum before taping over it, I waited a mere 18 24 hours until it felt dry and started taping away. Laying out the grid was easy …

100_8266

… I just followed the lines of the vinyl tiles.

100_8267

Then I rollered on a second coat of white semi-gloss paint over the entire floor to help seal the tape edges  so that the  next layer of brown paint wouldn’t seep under the tape.  Again, only waited a day and then charged ahead with the brown. I rolled on two coats using the same paint I used on the front door.  I waited a day, and then started carefully pulling up the tape. And at first, it looked wicked awesome.

DSC00162-1

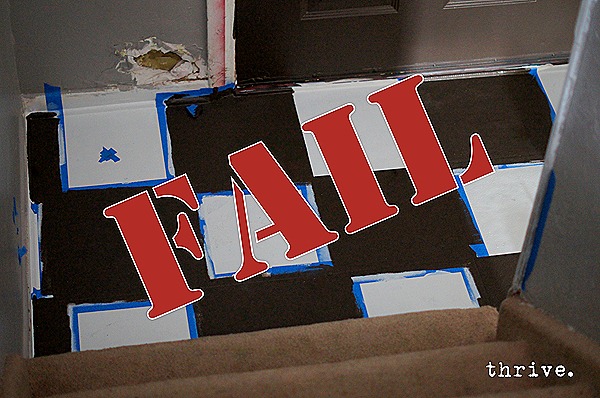
But on the second square something really, really bad started to happen: the paint under the tape started coming up. Everywhere. In huge pieces.

DSC03829

Oh, snap.

I wanted to cry … really, really cry.

But I didn’t, because Mr. Thrive wasn’t thrilled about the huge door mess that had created the floor mess that was now a painted floor mess. And I was determined to save this project and actually finish a project for once. So I lightly sanded down the worst of the edges and and carefully started touching up the peeled off areas in each square. (Thankfully just the white semi-gloss lifted and not the primer underneath.) And while not perfect, I was relieved to see that with some patience, it was completely fixable.

Phew.

But … but … after finishing my touch ups, I left the paint tray on the stairs and went upstairs for a minute … and my three year old daughter saw the very full paint tray just sitting there and wanted to help momma with the painting … and she tried to pick it up to go down the stairs and paint … and dropped the heavy tray … and watched all of that white paint land on the carpeted stairs and splatter across the newly painted floor … and then probably panicked that momma would be mad and promptly ran back up the stairs, tracking big paint foot prints on all the steps that hadn’t been covered by the paint to start.

And anytime you have a 1/3 of a gallon land on your floor, you know there’s not a snowballs chance that it’s coming out.

DSC01146

That’s when I cried.

For a full five minutes I lost it and cried like a baby.

But then I took a deep breath … and hugged my baby girl and apologized to her for yelling and being mad when I was the one who left the paint out … and I put my big girl pants on and started to hustle.

Because it was two o’clock in the afternoon … and Mr. Thrive was going to be home at seven … and I didn’t want him to have to walk into that kind of mess … or stress over how on earth we’d pay not only for new flooring in the entryway, but also for the stairs.  So I scraped as much of the paint out of the carpet as I could … and wiped all the excess paint off the floor … and took a few quick, crappy pictures to blackmail my children with as my mind raced as to how on earth I was going to fix this mess. (Edited to add: yes, yes I was having flashbacks to this moment.)

DSC01142

Oh, and did I mention that we had company coming in from out a state in just two weeks?

The floor I knew could be repainted. Again.

But the stairs? The only thing I could think off was to rip the carpet off the bottom tread and hurry down to Lowe’s and see if  could match it. I knew I couldn’t get it installed before Mr. Thrive got home, but I was hoping that having the replacement stuff already ordered would soften the blow. So I grabbed a hammer and a pair of pliers and started yanking.

DSC01209

Holy cow. We vacuum and sweep twice a day and that’s how much dirt was under the carpet and pad. It’s probably ten years worth … but still. Ewwww.

I was completely grossed out … and even more worried about what to do … but the reality was that I couldn’t afford new carpet—even a small amount of replacement carpet – so the choice was to live with the huge paint stains on the carpet plus one naked tread at the bottom –or- figure out a way to rock-what-ya-got.

And so I took a deep breath … and then another … and then made an executive decision. And I started yanking and pulling and ripping until all of the carpet going upstairs was gone and I was left with this:

floor

And suddenly I had not only an unfinished door and an unfinished floor, but was now waist deep in a stair project.

And that’s where things got interesting. Back in a bit.

Who knew picking paint would be this big of deal?

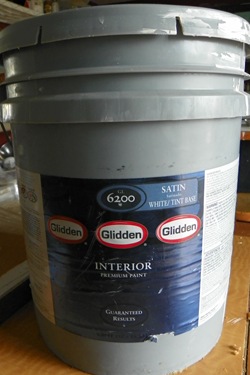
After a couple go-rounds of mixing paint this week I’ve decided that the paint I found at the recycling center won’t work.

100_1498

It’s a pretty color, but very, very light and heavy on the yellow end of the beige spectrum.  I tried mixing different amounts of my gunmetal black paint to see if I could find a grey I liked (which was the favorite reader color by the way) and never could.

paint.1

It’s kind of hard to see in that picture, but the yellow cast is pretty heavy and looked almost sickly. All the shades of grey looked sun-faded or like they had that awful indoor-gross-yellow light on them.

Not good.

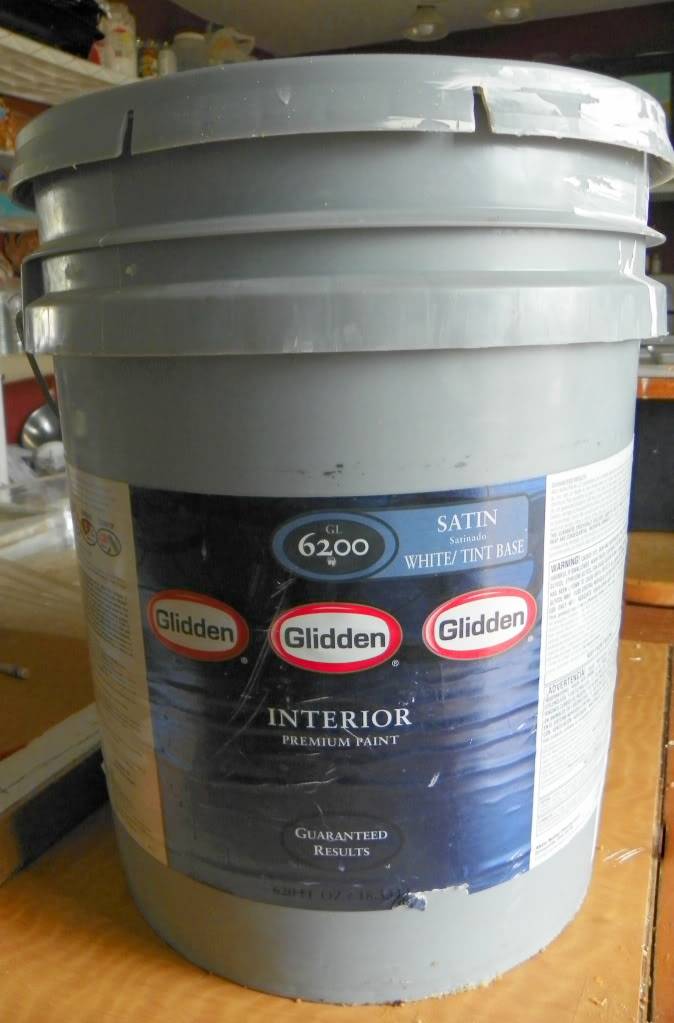
I also realized that it was a satin finish and I couldn’t find any more 5 gallon paint buckets in satin finish to mix in to try and stretch it. (Thanks to those of you who recommended not mixing finishes—so right you were). Add to that my realization that a half 5 gallon bucket wasn’t going to be enough and it was time to take the paint back to the recycling center.
And in one of those tender mercies sort of ways, there were two practically full 5 gallon buckets just before I got there in nice, pretty shades of … beige.

Ha!

But at least it’s on the soft tan end of the spectrum rather than the sickly yellow.

100_1764

And thankfully both of them are the same finish which means I should have plenty to finish the whole upstairs.

100_1761-1

The only slight downer is that it’s eggshell finish instead of a satin or semi-gloss and I worry about wear and tear from sticky kid prints that need to be wiped from walls all . the . time. Hopefully having extra paint left over will help.

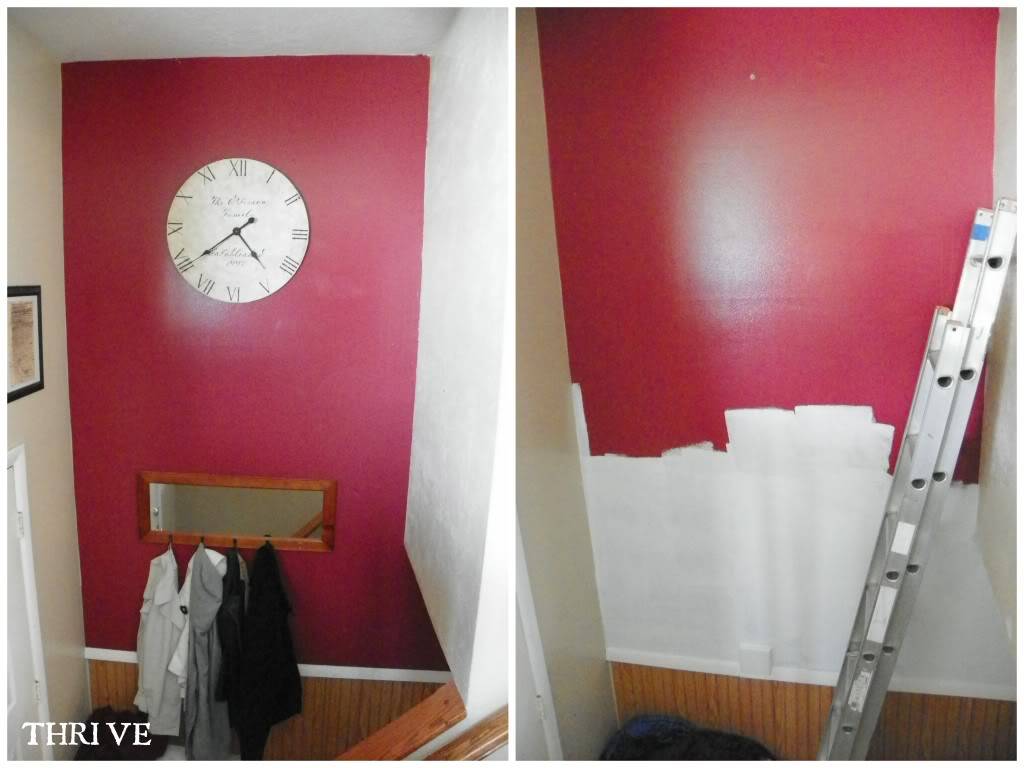
As far as color, I’m going for grey again as a first choice and beige as the back up. And the good news is that Mr. Thrive is coming around to the grey kitchen idea … slowly. I had always figured that we’d have to do one color for the whole upstairs because of our open-ish floor plan. But it looks like there might be an easy way to break up the miles long, formerly red wall so that we could potentially do one color in the kitchen and another shade for the rest of the upstairs.

wall.4

wall.5

So the plan for this week:

1. Get paint mixed, decided on and actually on the walls.

2. Finish sanding the acres of bead board and get priming done.

3. Start watching Craigslist and Freecycle for remnant wood and/or trim to use to break up the kitchen and living room.

4. Get left over sheet of bead board to use for the new kitchen back splash cut down.

4. Send ornery new camera to the repair shop (*gulp*) and see how well I can blog for the next month using still images from a video camera. Wish me luck on that one …

And what do you think about using eggshell finish paint?

Will it hold up?

Any tips to keep it from showing wear quickly?

Thank you!

Signature

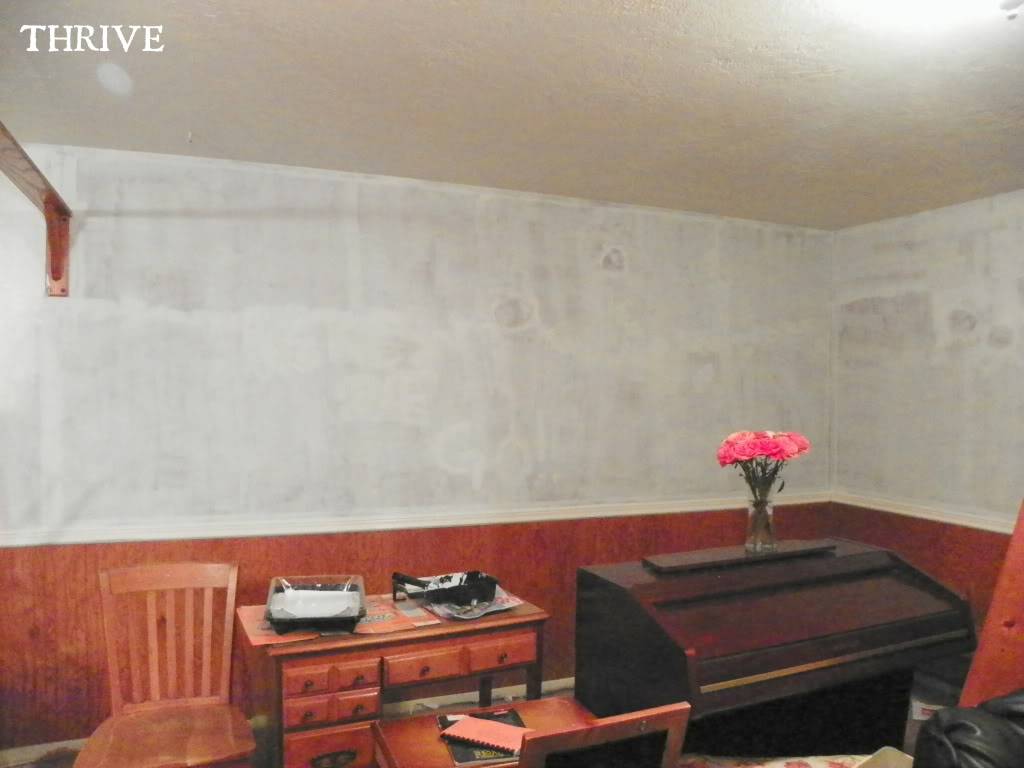
The upstairs priming is finally finished.

NMR.1

This was such a lousy week for Kids 5 & 6 to stop taking naps (and kid 6 to revolt against potty training.) Took for-ever.

NMR.7

Anyway, with the walls white there are already some projects that are jumping out at me—some small, some big:

NMR.2

So those projects have been added to the list.
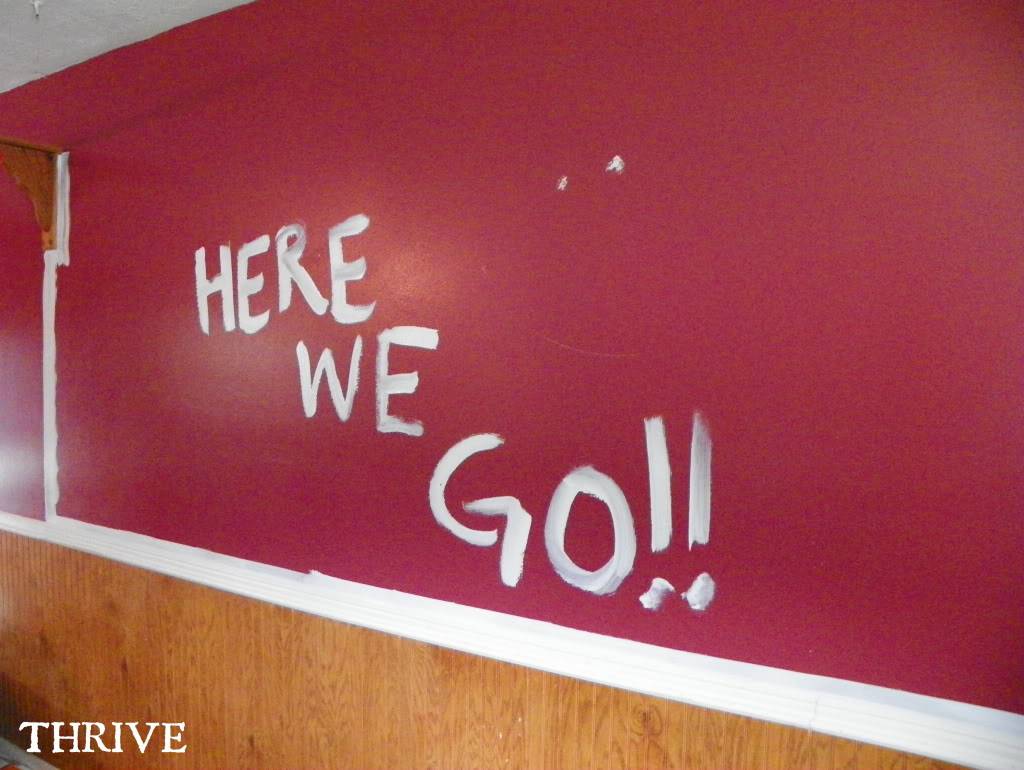
Now that the kitchen and entry way red paint are gone and I thought I was ready to start painting the main wall color, but I’ve hit a bit of a snag.
The color.

I have two nearly full 5 gallon buckets of “builder’s beige,” but my heart’s just not in it.

I know, I know. Beggars can’t be choosers.

It’s just that having The Red House was something that set us apart from the literally hundreds of other identical homes with the identical floor plan in our neighborhood. And Mr. Thrive isn’t thrilled about going back to beige, either. After I got done with the priming he took a look around and said, “Congratulations. It looks exactly like when we moved in.”

So I’ve got two options and could really use your input because here’s the thing:

I’m so not a decorator or interior painter.

I started following blogs a few years back to get ideas for my house because I’m terrible at designing rooms.

I’m a junker.

save-it-from-the-trasher.

An I-so-can-make-that-catalog-thing-from-scratcher.

But a decorator? Not so much.

So here’s my choices:

#1:  Stay The Course – Go With Beige

No one rocks the whole beige/cream + white look like Ballard Designs. And they’re beautiful and amazing and full of perfectly placed wall hangings and knick knacks. And maybe that’s why beige is so intimidating: I don’t get to rely on bold color to “carry” a room and do half the design work for me. I’ll actually have to figure out all those little details that make a room work.

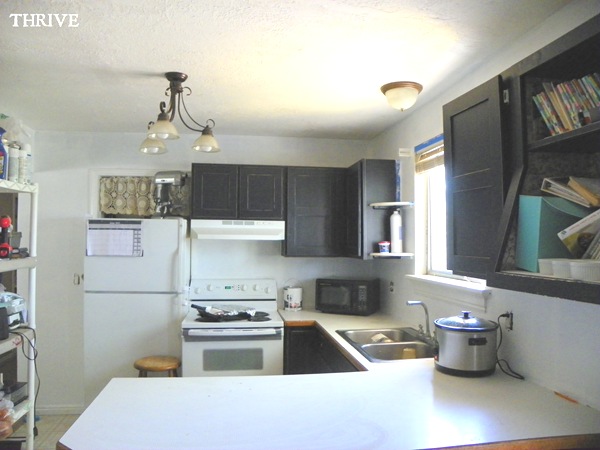
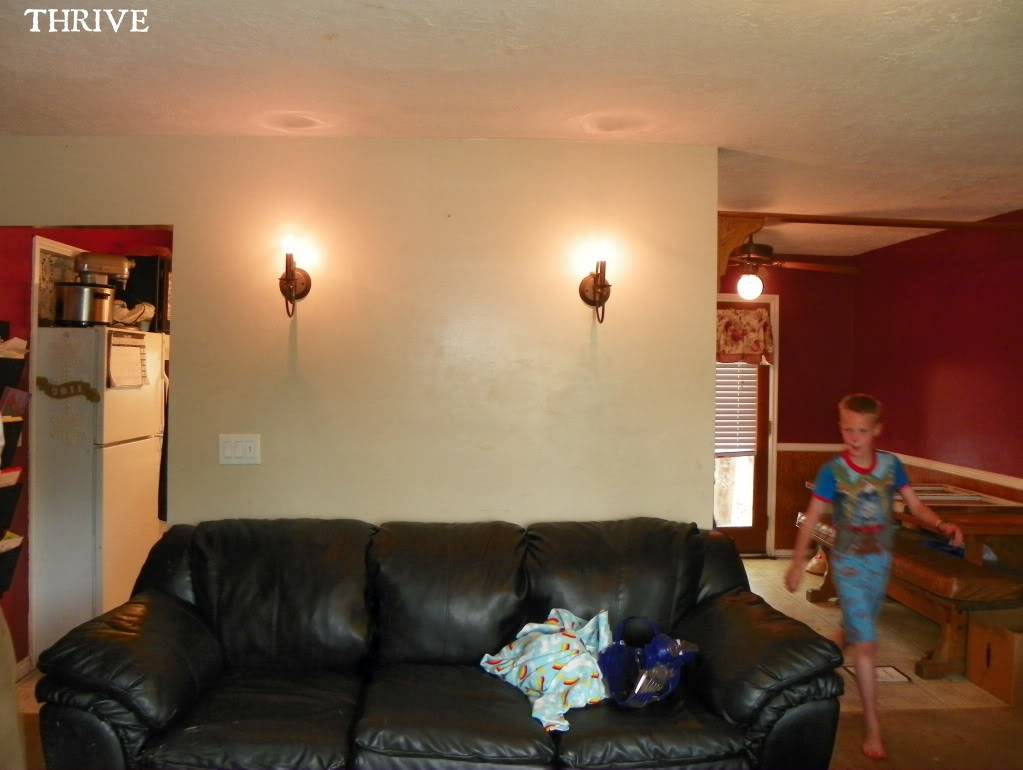
So the kitchen would go from this …

100_4331

… to something like this: cream walls + white to-be-added backsplash, trim, pantry + black accents on the cabinets and maybe floors.

NMR.6

(It’s actually more of a contrast than it looks like here and the cream has more of a yellow cast than pink, but you get the idea.)

I’m thinking more like this color scheme from Ballard Designs:

kitchen

Cream walls + white trim + black accents.

#2:  Start Mixing Paint and Hope For The Best

In addition to all the beige, I also have a couple partial gallons of slate grey, medium grey, black and dark brown that I could start mixing with the beige base. I’m crushing on grey at the moment and love the idea of having light grey walls and white bead board to go with my black kitchen cabinets and living room couches. 

Something like this: grey walls+ black cabinets + new white back splash and pantry + fun b/w fabric curtains, etc.

NMR.4

I also wouldn’t mind going the brown route either and trying for mocha color.

NMR.5

But will that even work?

Have any of you ever mixed a cream base + dark paint and come up with a color that worked? Is it awesome or way too yellow-y? I have a long history of selecting terrible paint colors and don’t want to waste the only paint I have.

So … what would you recommend?

Beige?  And if so, what accents for pillows or art would you put with it?

Blue/greens like this Ballard Designs look:

mirror 

Source: Ballard Designs Online

Something different?

– or –

Go for grey?

Or mocha?

Any mixing tips or please-for-the-love-don’t-ever-ever-EVER-do-this tips?

In the mean time, the kids and I are working on other areas around the upstairs:

1) Sanding the acres of bead board in the kitchen and living room to get rid of all that lovely “wood”

paint.15

2) Sanding down this book case from the living room for a much needed make over

NMR.8

3) Washing those dusty light covers in the kitchen.

Thanks for your help!

Signature

Ready or not …

 photo paint4.jpg

After five months of scavenging Craigs List, Freecycle and the local paint recycling center, I finally rounded up enough FREE paint and primer to tackle the upstairs.

And since there aren’t any “breaks” from the kitchen/living room/hall/entry, that meant getting enough paint to do the whole upstairs in one shot.  Most of the paint that I’ve found has been a half gallon of this or that—not enough to finish a single room, let alone the whole floor. But when I finally found a nearly full 5 gallon bucket of generic “builder’s beige” last weekend, I knew it was time to get going.  (Not that beige was my choice for paint colors, but beggars can’t be choosers.)

 photo paint16.jpg

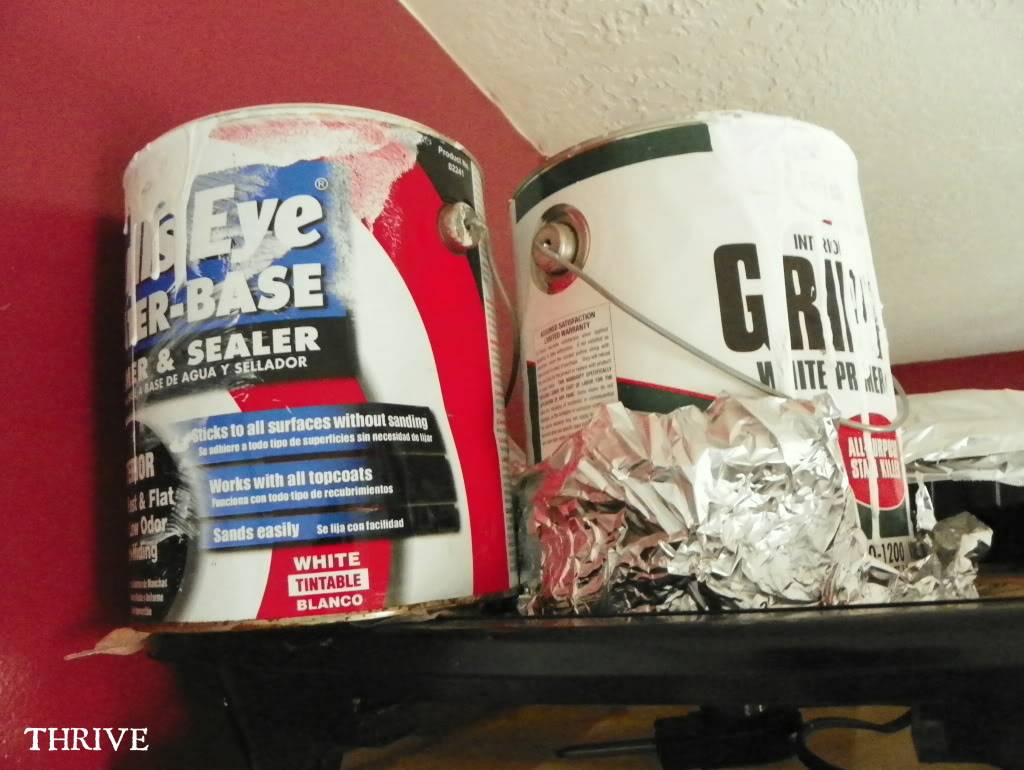
But even with 5 gallons, I knew I only had enough paint for a single coat of the upstairs. That meant I would need enough primer to do two heavy coats to completely cover the red underneath. Thankfully half-full gallons of primer have been easy to find and it wouldn’t matter if I use two different brands.

 photo paint19.jpg

The first step was to remove the vinyl sayings from the walls. And honestly, I really hedged here because the art and sayings in the living room speak to me on an intensely personal and emotional level.

 photo paint5.jpg

I am moved every time I look at this picture and read one of my favorite quotes from George Washington given as he addressed the Continental Army following their miraculous victory in taking Trenton.

 photo paint6.jpg
 photo paint7.jpg

But, you can’t paint walls with the vinyl still there (plus I never liked how high up I put my quote—should have moved it down a few inches.) And as my sister reminded me … I can always put that same quote back up once the walls are repainted.

So after 30 minutes of peeling (totally forgot to use a hair dryer to loosen up the vinyl first—oops), it looked like this.

 photo paint9.jpg

One more reason to love vinyl: not a single bit or paint came off or residue was left after three years on the walls. Love that.

The other vinyl was a large scripture that was above the Declaration of Independence and Bill of Rights along the overly-long red living room wall. I loved how rich the red looked with the aged parchment and dark frames during the fall and winter …

btl

… but it’s pretty dark for spring and fall. So down came the scripture and frames with a little help from my kids during commercial breaks from Saturday morning cartoons.

 photo paint1.jpg
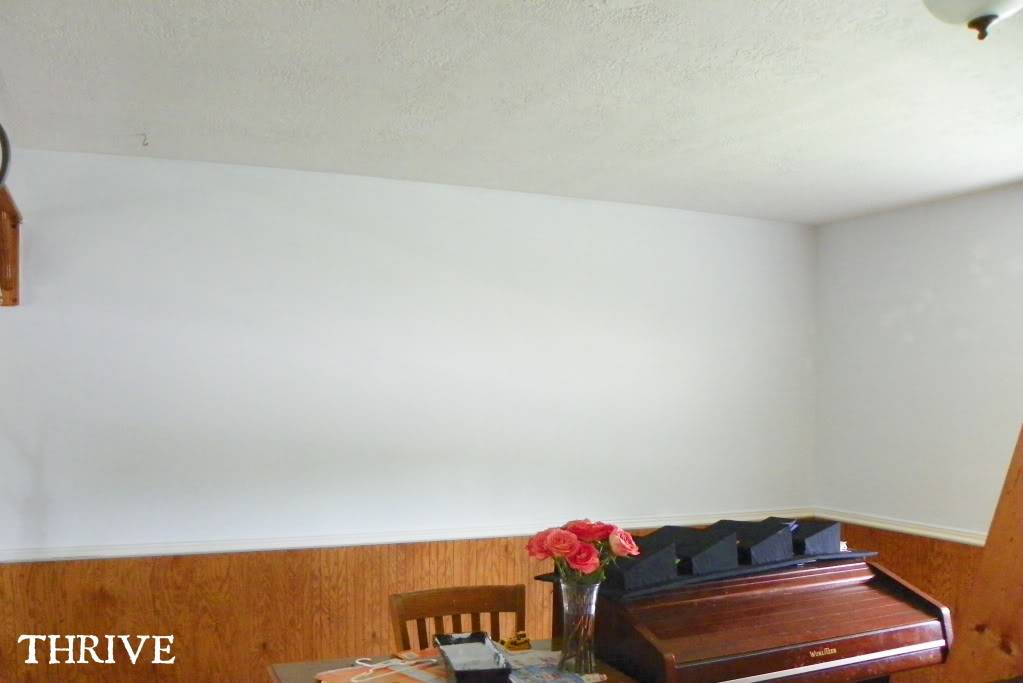
 photo paint2.jpg (And let’s just ignore the foot of dust on the organ, m’kay? Thanks.)

The next step was repairing all the massive holes in the walls—bleh. Someone recommended we use special drywall screws for hanging the large frames and curtain rods, but it was a huge mistake. The screws left big holes in the walls that practically pureed the sheetrock around it. When we went to remove these stupid things, the wall around the screws was noticeably puffy and completely disintegrated.

 photo paint3.jpg

We had to lightly pound the wall around the holes flat so that the powdered sheetrock bulges could be brushed away. We used a ton of spackle to try and repair the damage, but it’s still very noticeable. The damage from the curtain rod over the living room window is so bad that I think we’re going to put a window box valence there instead. 

A quick wipe down of the walls and it was time to paint – yeah! All of the furniture got pushed into the center of the room all classy like and I was ready to go!

The only problem was that I only had the small rollers on hand because Smart Girl (me) insisted that we had plenty of left-over rollers and supplies downstairs and didn’t need to buy any more thankyouverymuch.

Ahem.

So since my truck was acting up (long story) and Mr. Thrive was still at work, I went ahead and started painting with the small roller just to prove that a small roller would work just as well.

 photo paint13.jpg

Dumb, da dumb, dumb, dumb.

 photo paint12.jpg

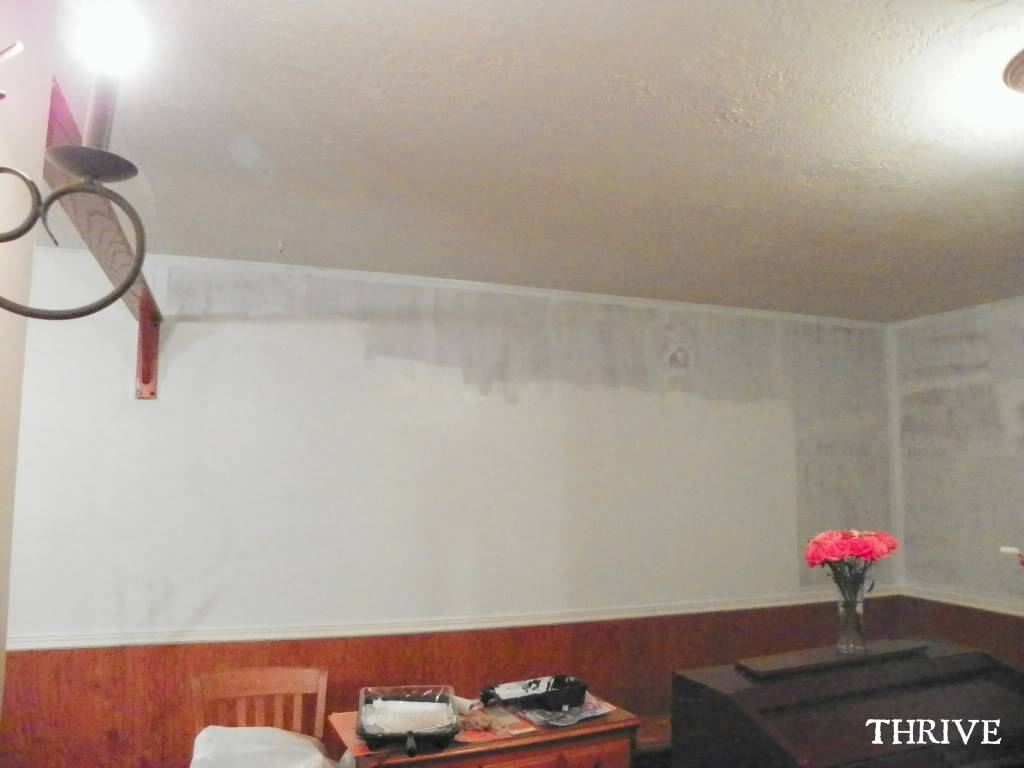
Using the small roller took for-ever and didn’t cover worth a darn. So I sheepishly texted Mr. Thrive to pick up some big-kid rollers on his way home and then watched as he rollered a nice, thick coat of primer in no time flat.

 photo paint14.jpg

Yeah. Much better.

 photo paint15.jpg

The game plan for tonight and tomorrow is to finish priming the entry way walls and kitchen. I started the entry, but could only reach so high. My awesome neighbor brought over a ladder last night so that I can tackle the rest of the red after kids go down.

 photo paint18.jpg

The kitchen is going to be a chore and will probably take most of tomorrow’s nap time to knock out … assuming kids actually take naps 🙂

Once that’s done I’m going to get The Dirty Half Dozen to work sanding the bead board so we can paint that, too.

So …

Not a bad way to start our upstairs remodel and worth the wait:

Living room + entry way primer: FREE

Signature